Deploying a TrueNAS CORE VM in ESXi
7 minute read.
Last Modified 2022-07-01 10:29 -0400This article describes deploying TrueNAS CORE virtual machine (VM) in a VMWare ESXi environment. ESXi version 6.7 is shown in this article.
Before starting configuration work in VMWare:
-
Allocate a drive or a few drives in your server cluster for the TrueNAS virtual machine. The anticipated storage needs for your deployment determines the size and number of drives you need.
-
Download the CORE 13.0 iso file from the TrueNAS.com/downloads web page.
-
Visit the TrueNAS CORE Hardware Guide and take note of the minimal system requirements. Also note the information in the Memory and Storage Device Sizing sections.
The hardware guide provides guidance on how much memory, the number of CPUs, and drive size you need to configure. For example, you need a minimum of 2 CPUS, 8 GB memory, and two drives each with at least 16 GB storage. You can increase memory and drive sizes if you want to improve performance.
-
Determine your data storage requirements. Consider the number of storage pools and the type of storage you need for your deployment or how you plan to use the TrueNAS. See Storage Configuration for information on pool layouts.
This article provides guidance on the number of virtual hard drives (vmdks) you want to create when setting up your virtual machine. For example, if you want a mirror layout you need to add a minimum of three drives. One for the boot drive and two for the mirrored storage. If you want a mirror with a hot spare, you need to add a minimum of four drives. One for the boot drive, two for the mirrored storage and one for the hot spare.
-
Configure your network per your system requirements. Have the information ready when you configure your TrueNAS global network settings in the web interface.
Launch your VMware ESXi interface using your login credentials.
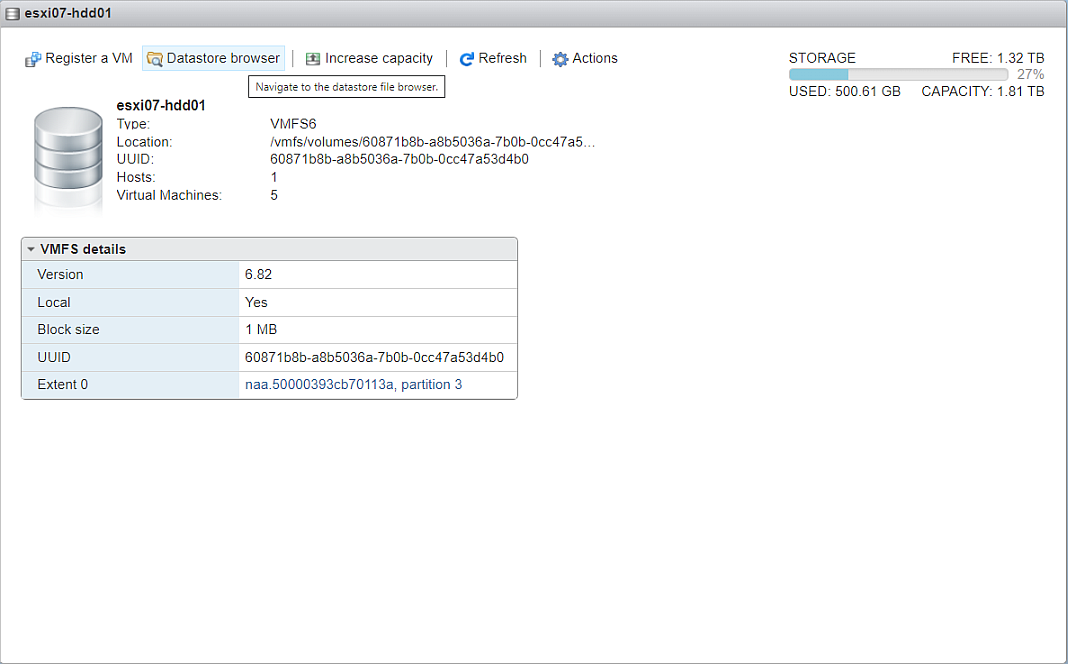
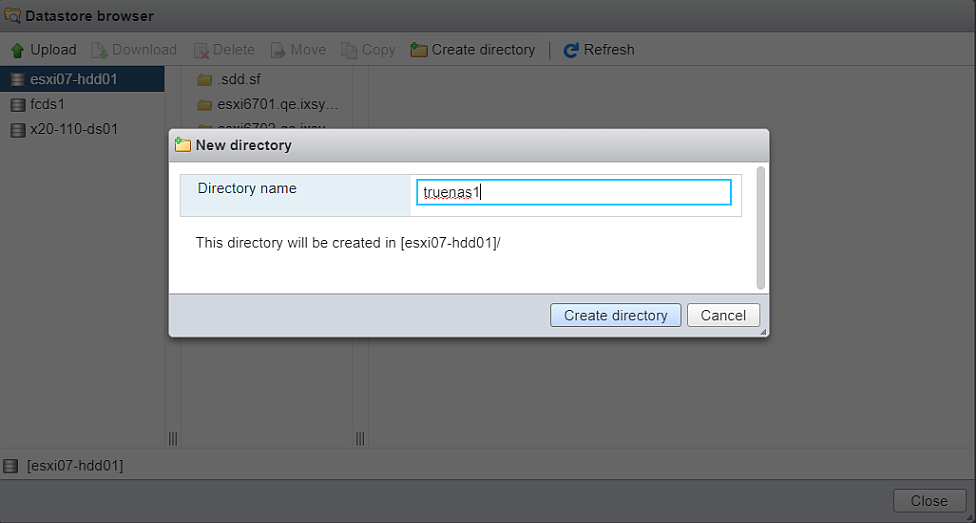
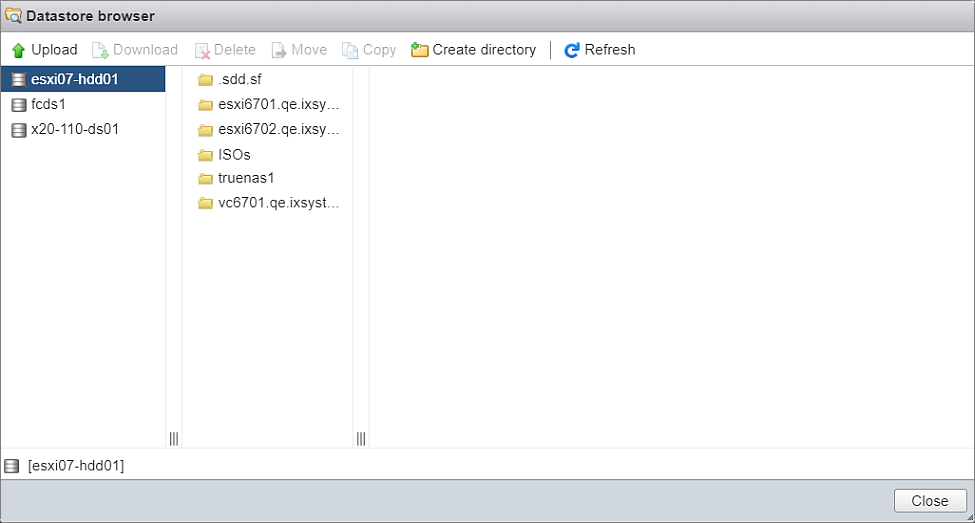
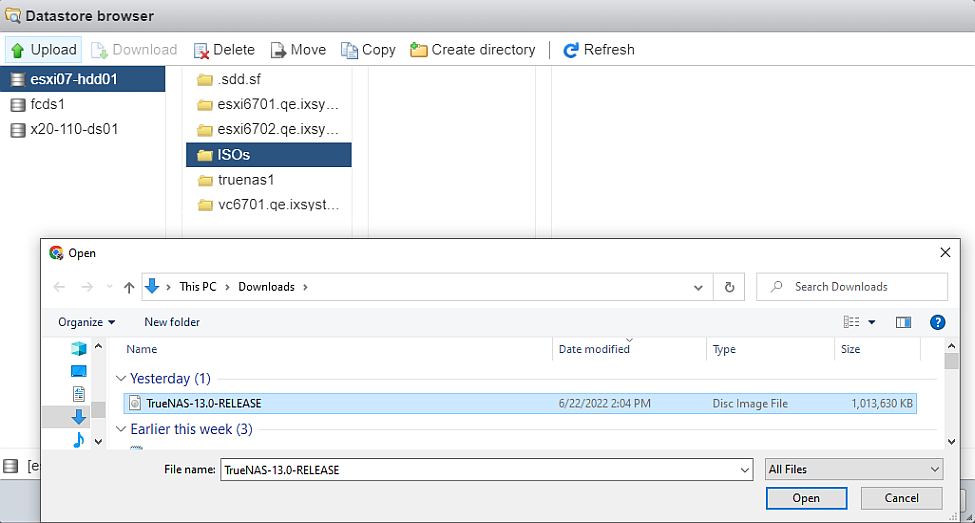
Set up the storage needed for the new VM. First click on Storage and then the drive allocated for TrueNAS. Create the datastore directories for the ISO media and the TrueNAS virtual machine.
After creating the ISO directory upload the TrueNAS CORE iso file to the ISOs directory.
Select the directory created for the iso file and then click Upload.
After setting up the storage needs, create the new virtual machine. Select Virtual Machines on the navigation panel on the left side of the screen.
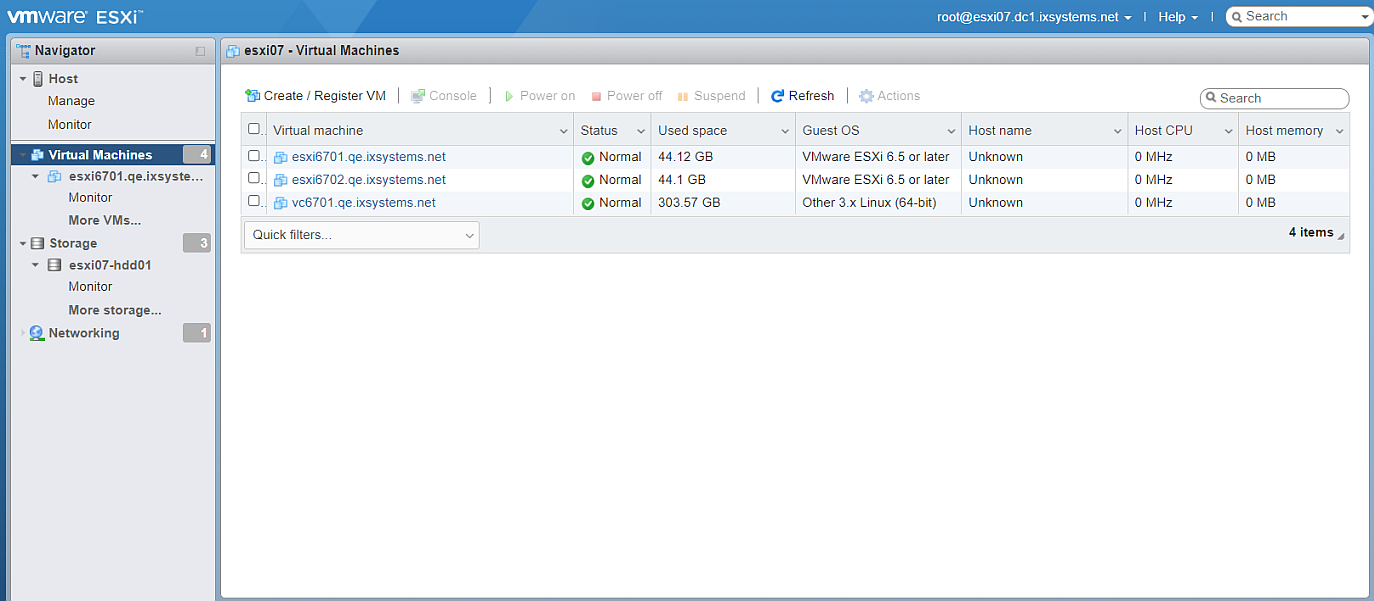
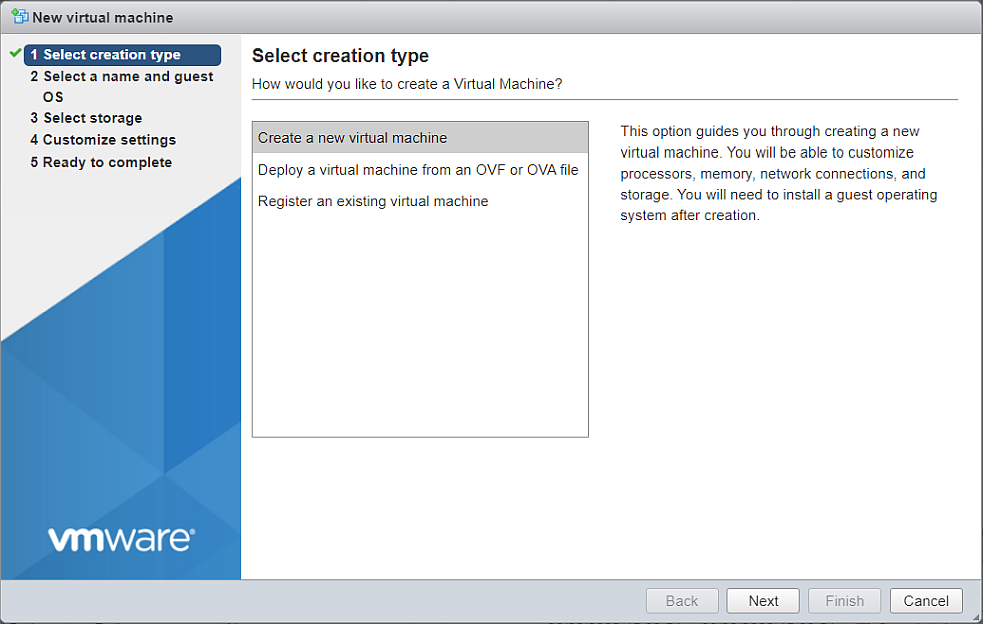
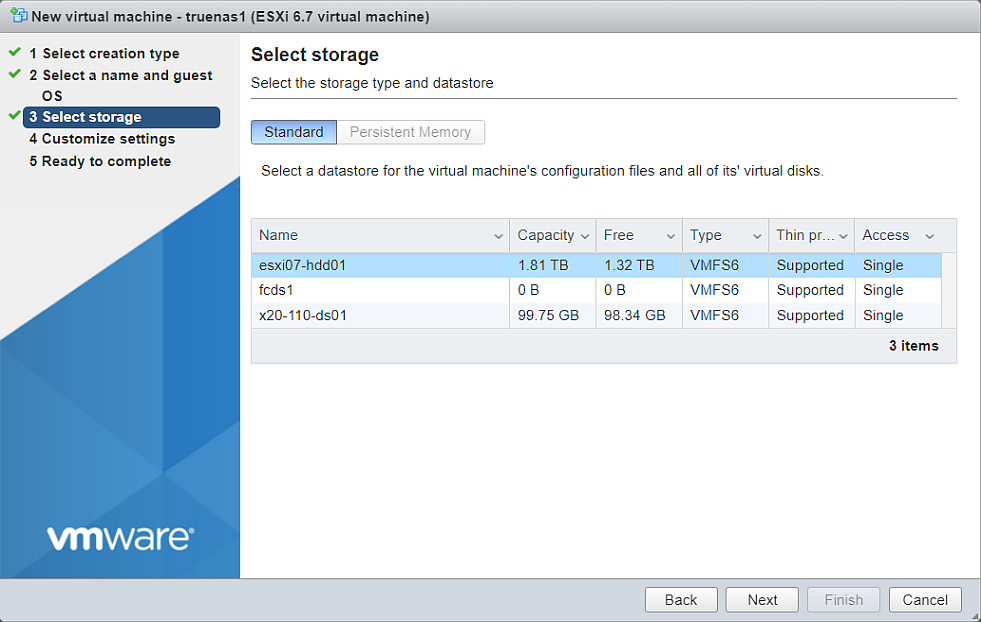
Select the storage drive for the TrueNAS VM and then click Create/Register VM. The New virtual machine creation wizard displays. Use these settings:
-
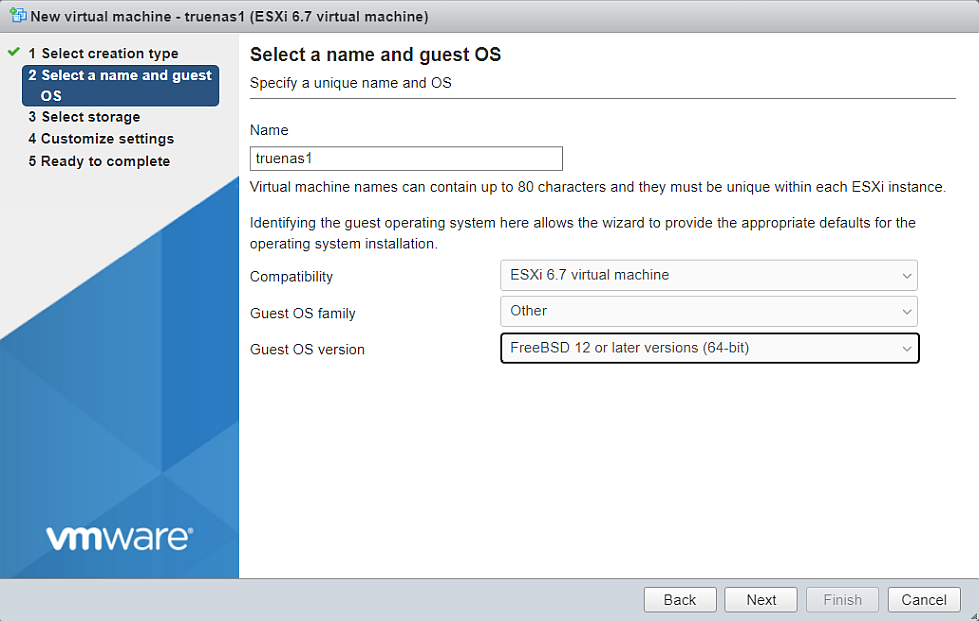
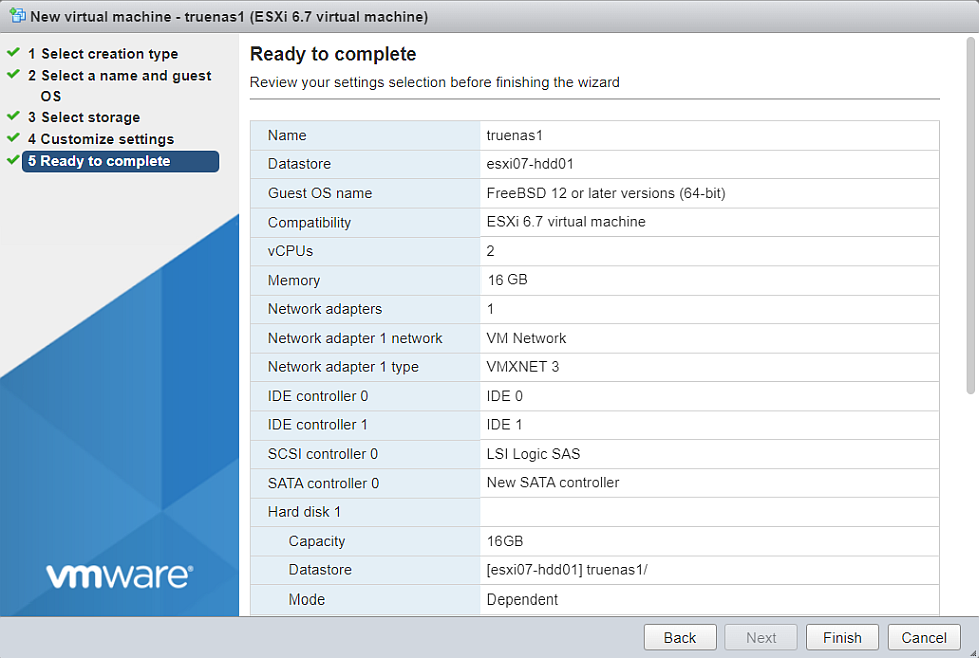
On the Select a name and guest OS wizard screen, select Other for Guest OS family and then FreeBSD 12 or later versions (64-bit) on the Guest OS Version dropdown list.
-
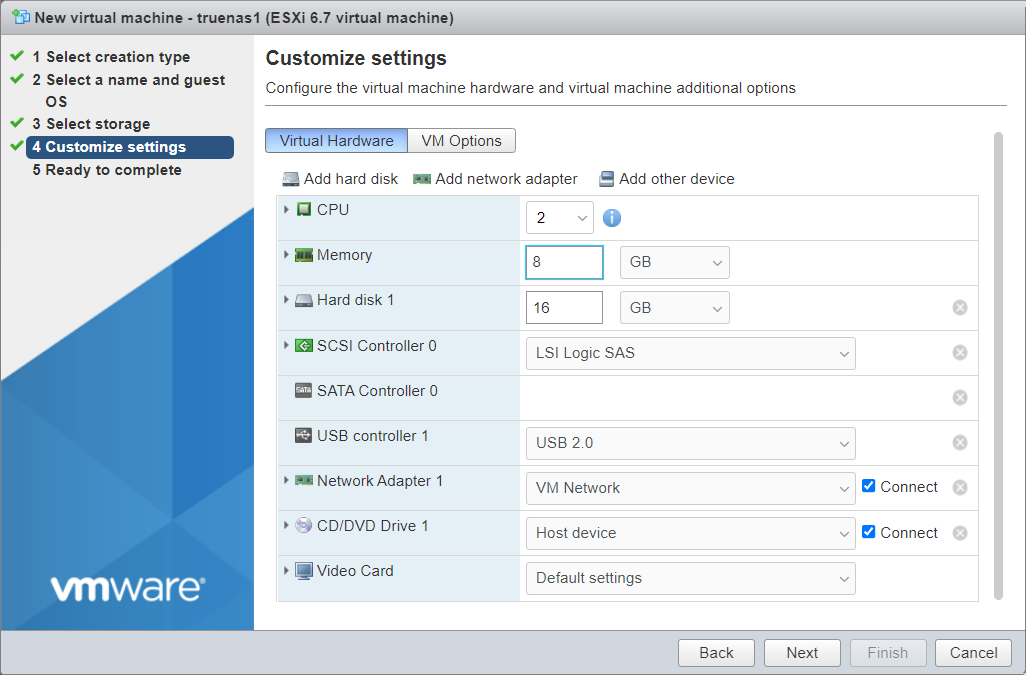
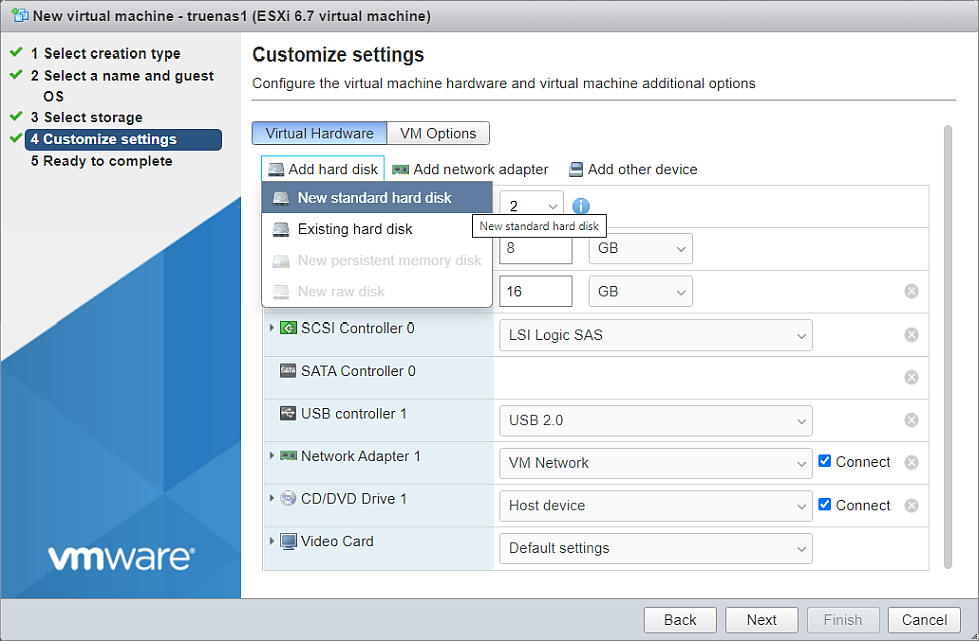
On the Customize settings wizard screen set CPU to 2, set Memory to 16 GB, and Hard disk 1 to 16 GB.
You need a minimum of two drives set to at least 16 GB. To add a drive, click Add hard disk.
You can add more hard drive now or use the Edit option to add drives later after saving the new virtual machine. To create a mirror layout you need at least three hard drives, one for boot and two to create the mirrored storage. Add as many hard drives as you need to create your desired storage layout. You can add more drives later after you install TrueNAS.
To view the VM details screen click on the VM name.
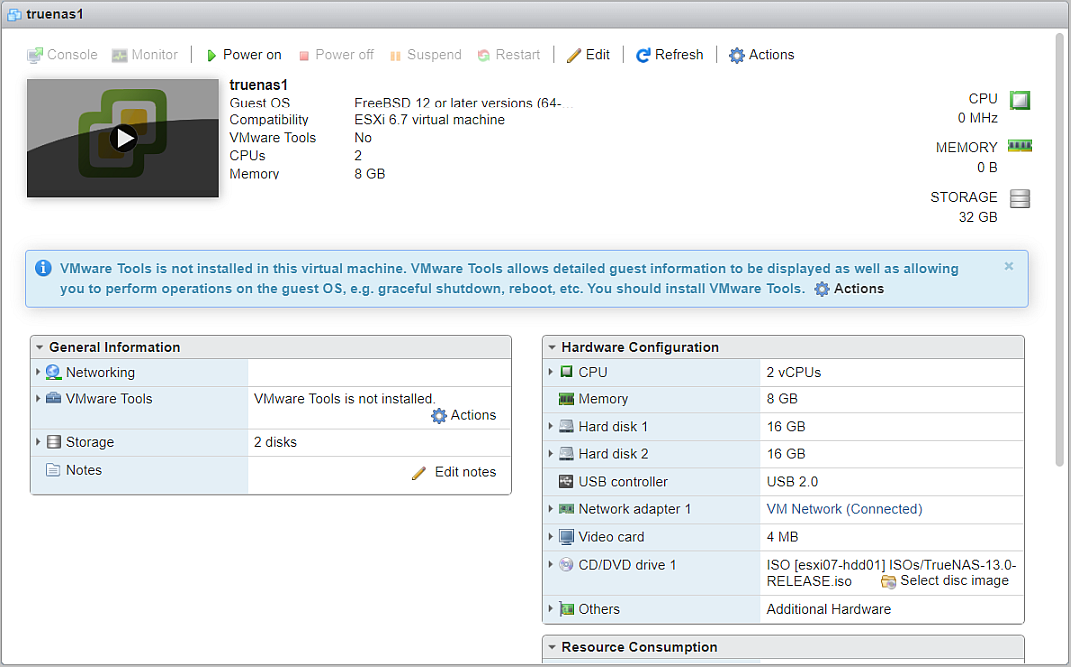
You can now edit your TrueNAS VM to change any setting or add more hard drives to support your deployment, or you can proceed to installing TrueNAS.
Click Power on and then click Console to display the dropdown list of console options. When the console opens it displays the TrueNAS 13.0-RELEASE Console Setup screen.
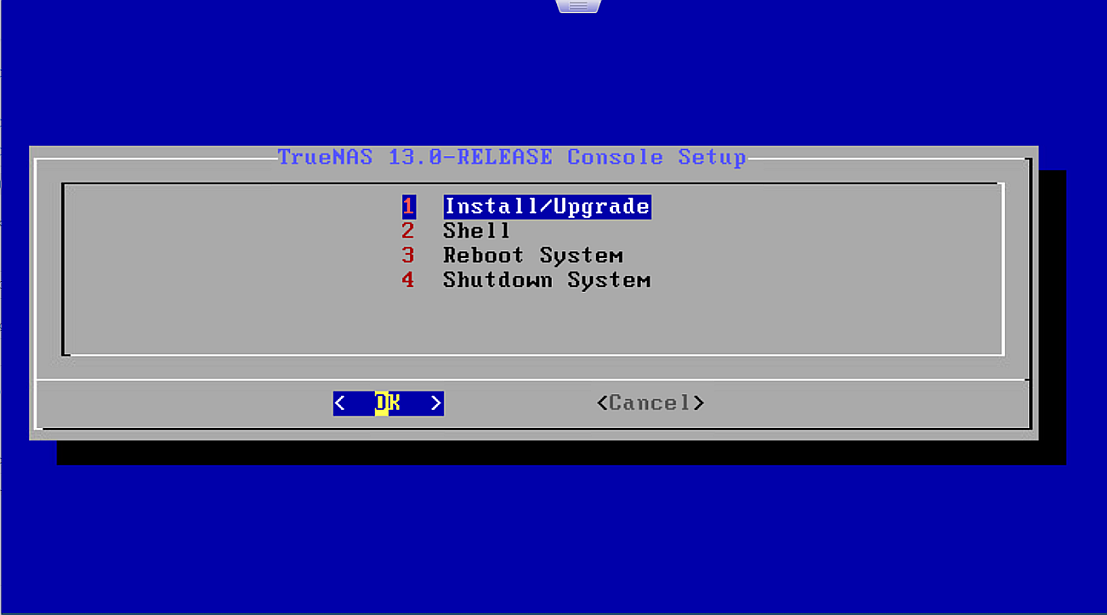
Follow the instructions documented in Console Setup Menu to complete the installation of TrueNAS.
You can edit your VM settings after you complete the initial setup. You can add new hard drives to your VM using the Edit option found on the VM details screen. Click Edit to display the Editing Settings screen.
The Edit Settings screen resets the Memory setting back to MB so you must re-enter your 8 GB setting before you save and exit.
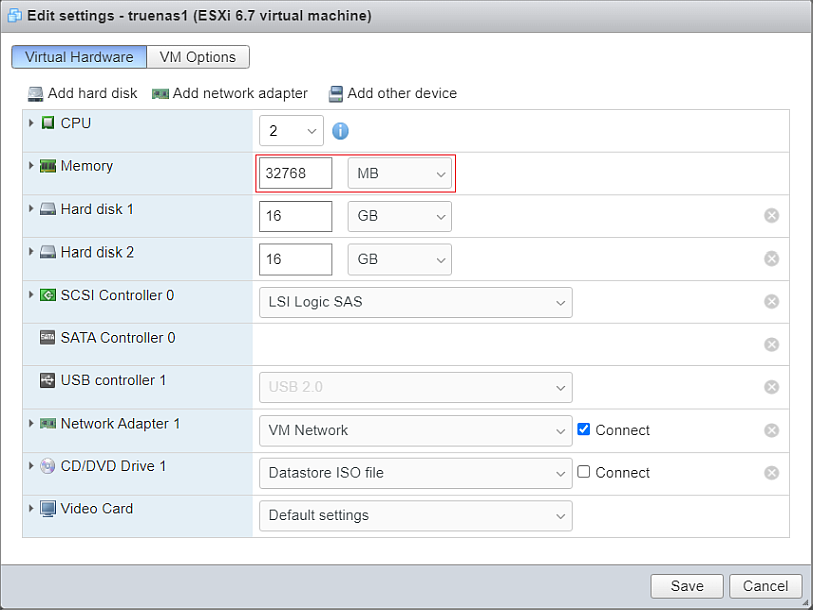
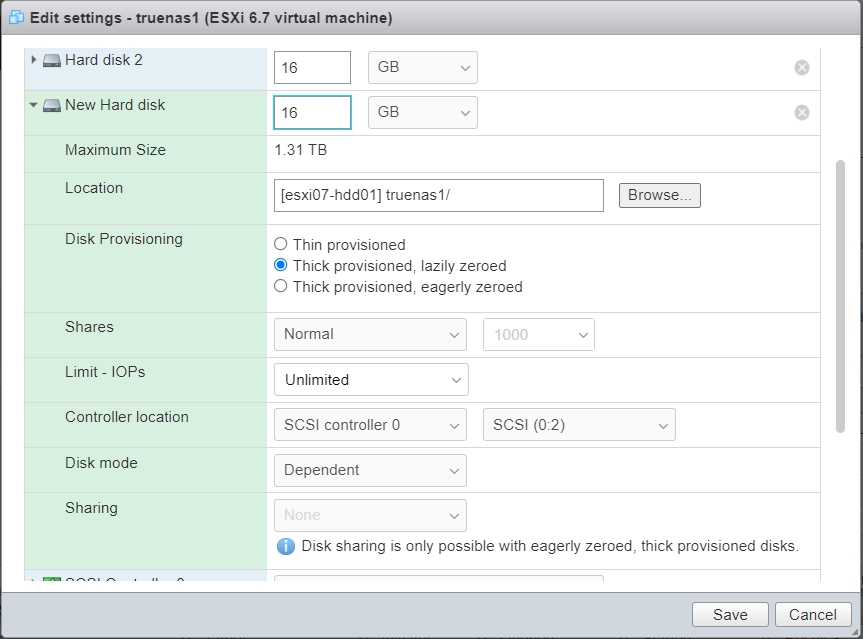
After you re-enter 8 GB in the Memory fields, you can add more hard drives to your VM. Click Add hard disk and select the option you want to use. For a new drive select New standard hard disk. A New hard disk row displays highlighted in green.
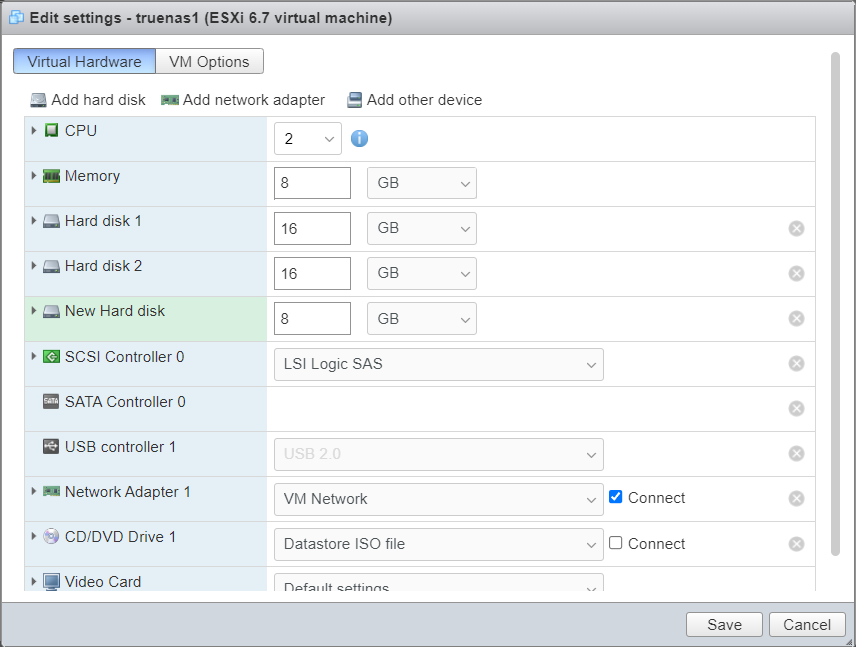
To edit the hard disk details click on the row to expand it and display the drive settings you can configure.
