Devices Screens
4 minute read.
Last Modified 2022-12-08 18:24 -0500The Devices screen lists VDEVS configured for the selected pool.
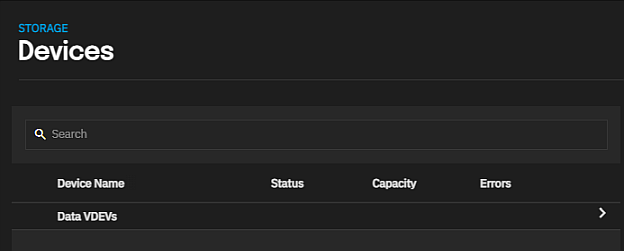
Click anywhere on the VDEV to see the drives included in it and the ZFS Info widget for that VDEV.
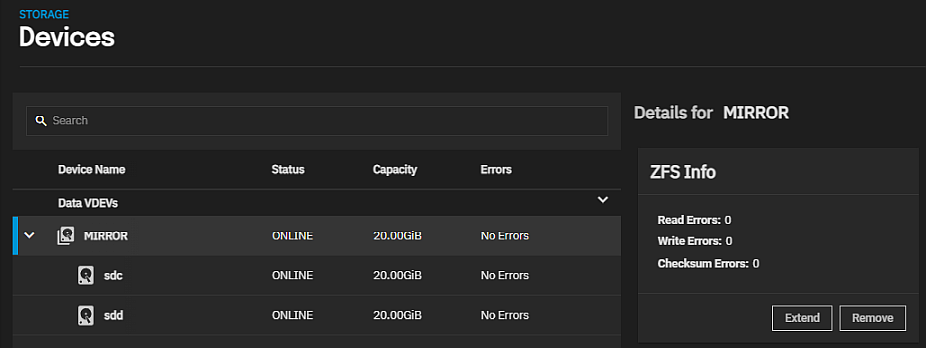
Click anywhere on a drive to see the drive widgets.
Add VDEV opens the Add a VDEVs to Pool screen with the Pool Manager for the selected pool. For example, click Manage Devices on the Topology widget for your existing pool (i.e., tank) opens the Pool Manager with tank preselected and uneditable.
There are two versions of the ZFS Info widget, one for the VDEV and the other for each drive in the VDEV. The ZFS Info widget for the VDEV displays a count of read, write and checksum errors for that VDEV, and the Extend and Remove options.
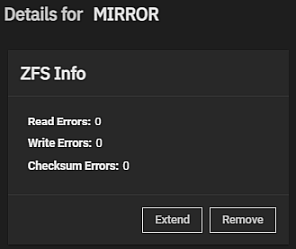
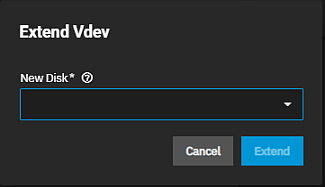
Extend opens the Extend VDEV dialog where you select a disk from the New Disk dropdown to add a new disk to the VDEV.
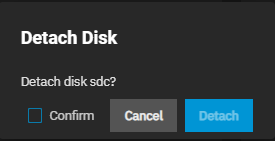
Remove opens the Remove device dialog where you confirm you want to remove the selected VDEV. To remove a drive from the VDEV, select the drive then select Detach on the ZFS Info widget to remove the drive from the VDEV (pool).
Each disk in a VDEV has a set of four widgets that provide information on that disk. After selecting a disk the widgets display on the right side of the screen in the Details for diskname area of the screen.
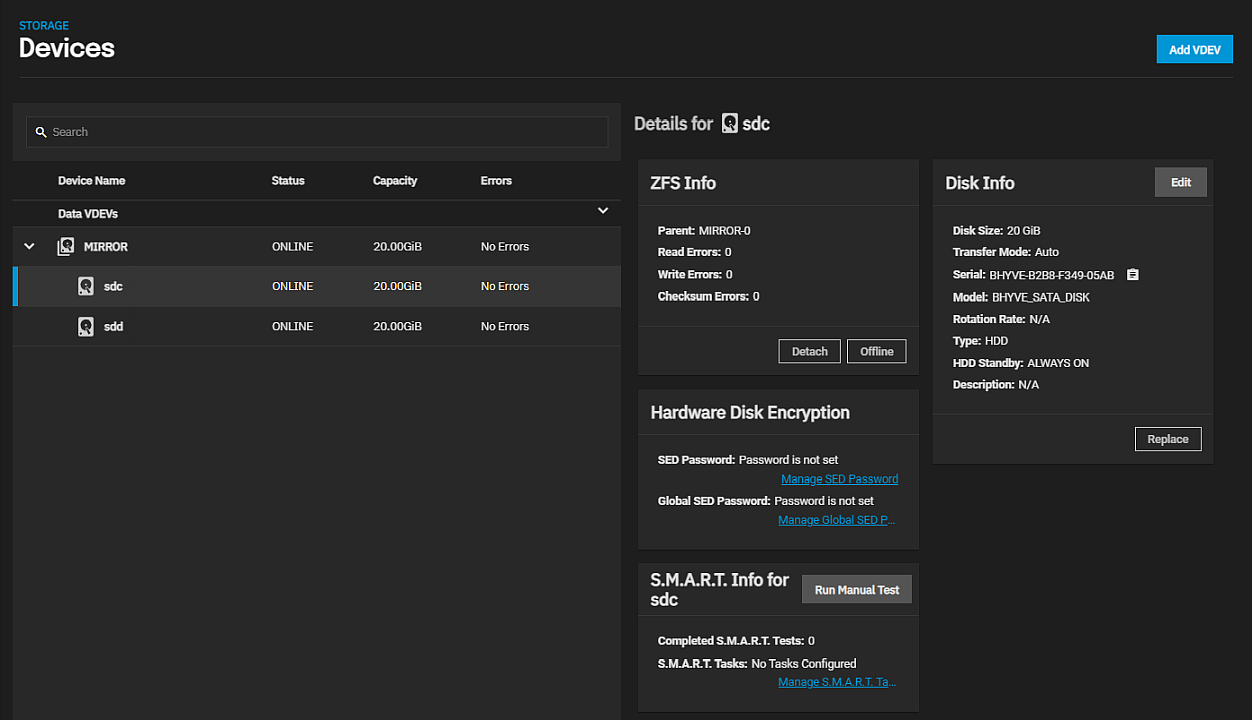
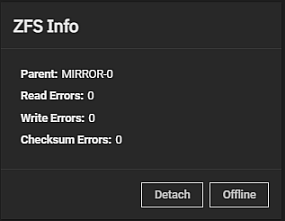
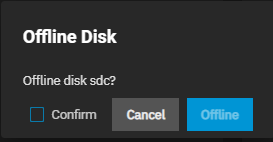
The ZFS Info widget for each device (disk drive) in the VDEV displays the name of the VDEV (Parent) the read, write, and checksum errors for that drive, and the Detach and Offline options.
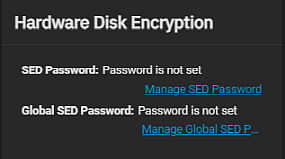
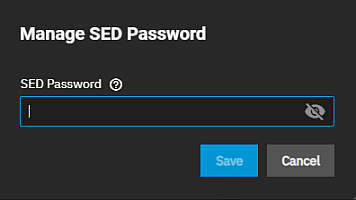
The Hardware Disk Encryption widget provides information on the drive SED password status (set, not set).
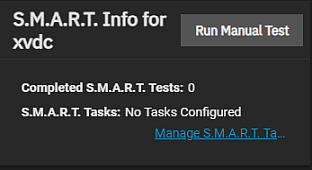
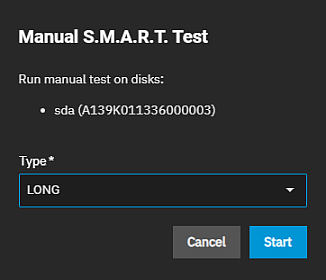
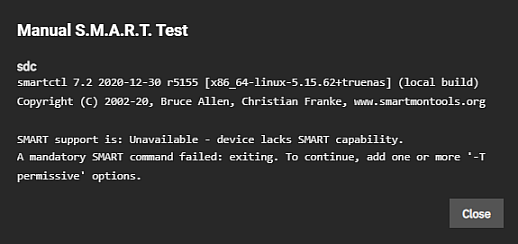
The S.M.A.R.T. Info for devicename widget, where devicename is the name of the disk, provides the number of Completed S.M.A.R.T. Tests and the number of S.M.A.R.T. Tests configured on the system.
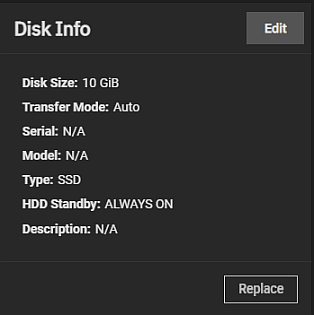
The Disk Info widget displays information on the Disk Size, Transfer Mode, the Serial and Model numbers for the drive, the Type of drive it is, the HDD Standby setting, and any Description associated with the selected drive.
Related Content
Related VDEV Articles
Related S.M.A.R.T. Test Articles
Related Disks Articles
- Disks Screens
- Managing Disks
- Importing Disks
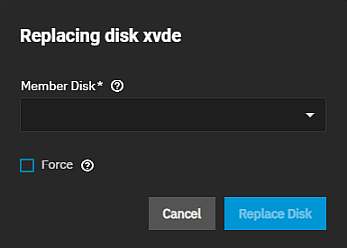
- Replacing Disks
- Import Data Screen
- Pool Manager Screen
- Wiping a Disk
- Advanced Settings Screen
- SLOG Over-Provisioning


