AWS Images
6 minute read.
Last Modified 2022-04-15 10:49 -0400- Requirements
- FreeBSD system
- AWS Account
- S3 Bucket
- User with permissions for EC2
- Download the user key to the local working directory and modify
- Install bhyve and bsdec2-image-upload
- Patch bsdec2-image-upload if needed
- Create TrueNAS image file
- Download TrueNAS .iso
- Create blank image file
- Load virtualization module
- Create tap and bridge interface
- Load image and iso into bhyve
- Install TrueNAS
- Upload image to EC2
- Description and region name are required
- Launch EC2 instance
- Select name created with image
- t2.large is the recommended instance type
- Add HDD/SSD volumes as needed
- Step 6: add new rule
- Type:
http
- Type:
- Launch the instance
- Wait for AWS to finish status checks
- Paste Public DNS or Public IP link in browser to access TrueNAS web interface
These instructions demonstrate how to create a virtualized TrueNAS image on FreeBSD, configure it with Amazon Elastic Compute Cloud (EC2), and access the TrueNAS web interface. There are a few things that must be prepared before building the image. The FreeBSD system needs two applications to create, configure, and upload the virtual machine image: bhyve and bsdec2-image-upload. The most recent version (>=1.3.1) of bsdec2-image-upload is required, otherwise an SSL error occurs when attempting to upload the image. If not available on the ports tree, the utility can be downloaded from the GitHub repository.
Currently, bsdec2-image-upload fails on images that aren’t 10GB.
An issue has been created, but in the meantime a workaround is to edit
"BlockDeviceMapping.1.Ebs.VolumeSize=10&"
with
"BlockDeviceMapping.1.Ebs.VolumeSize=16&"
To build, use a FreeBSD system with either libressl-devel or openssl-devel, as well as ca_root_nss, and run make install.
Create an AWS account with an S3 bucket. Record the region associated with the S3 bucket. Set the bucket lifetime policy to delete data after 1 day, as bsdec2-image-upload does not delete files from S3 and the files are no longer needed after the AMI is registered. A user with permissions to EC2 and S3 is must have these permissions:
s3:PutObject
s3:GetObject
ec2:RegisterImage
ec2:DescribeImages
s3:DeleteObject
ec2:ImportVolume
ec2:DescribeConverstionTasks
ec2:CreateSnapshot
ec2:DescribeSnapshots
ec2:DeleteVolume
ec2:DescribeRegions
ec2:CopyImage
ec2:ModifyImageAttribute
Alternatively, give full access to S3 and EC2.
After creating the IAM user, download an Access Key to the working directory on the FreeBSD system. The file has these lines:
Access key ID,Secret access key
{ACCESS_KEY},{SECRET}
Open a new file called
ACCESS_KEY_ID={ACCESS_KEY}
ACCESS_KEY_SECRET={SECRET}
When all the prerequisites are ready, download a TrueNAS 11.2 or later .iso file.
Open a shell and go to your local working directory.
Create an empty raw image file with truncate -s 16G {TRUENAS}.img.
Replace {TRUENAS} with a image file name.
This empty image is the installation target for the TrueNAS
Next, load the virtualization module and create a tap and bridge interface:
kldload -n vmm
ifconfig tap0 create
sysctl net.link.tap.up_on_open=1
ifconfig bridge0 create
ifconfig bridge0 addm re0 addm tap0
ifconfig bridge0 up
Use bhyveload -m 4GB -d truenas.img vm0 to load the image into the hypervisor and create virtual machine vm0 with four gigabytes of memory.
To install TrueNAS into the image, load both the image and TrueNAS bhyve -c 2 -m 4G -H -A -P -g 0 -s 0,hostbridge -s 1,lpc -s 2,virtio-net,tap0 -s 3,virtio-blk,{TRUENAS}.img -s 31,ahci-cd,{TRUENAS-VERSION}.iso -l com1,stdio vm0.
Replace {TRUENAS} with the name of the image file and {TRUENAS-VERSION} with the TrueNAS
When the TrueNAS installer opens, make sure boot with BIOS is chosen and start the installation. Power off the device when the installation is done.
Now that the image is created and configured, upload it to EC2.
Use bsdec2-image-upload with the image file: bsdec2-image-upload --public {TRUENAS}.img TrueNAS {description} {region} {S3 bucket} KEY.pem.
Replace {TRUENAS} with the image file name, {description} with a unique identifier for the Amazon Machine Image (AMI), {region} with your Amazon region, and {S3 bucket} with your AWS image storage location.
bsdec2-image-upload sends the image to the AWS bucket in 10 MiB segments.
The upload can take several hours, depending on connection speeds and other factors.
When the S3 bucket upload completes, the script creates a snapshot, registers the AMI, and copies the AMI to all regions for mirrors.
With the Amazon Machine Image (AMI) created and uploaded to AWS, an EC2 instance needs to be activated before the TrueNAS interface is accessible.
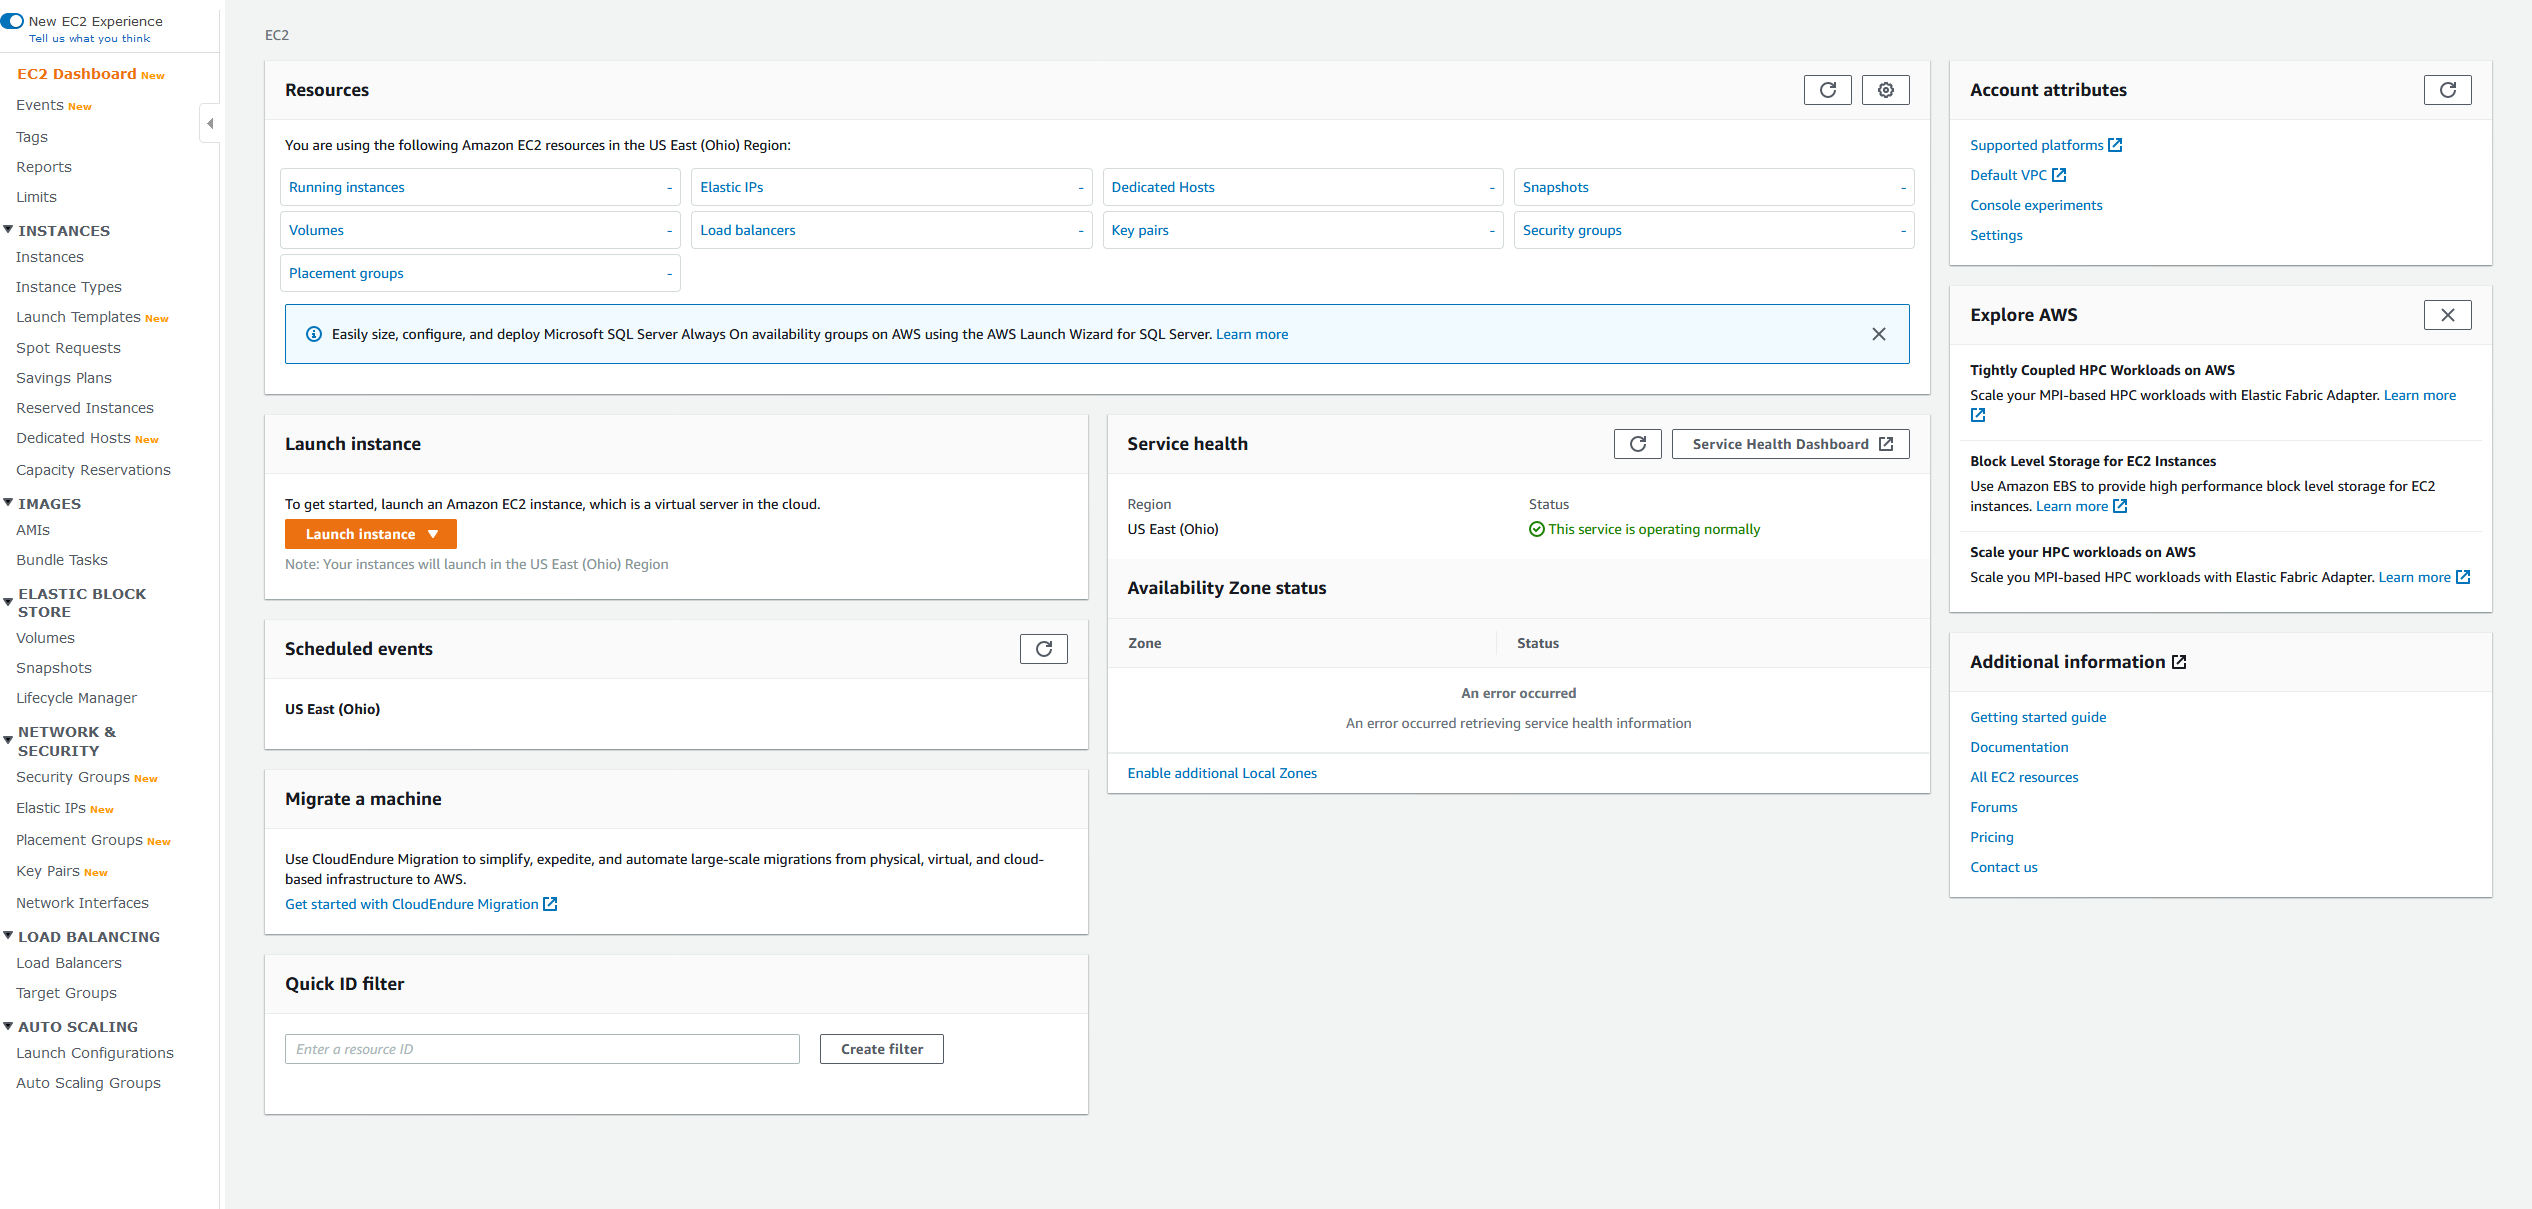
Log in to your Amazon Web Services account and click the EC2 Compute service.

Find the Launch instance section, open the Launch instance drop down, and click Launch instance.

The instance launcher follows several steps:
- Click My AMIs and select the name that was uploaded by
bsdec2-image-upload. - Any instance will work, but t2.large is recommended for TrueNAS given an 8GB memory recommendation.
- Skip this step.
- Add EBS volumes according to your TrueNAS use case. At minimum, add a couple of cold HDD volumes for a storage pool. General purpose SSD volumes can be used as L2ARC or SLOG devices.
- Skip this step.
- Add a rule with http. This allows you to connect to the TrueNAS web interface.
- Review your settings and press Launch.
The running instance is added to the EC2 dashboard or can be seen in the Instances menu. When the image has fully started, AWS performs two status checks. The first checks for AWS uptime, and the second verifies the instance is functional. After both checks pass, paste either the Public IP or Public DNS link in a new browser window to connect to the TrueNAS web interface.
Starting with 12.0-BETA, an AMI is provided for different TrueNAS releases and is available in the Community AMI section. When using this AMI, login with the default credentials:
Username: root
Password: abcd1234
To secure the system, change the password after the initial login.

