Setting a Static IP Address for the TrueNAS UI
4 minute read.
Last Modified 2022-09-13 11:24 -0400Disruptive Change
It is possible to make changes to the network interface that the web interface uses. But this can result in losing connection to the TrueNAS system! Very often fixing misconfigured network settings requires command line knowledge. Physical access to the system is often required as well.
TrueNAS can configure physical network interfaces with static IP addresses. Use either the web interface or the system console menu.
The recommendation is to use the web interface for this process. There are extra safety features to prevent saving misconfigured interface settings.
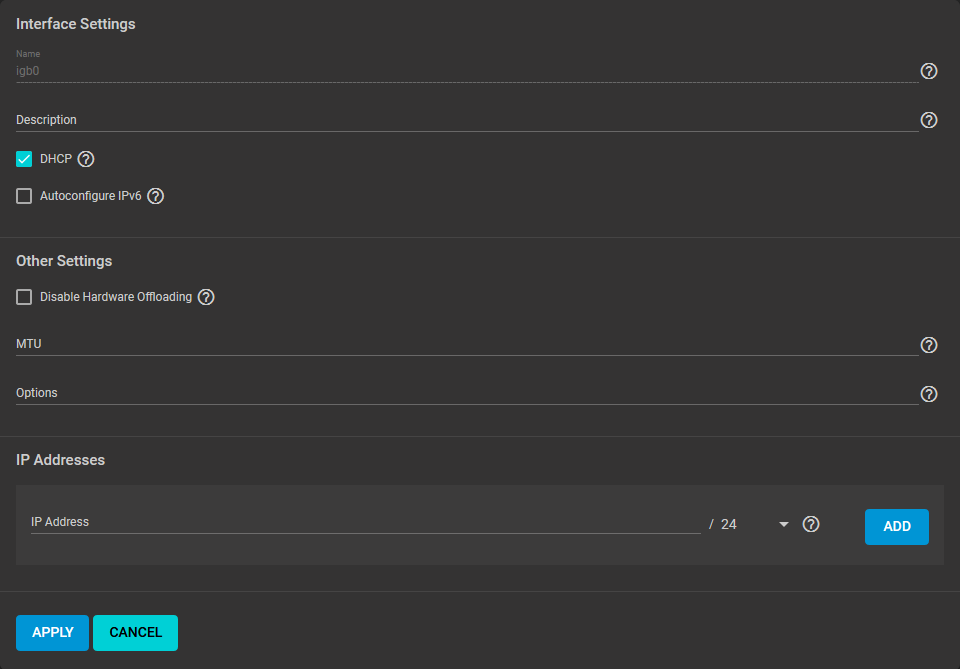
Log in to the web interface and go to Network > Interfaces. This contains creation and configuration options for physical and virtual network interfaces.

You can configure static IP addresses while creating or editing an interface.
To edit an active interface on TrueNAS Enterprise systems, you must first disable High Availability.

Type the desired address in the IP Address field and select a subnet mask.
Multiple interfaces cannot be members of the same subnet. See Multiple network interfaces on a single subnet for more information. If an error displays when setting the IP addresses on multiple interfaces, check the subnet.
Use the buttons to Add and Delete more IP addresses as needed.
To avoid saving invalid or unusable settings, network changes are at first temporary. Applying any interface changes adds a dialog to the Network > Interfaces list.

You can adjust how long to test the network changes before they revert back to the previous settings. If the test is successful, another dialog allows making the network changes permanent.
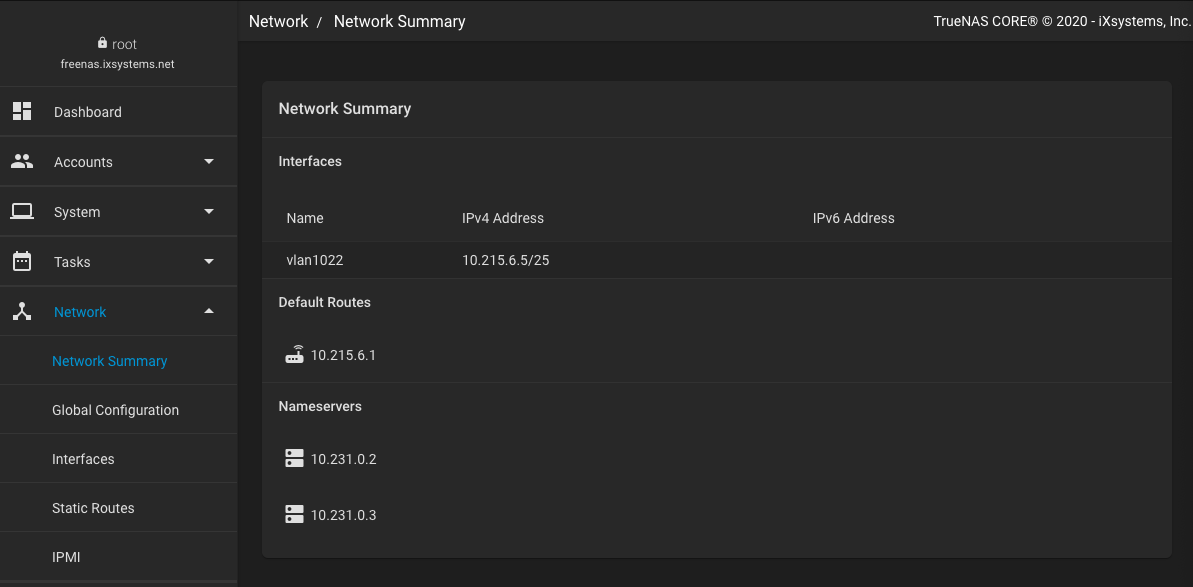
To view system networking settings, go to Network > Network Summary.

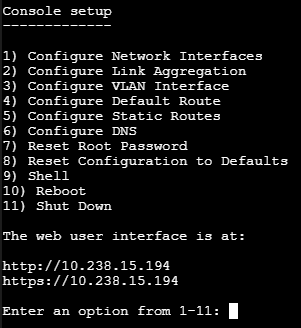
You need to have a monitor and keyboard attached to the system to use the console. If the system hardware allows it, you can connect with IPMI. The console menu displays after the system completes booting.

To add static IP addresses to a physical interface, go to Configure Network Interfaces. Other interface types have a similar process to add static IP addresses. Interfaces that are already configured for DHCP have that option disabled. There are many prompts to answer before you can add a static address. This example shows adding static IPv4 addresses to interface igb0:
Saving interface configuration changes disrupts the web interface while system networking restarts. The new settings might need a system reboot to take effect. If the web interface is unavailable, this could also require a reboot. Check if the network interface you changed is the one utilized by the web interface.
