Nextcloud
3 minute read.
Last Modified 2022-05-08 17:09 -0400The Nextcloud plugin is a suite of client-server software for creating and using file hosting services.
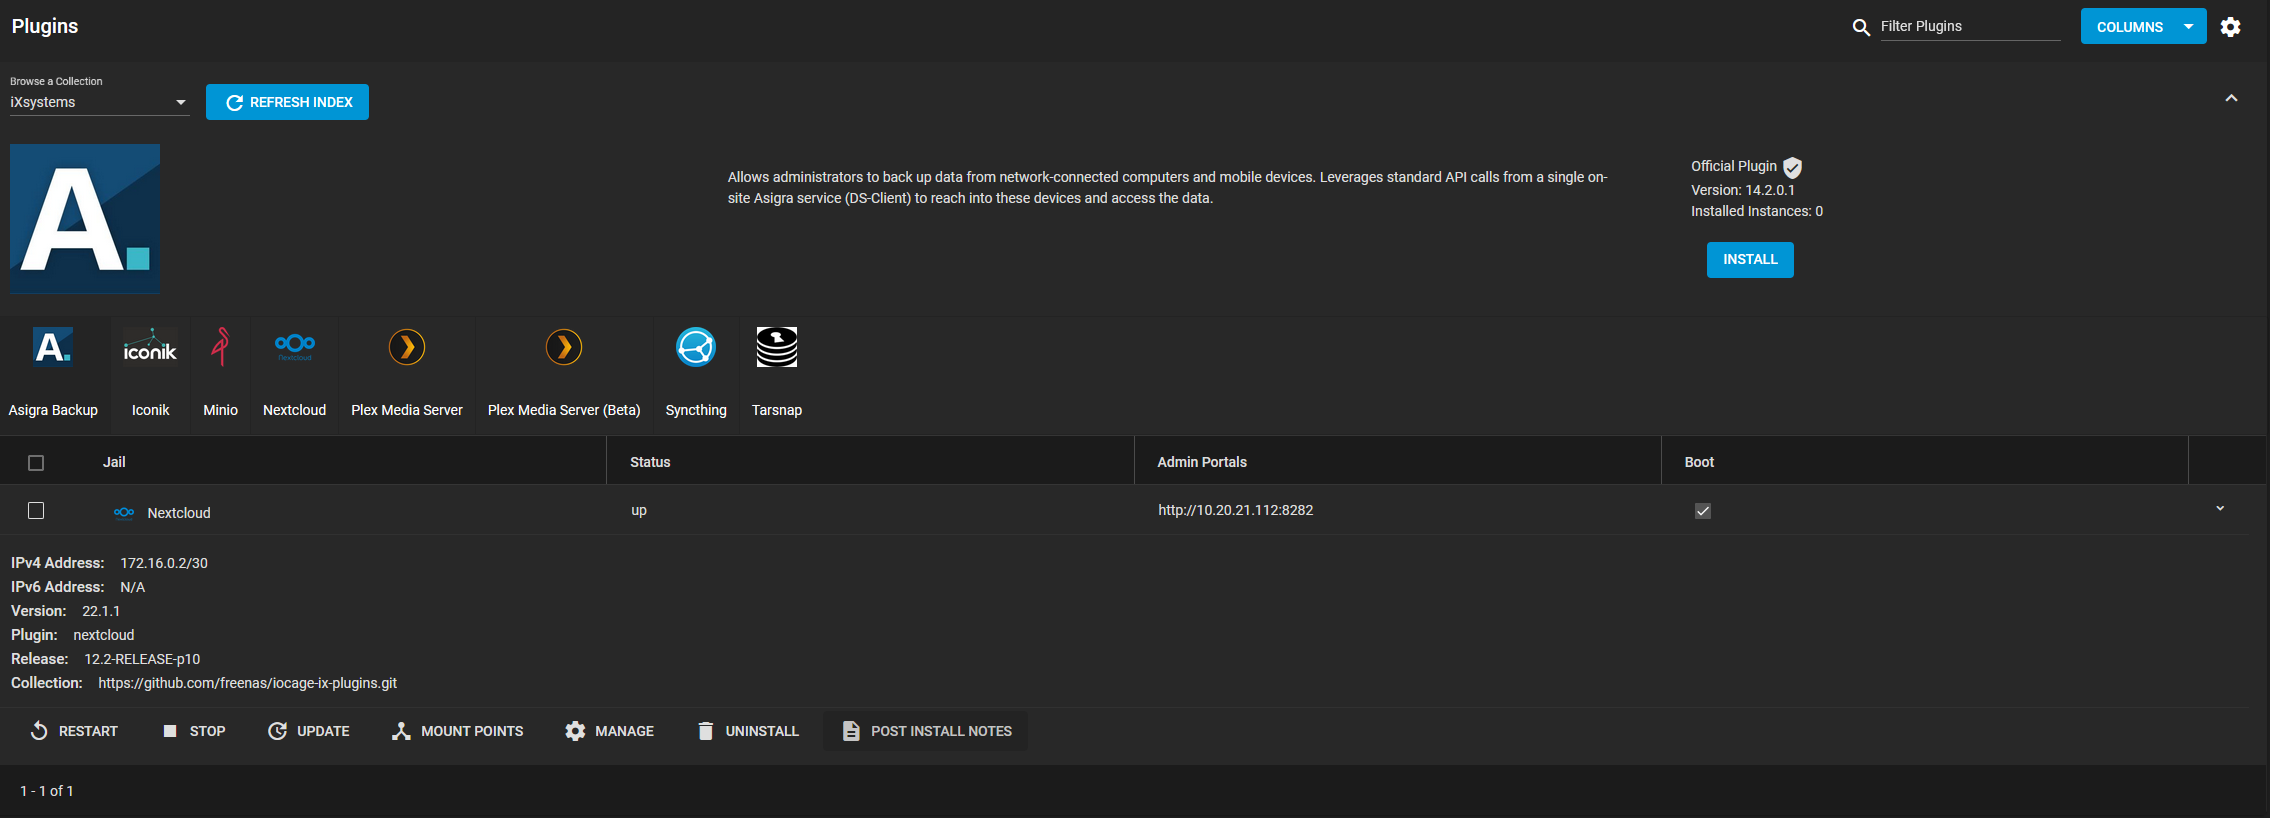
To see the plugin catalog, go to the Plugins screen.

TrueNAS organizes plugins into two Collections:
- iXsystems maintained plugins
- Open source plugins created and maintained by TrueNAS users.
By default, TrueNAS shows the iXsystems-supported plugins. To see the community plugins, open Browse a Collection and select Community.
Go to Plugins and select Nextcloud, then click INSTALL.

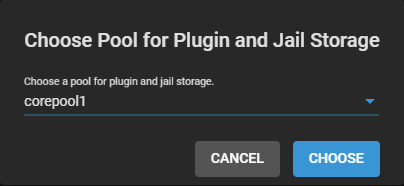
Type a Jail Name and click SAVE.

After Nextcloud installs successfully, you can manage your instance of the plugin.

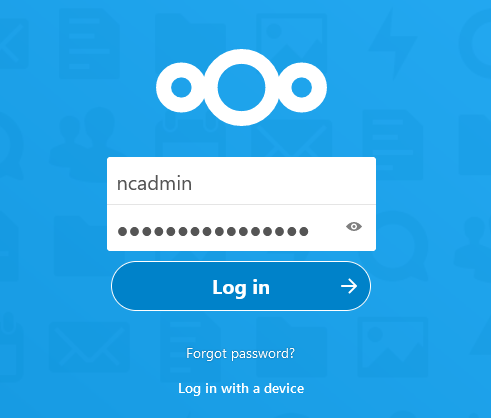
Click POST INSTALL NOTES to obtain your Nextcloud admin user and Nextcloud admin password information. Click MANAGE to access the Nextcloud login page within your browser.

Enter the credentials from POST INSTALL NOTES and click Log in to access the Nextcloud Hub.

Go to Plugins and select Nextcloud, then click INSTALL.

Type a Jail Name, then disable the NAT checkbox and enter an available IP in the IPv4 Address field. Select an IPv4 Netmask (iX recommends 24), then click SAVE.

After Nextcloud installs, you must add your Nextcloud IP to your Nextcloud jail trusted domains.
Go to Jails and expand your Nextcloud jail, then click > SHELL.
Enter ee /usr/local/www/nextcloud/config/config.php to edit your Nextcloud config file.
Scroll to the trusted_domains section and type your Nextcloud IP as a new line item. Use the image below for reference.

Type
Go back to Plugins and expand your Nextcloud instance. Click POST INSTALL NOTES to obtain your Nextcloud admin user and Nextcloud admin password information. Click MANAGE to access the Nextcloud login page within your browser.

Enter the credentials from POST INSTALL NOTES and click Log in. You are directed to the Nextcloud Hub.
Refer to the Nextcloud documentation for details about using the Nextcloud platform:


