Virtualization Screens
19 minute read.
Last Modified 2022-10-11 12:06 -0400The Virtualization option displays the Virtual Machines screen that displays the list of VMs configured on the TrueNAS SCALE system.

If there are no VMs configured on the system, the No Virtual Machines screen displays. This also displays if you delete all VMs on the system.
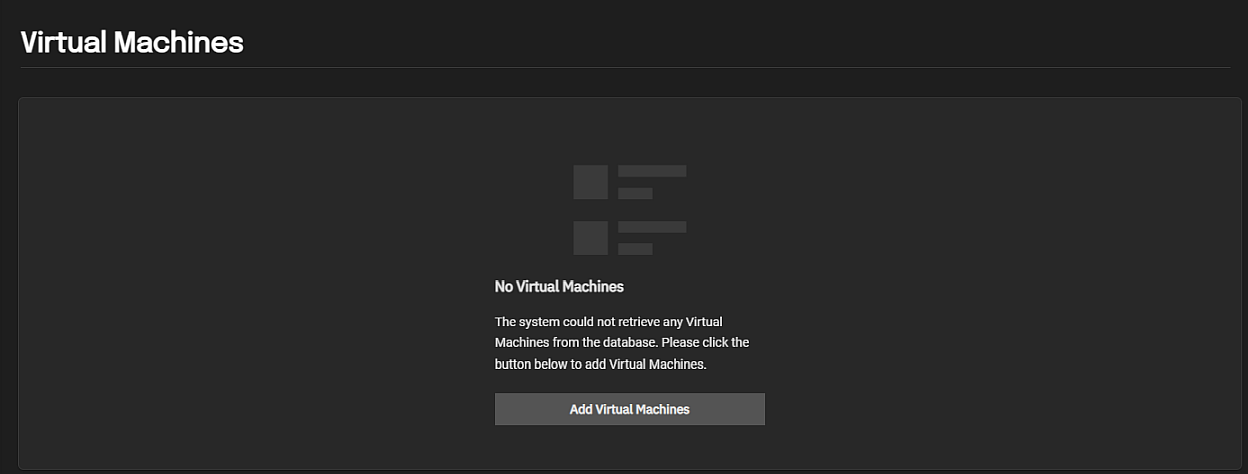
Add Virtual Machines and the Add button in the top right of the screen opens the Create Virtual Machine wizard configuration screens.
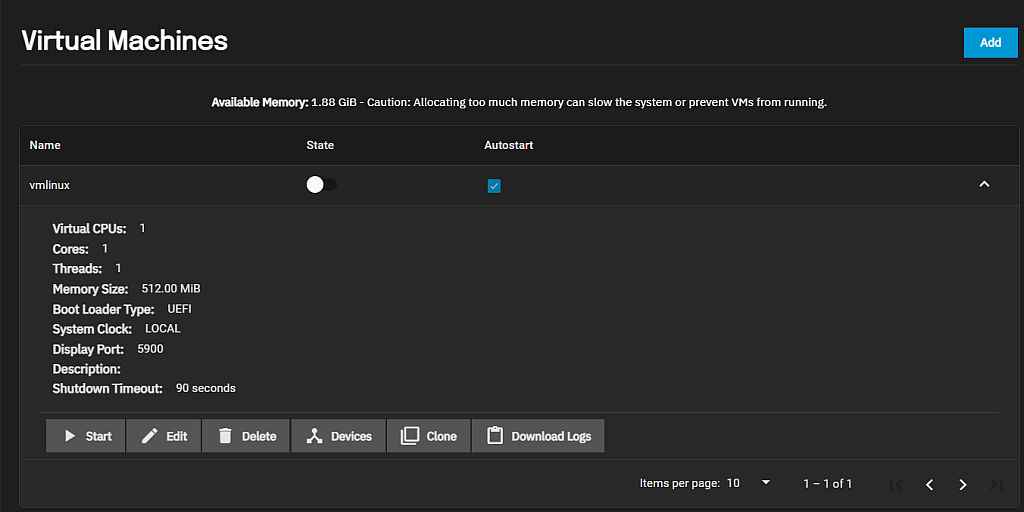
After adding virtual machines (VMs) to the system the screen displays a list of the VMs.
Click on the VM name or the expand
The State toggle displays and changes the state of the VM. The Autostart checkbox, when selected, automatically starts the VM if the system reboots. When cleared you must manually start the VM.
The Create Virtual Machine configuration wizard displays all settings to set up a new virtual machine.
Use Next and Back to advance to the next or return to the previous screen to change a setting. Use Save to close the wizard screens and add the new VM to the Virtual Machines screen.
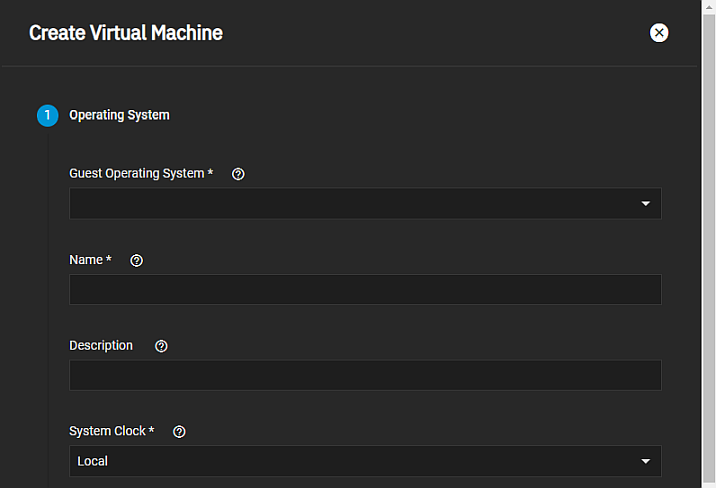
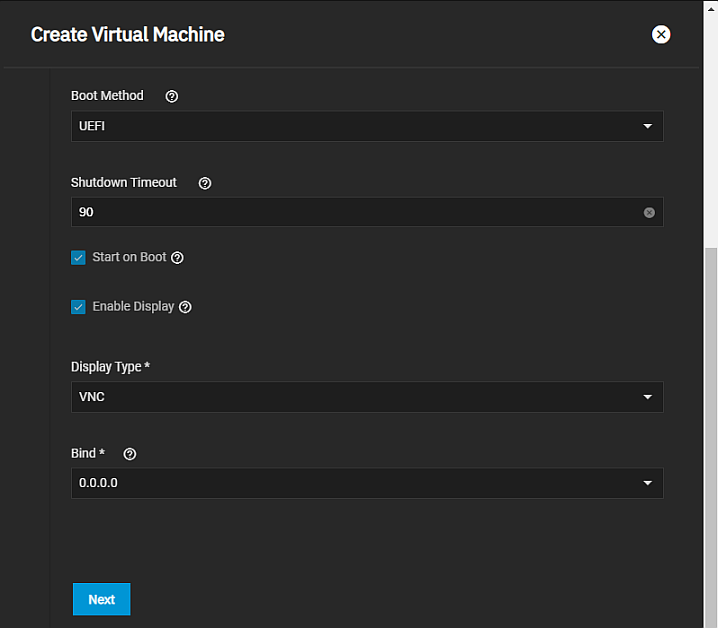
The Operating System configuration screen settings specify the VM operating system type, the time it uses, its boot method, and its display type.
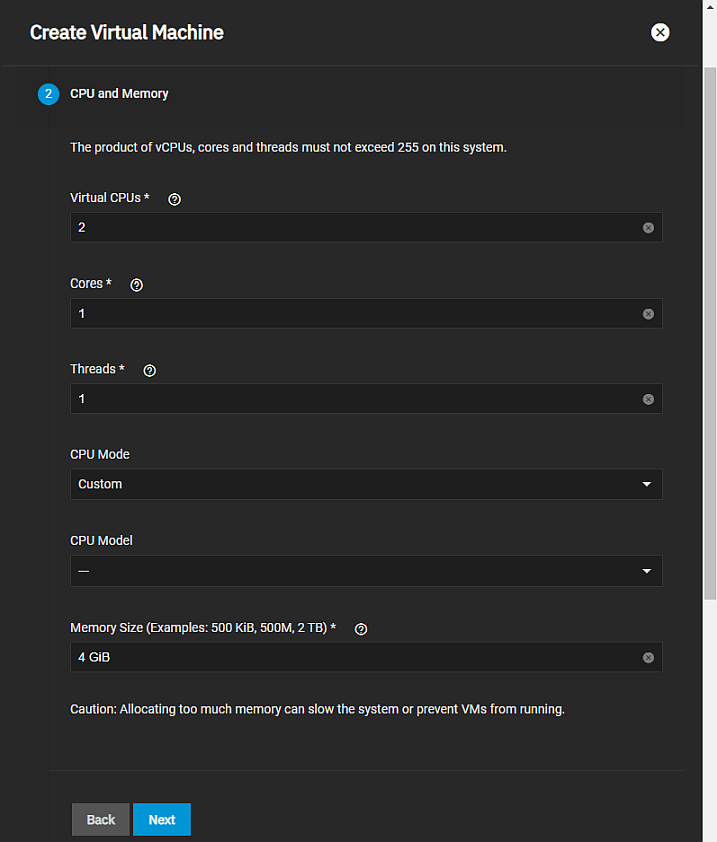
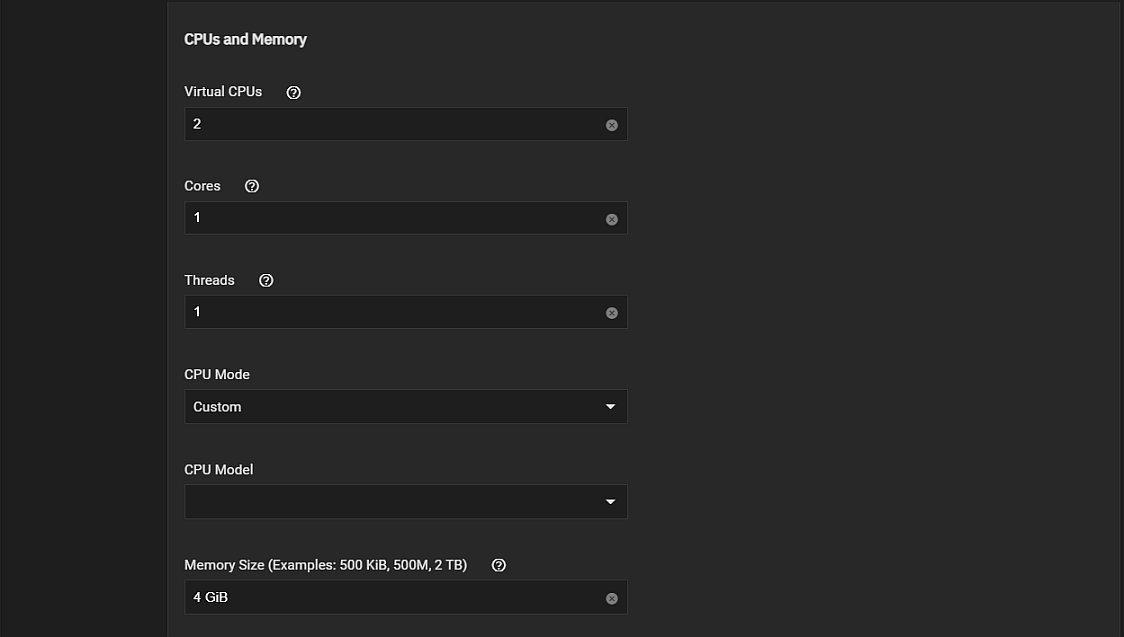
The CPU and Memory configuration wizard screen settings specify the number of virtual CPUs to allocate to the virtual machine, cores per virtual CPU socket, and threads per core. Also to specify the CPU mode and model, and the memory size.
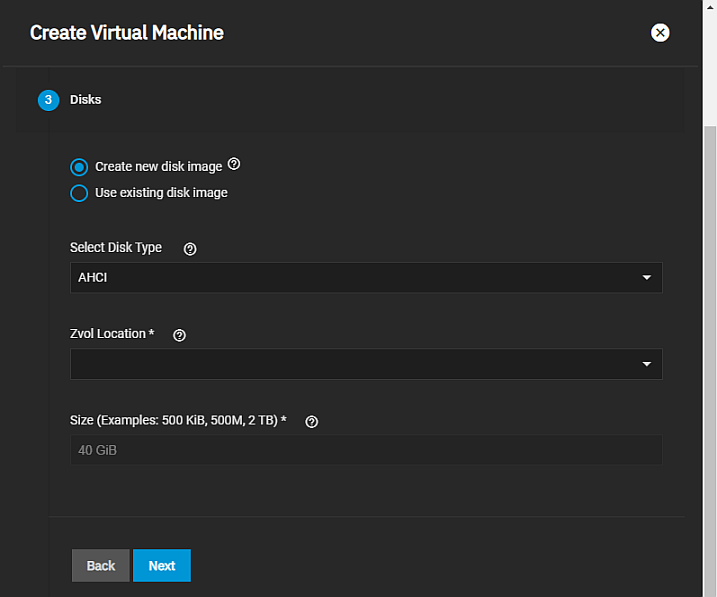
The Disks configuration wizard screen settings specify whether to create a new zvol on an existing dataset for a disk image or use an existing zvol or file for the VM. You also specify the disk type, zvol location and size.
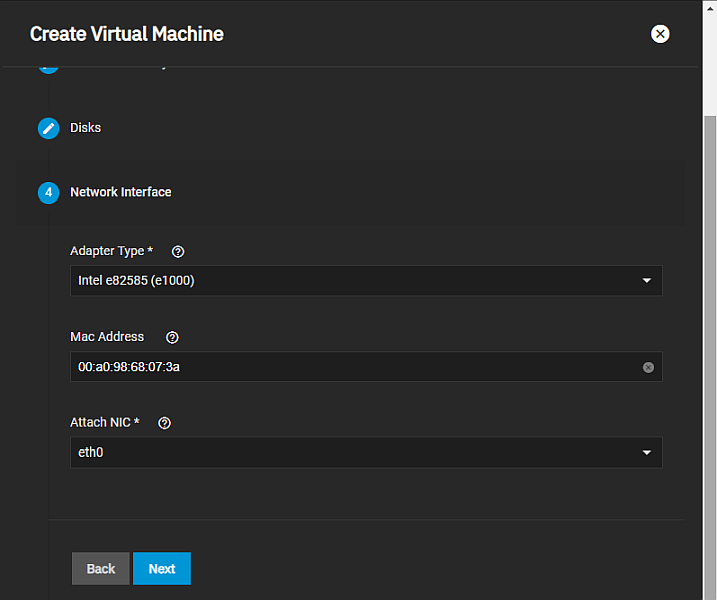
The Network Interface screen settings specify the network adaptor type, mac address and the physical network interface card associated with the VM.
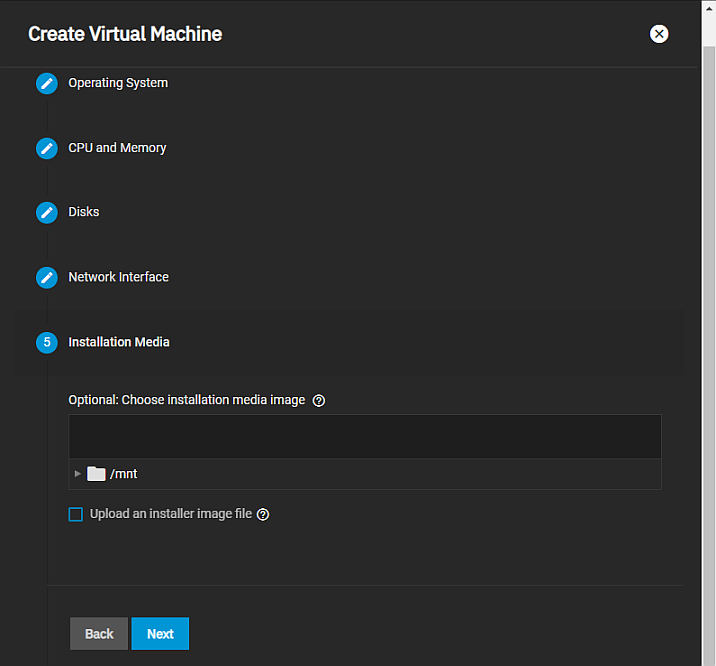
The Installation Media screen settings specify the operation system installation media image on a dataset or upload one from the local machine.
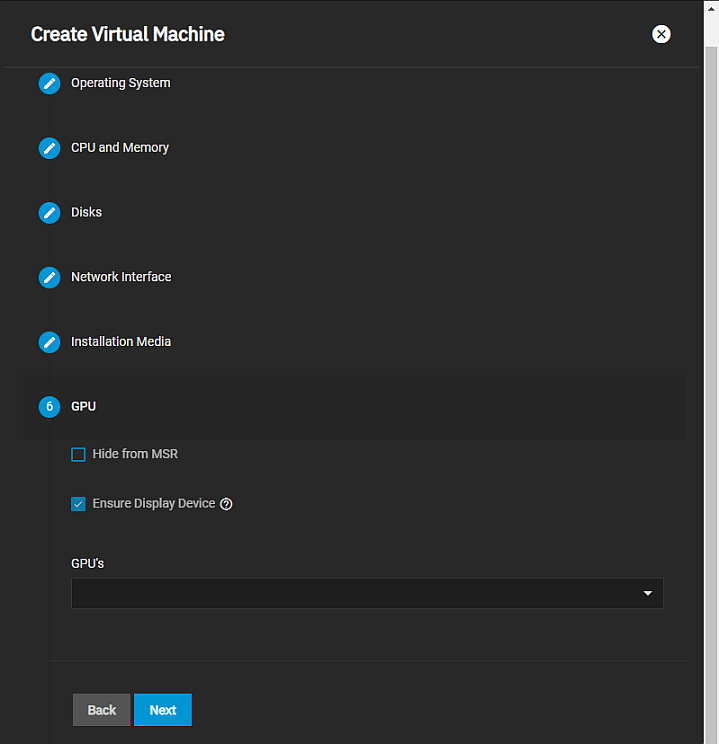
The GPU screen settings specify graphic processing unit (GPU) for the VM. It also provides the option to hide the VM from the Microsoft Reserved Partition (MSR) on Windows systems.
The Confirm Options screen displays the settings selected using the Create Virtual Machine wizard screens. It displays the number CPUs, cores, threads, the memory, name of the VM and the disk size.
Click Save to add the VM to the Virtual Machines screen. Click Back to return to the previous screens to make changes.
The details view of any VM displays the basic information on the number of virtual CPUS, cores, and threads, the amount of memory, boot load and system clock types, the display port number and the shutdown timout in seconds.
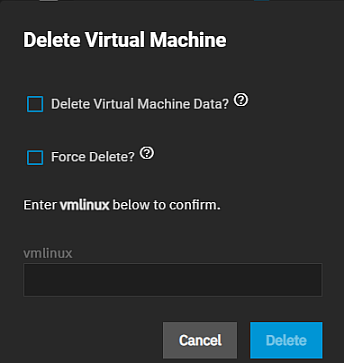
Delete removes the VM configuration from your system.
The Clone option opens a Name dialog where you can enter an optional name for a clone or exact duplicate of the selected VM.
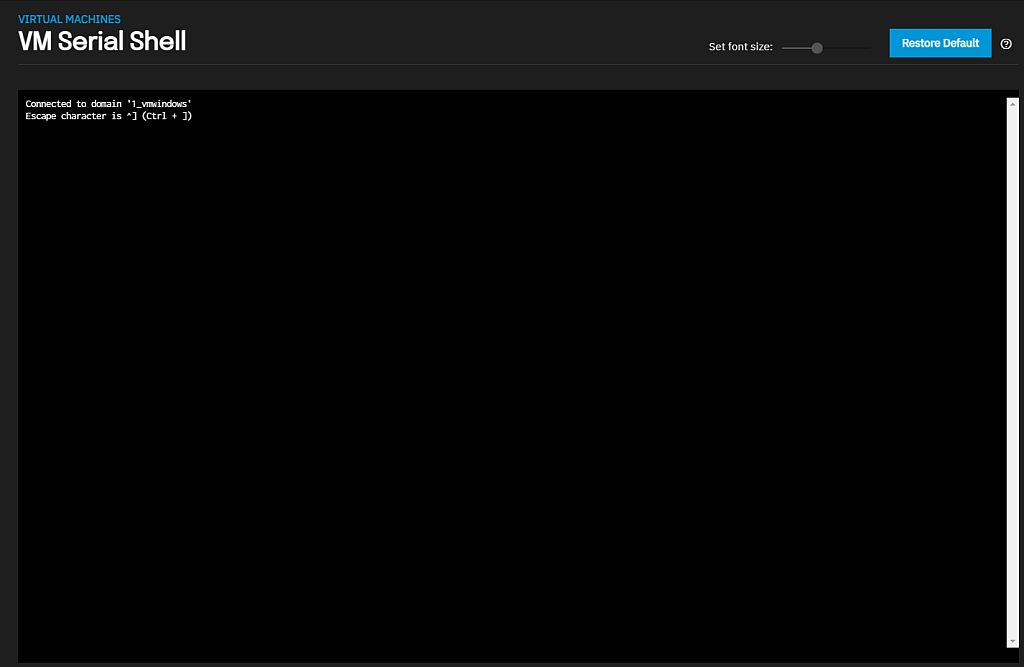
Serial Shell opens the VM Serial Shell window where you can enter commands for the selected virtual machine.
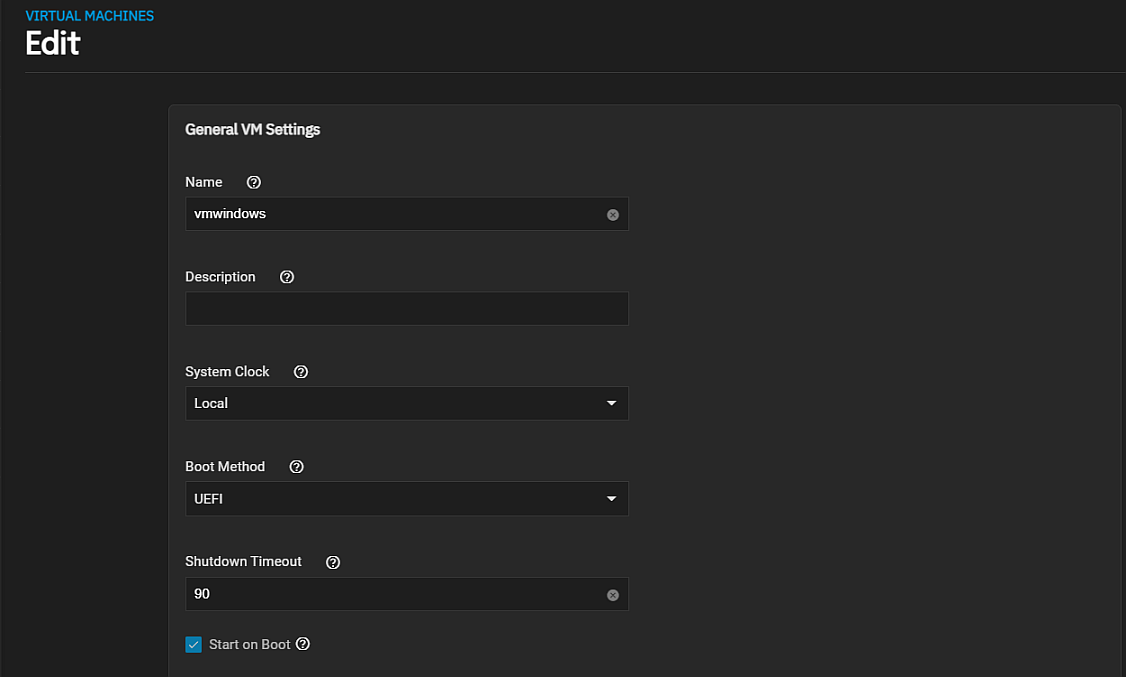
The Virtual Machine > Edit screens settings are a subset of those found on the Create Virtual Machine settings.
The Edit screen General Settings specify the basic settings for the VM. Unlike the Create Virtual Machine wizard, you cannot change the Enable or Start on Boot status or change the display type or bind address for a saved VM.
The Edit screen CPU and Memory settings are the same as those in the Create Virtual Machine wizard screen.
The Edit screen GPU settings are the same as those in the Create Virtual Machine wizard screens.
The Virtual Machines > Devices screen displays a list of VM devices configured on your system.
The displays a list of options for each device listed on the Devices screen.
Edit opens the Edit type Device screen where type is the device type selected. Settings displayed vary based on the type of device set when at device creation, and are the same as those displayed on the Add Device screen except for the Device Type field that only displays on the Add Device screens.
Delete opens a dialog where you click Delete Device to confirm you want to delete the device.
Change Device Order opens a dialog for the selected device. Enter the number that represents the order the VM looks to the device during boot-up. The lower the number places the device earlier in the boot process. Enter the number and click Save.
Details displays an information dialog for the selected device that lists the port, type, bind IP and other details about the device. Click Close to close the dialog.
Add on the Devices screen opens the Add Device configuration screen. Settings change base on the selection in Device Type.
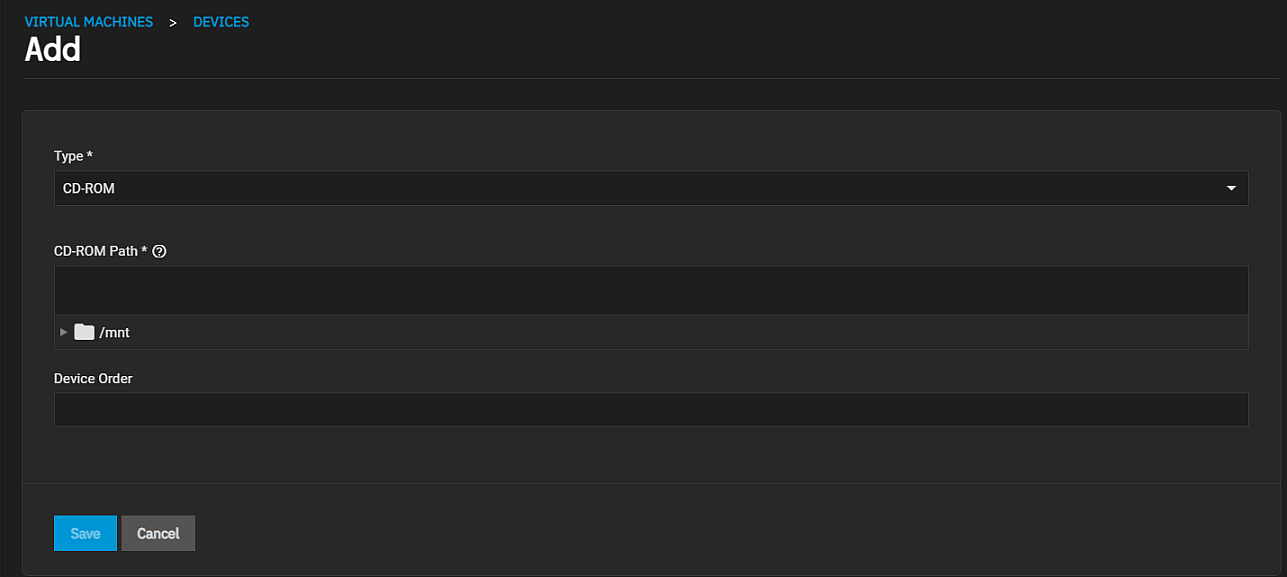
Select CD-ROM to configure a new CD-ROM location and the boot order for that device.
Select NIC to configure a new network adapter and the boot order for that device.
Select Disk to configure a new disk location, drive type and sector size, and the boot order for that device.
Select Raw File to configure a new file location and file size, the disk sector and mode, and the boot order for that device.
Select PCI Passthru Device to select a PCI Passthru device from the dropdown list and the boot order for that device.
Select Display to configure a new display device and the boot order for that device.
Select CD-ROM in the Add device screen Device Type to configure the device setings and boot order.
Select NIC in the Add device screen Device Type to configure network interface card settings and boot order.
Select Disk in the Add device screen Device Type to configure a new disk location, drive type and disk sector size and boot order.
Select Raw File in the Add device screen Device Type to configure the location and size of the file, disk sector size and type, and boot order.
Select PCI Passthru Device in the Add device screen Device Type to configure the PCI passthru device and boot order.
Select NIC in the Add device screen Device Type to configure a new display device and boot order.


