WebDAV Shares Screens
3 minute read.
Last Modified 2022-12-12 11:09 -0500A Web-based Distributed Authoring and Versioning (WebDAV) share makes it easy to share a TrueNAS dataset and its contents over the web.
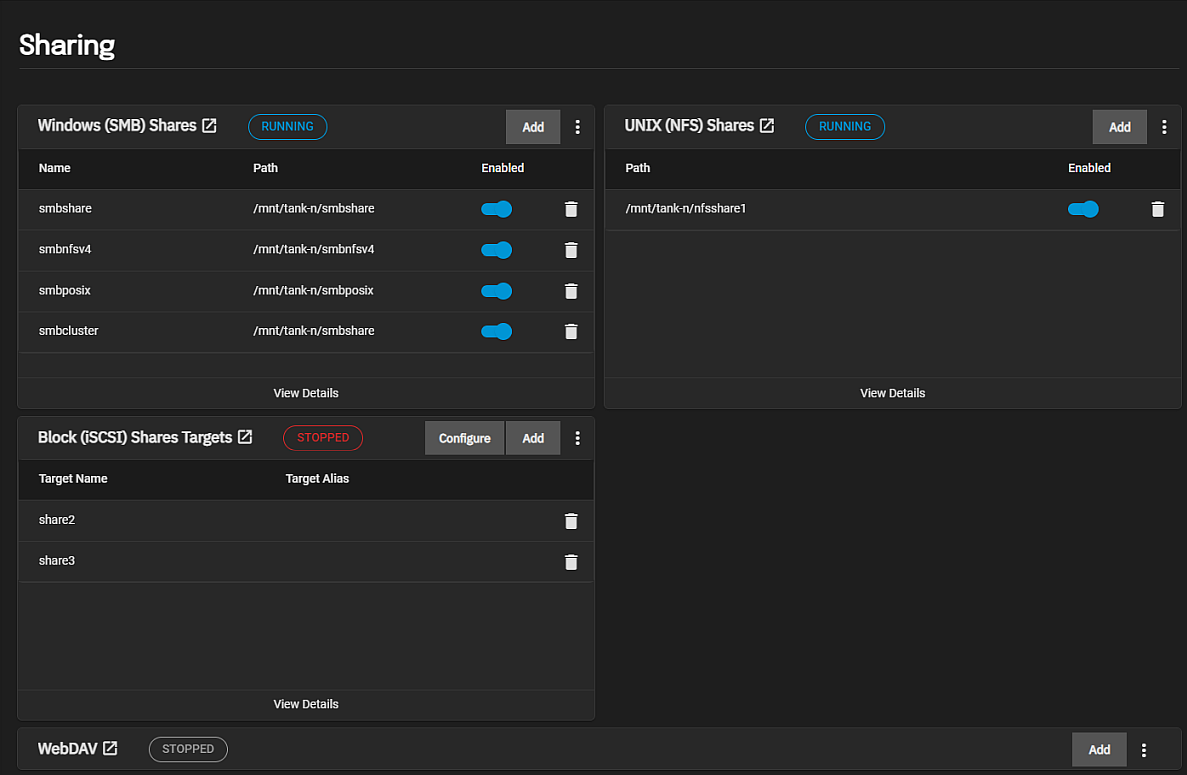
The Sharing screen opens after you click Shares on the main navigation panel.
The WebDAV widget includes the widget toolbar that displays the status of the WebDAV service and the Add button. After adding WebDAV shares, the widget displays a list of the shares below the toolbar.
After adding the first WebDAV share, the system opens an enable service dialog.
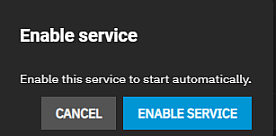
Enable Service turns the WebDAV service on and changes the toolbar status to Running. If you added shares of other types, the widget occupies a quarter of the screen.
The Enable toggle for each share shows the current status of the share. When disabled, it disables the share but does not delete the configuration from the system.
The shares list on the widget includes a Read Only toggle that turns this on or off.
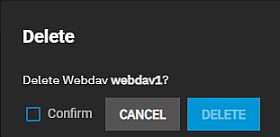
The delete icon displays a delete confirmation dialog that removes the share from the system.
View Details and clicking anywhere on WebDAV the opens the Sharing > WebDAV screen with the list view of WebDAV shares.
The WebDAV share on the widget opens the Edit WebDAV screen.
The WebDAV widget toolbar includes the Add button and an actions menu.

The on the toolbar displays options turn the WebDAV service on or off. Turn Off Service displays if the service is running or Turn On Service if the service is stopped. The Config Service option opens the Services > WebDAV configuration screen.
The toolbar displays the STOPPED service status in red before you start the service or click Enable Service when the dialog displays. When service is started it displays RUNNING in blue.
Add opens the No WebDAV screen if no shares exist on the system.
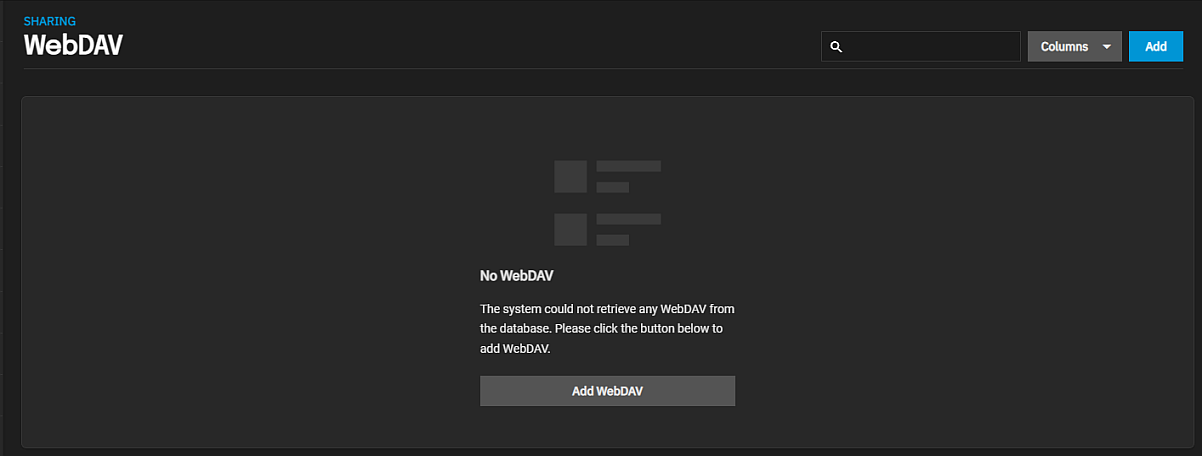
Add WebDAV opens the Add WebDAV screen. If the system has WebDAV shares, Add opens the Add WebDAV screen to add more shares.
The Sharing > WebDAV details screen displays the same list of shares as the WebDAV widget.

Customize the information using the Columns dropdown list. Select from the Select All, Description, Path, Enabled, Read Only, Ownership and Reset to Defaults options.

The displays share details and the option to Edit or Delete the share. Edit opens the Edit WebDAV configuration screen. Delete opens an Delete confirmation dialog. Select Confirm and then Delete to remove the share without affecting the data in the share dataset.
The Add WebDAV and Edit WebDAV display the same settings.
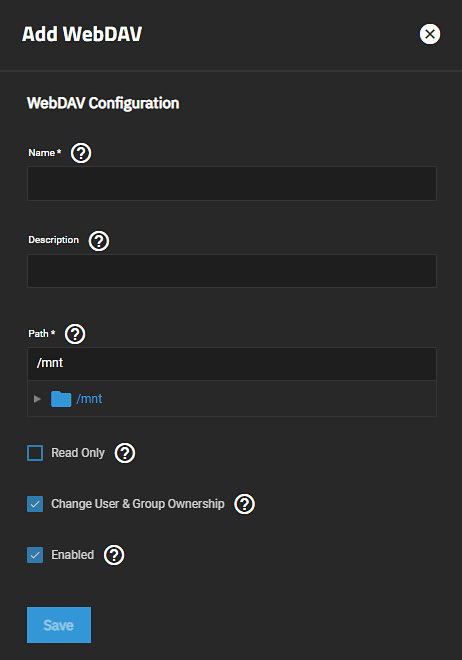
| Setting | Description |
|---|---|
| Name | Required. Enter a name for the share. |
| Description | Enter any notes or reminders about the share. |
| Path | Enter the path or use the icon to the left of /mnt to locate the dataset and populate the path. Path is the directory tree on the local file system. |
| Read Only | Select to prohibit users from writing to this share. The Read Only toggle on the WebDAV widget displays this setting status. |
| Change User & Group Ownership | Select to change existing ownership of all files in the share to the webdav user and group. This displays a warning dialog. If left clear, you must manually set ownership of the files accessed through WebDAV to webdav or www user and group. |
| Enabled | Select to enable this WebDAV share. Clear the checkbox to disable the share without deleting the configuration. |

