IPMI Screens
2 minute read.
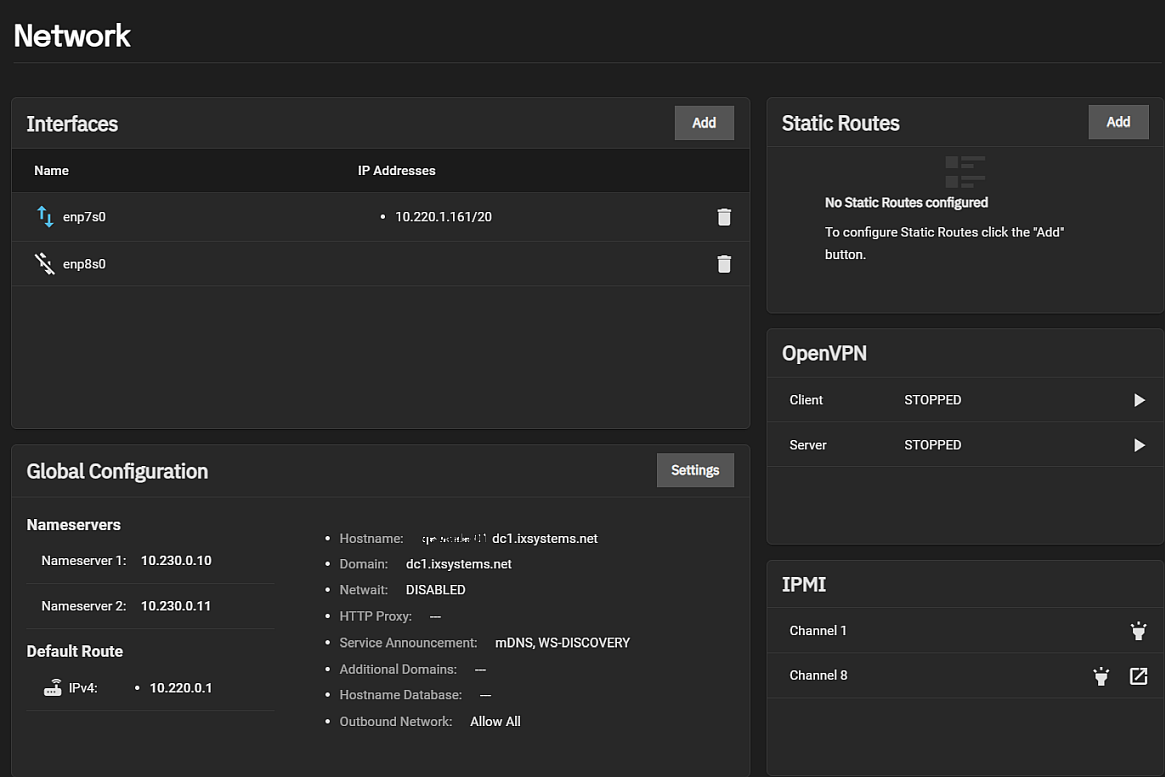
Last Modified 2022-11-11 10:08 -0500The IPMI widget on the Network screen displays the available IPMI channels.

The Identify Light button displays a dialog where users can select a duration for the system IPMI to flash so they can identify it.
The Manage button opens the IPMI manager in a new browser tab where users can log into the IPMI web interface.
Click in the IPMI channel to display the IPMI configuration screen.
IPMI requires compatible hardware! Refer to your hardware documentation to determine if the TrueNAS web interface has IPMI options.
Click on the channel you wish to edit to open the configuration screen.
![]()
| Setting | Description |
|---|---|
| DHCP | Select to use DHCP to assign IPv4 network values. Clear checkbox to manually configure a static IPv4 connection. |
| IPv4 Address | Enter the static IPv4 address of the IPMI web interface. |
| IPv4 Netmask | Enter the subnet mask of the IPv4 address. |
| IPv4 Default Gateway | Enter the default gateway of the IPv4 connection. |
| VLAN ID | Enter the VLAN identifier if the IPMI out-of-band management interface is not on the same VLAN as management networking. |
| Password | Enter a password for connecting to the IPMI interface from a web browser. The password must include at least one upper case letter, one lower case letter, one digit, and one special character (punctuation, e.g. ! # $ %, etc.). It must also be 8-16 characters long. |
| Identify Light | Like the button on the IPMI widget, displays the same dialog and dropdown list of options users can select for the duration to flash the system IPMI light on the compatible connected hardware. |
| Manage | Like the button on the IPMI widget, this opens the same IPMI manager in a new browser tab where users can communicate with the server without having direct to the hardware. |

