Applications Screens
9 minute read.
Last Modified 2022-12-13 10:13 -0500The Applications screen displays with Installed Applications displayed by default.
The first time time you select Apps on the main feature navigation panel, the Applications screen displays the Choose a pool for Apps dialog. Select a pool from the dropdown list and then click Choose to set the selected pool as the one applications use for data storage.
The options at the top right of the Applications screen change with the screen tab selected.

The Bulk Action option that displays at the top right of the Installed Applications screen allows you to select more than one, or all installed apps on your system. After selecting the apps, use the other action buttons to either Start, Stop or Delete the selected apps.
Select All places a checkmark in the top left corner of the widget for each installed application. Toggles to Unselect All. Start starts all selected apps, and displays Success dialog for each app after it starts without issue. Stop stops all selected apps and displays a Success dialog for each app after it stops without issue.
The Upgrade option allows you to select multiple apps, and if there are updates available, you can update the apps to the most recent version of the application.
Settings displays at the top right of all four Applications screens, but they are only functional when on the Available Applications screen. Setting options are:
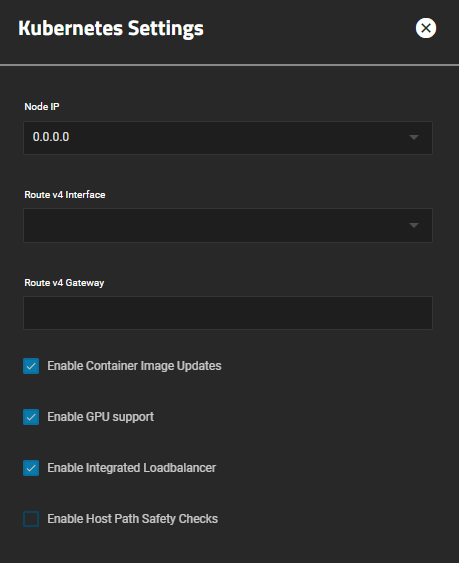
Choose Pool opens the Choose a pool window. Advanced Settings opens the Kubernetes Settings configuration screen. Unset Pool opens a dialog confirming the pool is unset.
Selecting Choose Pool on the Settings list opens a different Choose a pool for Apps window than the one that first displays before you add your first application. Use the Settings > Choose Pool option to change the pool applications use for storage.
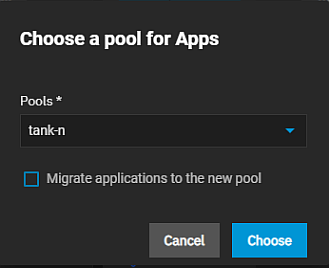
Migrate applications to the new pool starts the process of moving your application data from the existing pool to the new pool specified after you click Choose. Select Migrate applications to the new pool if you change your applications pool and want to migrate data from the existing pool to the new pool.
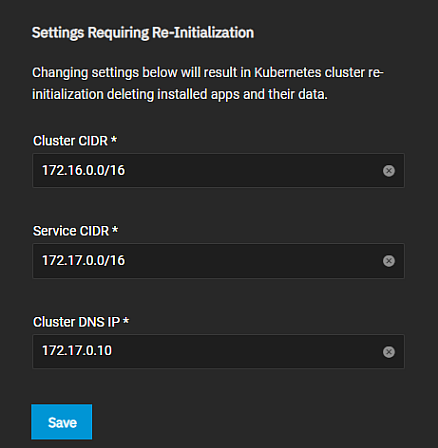
The Advanced Settings option opens the Kubernetes Settings configuration screen.
The Unset Pool option on the Settings list displays a confirmation dialog. Click UNSET to unset the pool. When complete a Success dialog displays.
Opens a Refreshing counter with status of the refresh options. When complete, the Task Manager displays with the status of each app refresh operation.
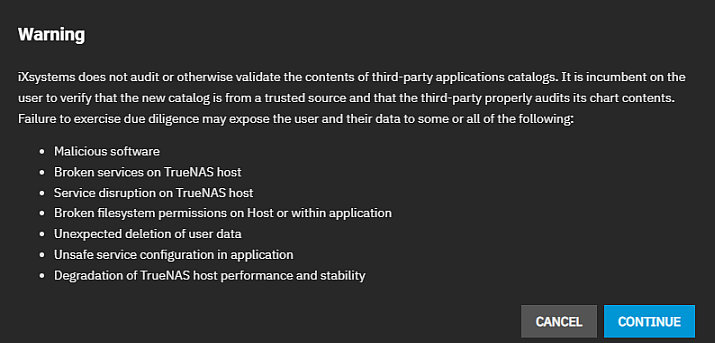
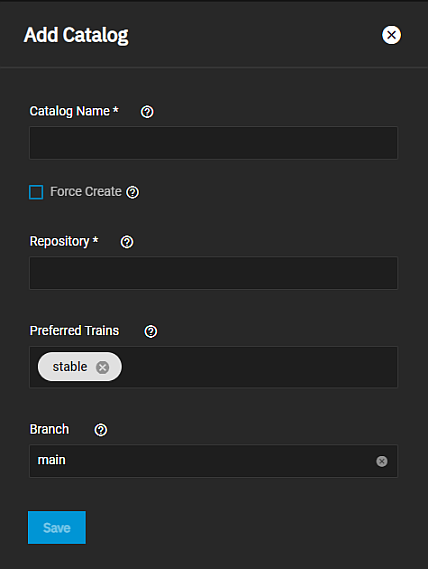
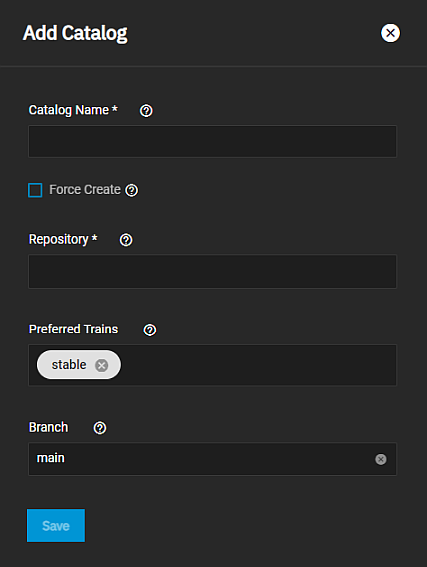
Add Catalog at the top of the Manage Catalogs screen opens a warning dialog before it opens the Add Catalog screen.
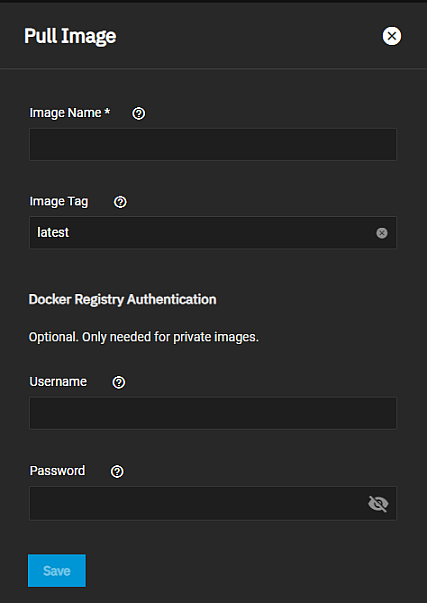
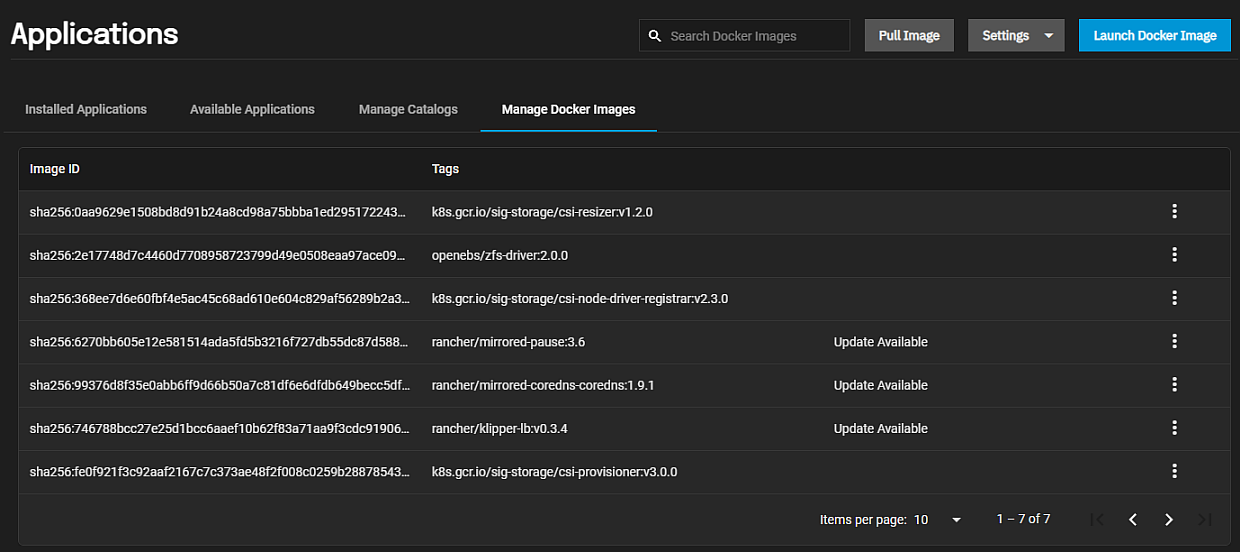
The Pull Image option at the top right of the Manage Docker Images screen opens the Pull Image screen.
Launch Docker Image opens the Docker Image wizard where you can configure third-party applications not listed on the Available Applications screen. These docker image options are derived from the Kubernetes container options. See Launch Docker Image Screens for more information.
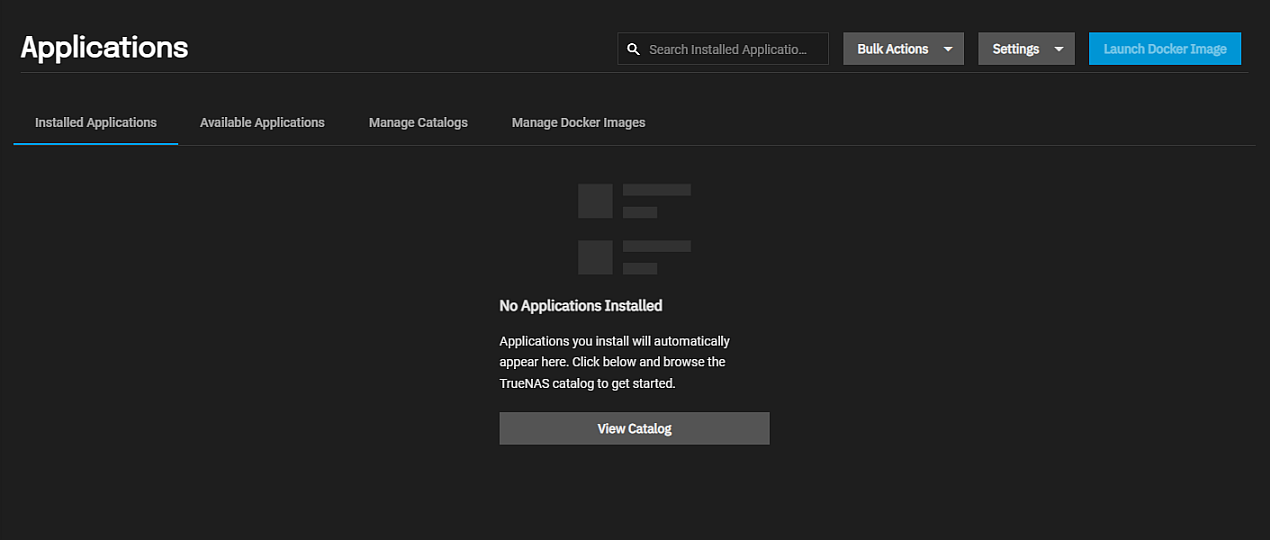
The No Applications Installed screen displays before you install your first application. View Catalog opens the Available Applications screen.
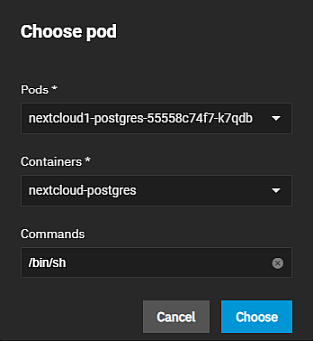
The Choose Pod window specifies which pod or active container, and the shell commands you want to use when the Applications > Pod Shell screen displays.
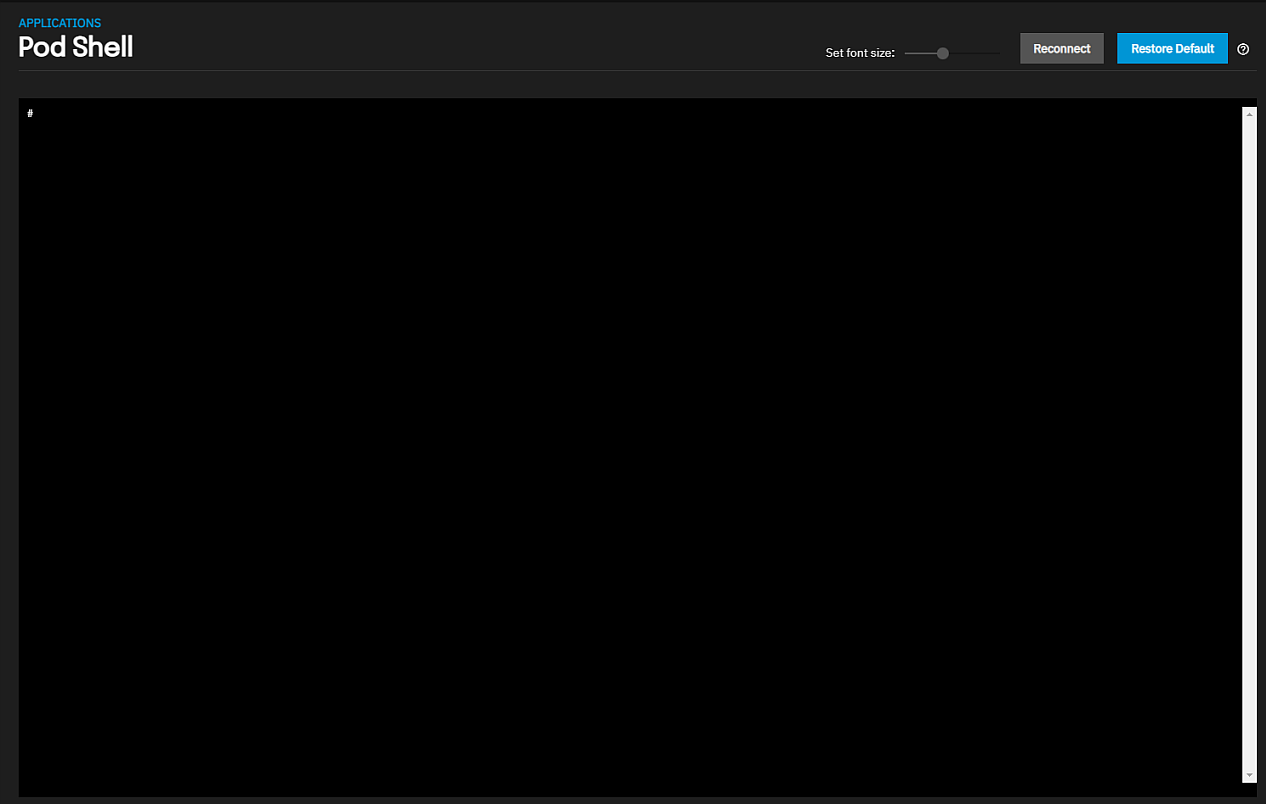
The Pod Shell screen allows users to enter TrueNAS CLI commands to access information about their applications.
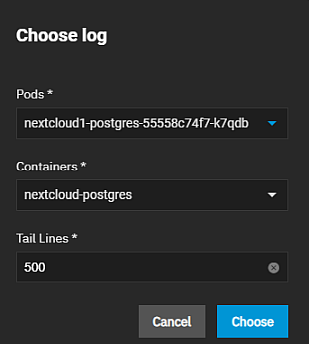
The Logs options opens the Choose Log window.
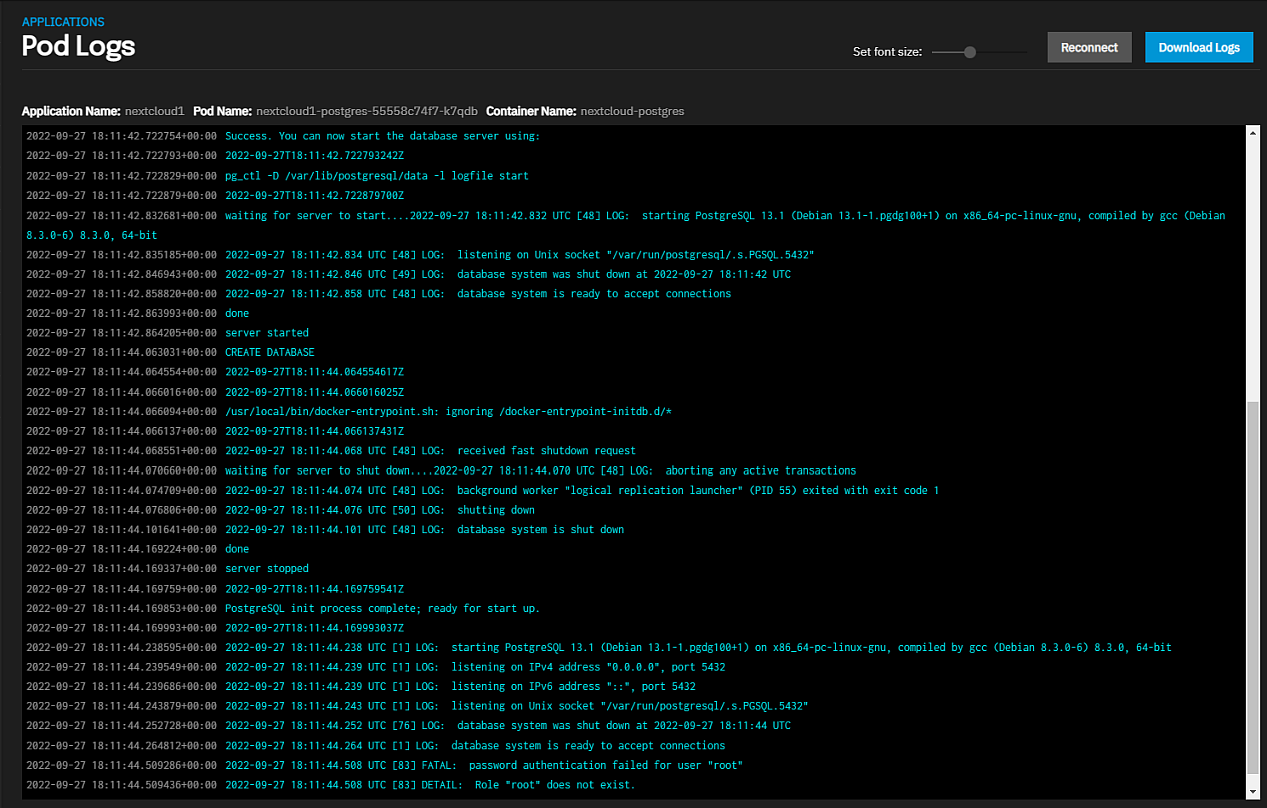
The Pod Log shell screen displays with the information selected in the Choose Log window.
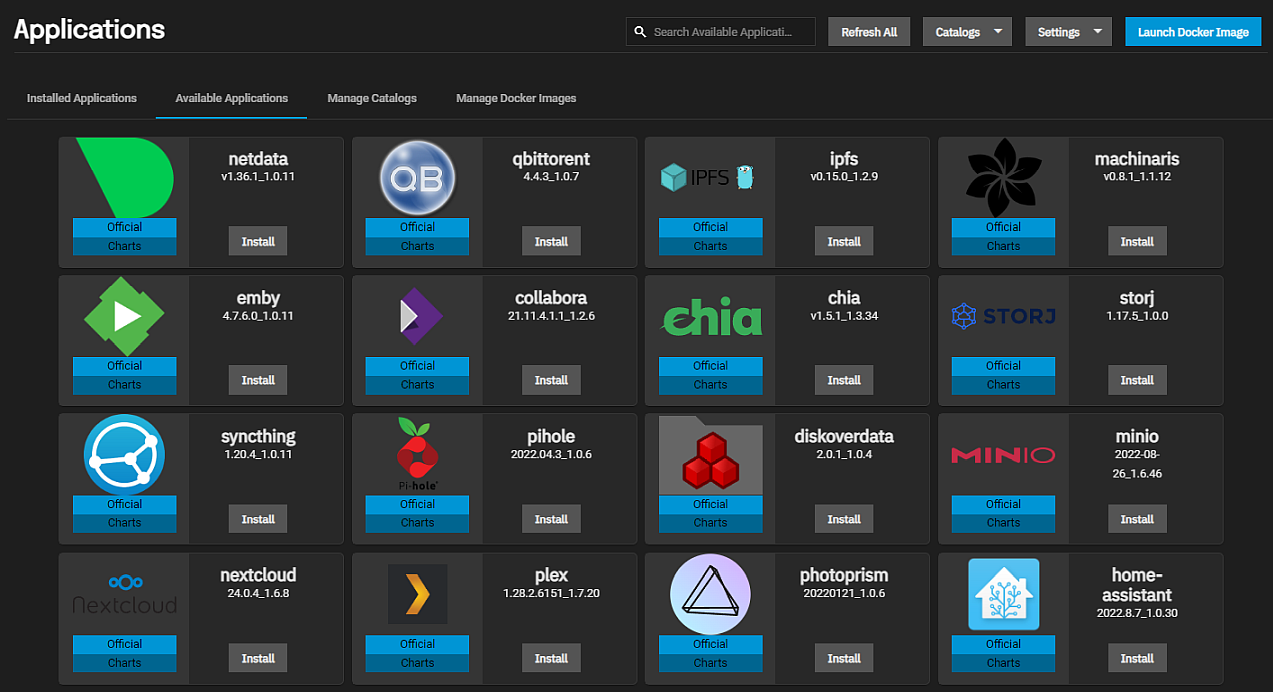
The Available Applications screen displays the widgets for all applications in the Official catalog.
The Manage Catalog screen displays the list of application catalogs installed on TrueNAS SCALE. The Official catalog contains all the applications listed on the Available Applications screen.
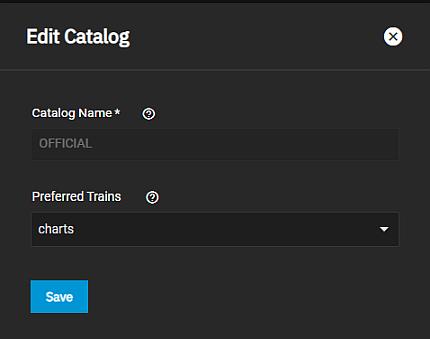
The Edit Catalog screen settings specify the name and train the UI should use to look up the catalog and retrieve applications for the catalog.
Opens a Refreshing counter that shows the status of the refresh operation. You can minimze the counter while the process continues.
Opens a confirmation dialog before deleting the catalog. The Official catalog Delete option is inactive. You cannot delete the official catalog.
The Summary option for each catalog listed on Manage Catalogs opens the Name Catalog Summary window where Name is the name of the catalog. The summary displays the catalog status, application and train, and allows you to select the train and status you want to include in the summary.
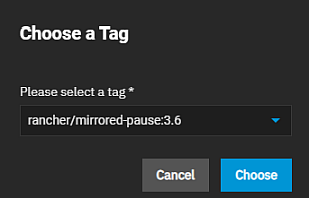
The Manage Docker Images displays a list of Docker image IDs and tags on the system. The list displays Update Available for container images you can update.


