Adding and Managing VMs
7 minute read.
Last Modified 2022-10-11 12:06 -0400A Virtual Machine (VM) is an environment on a host computer that you can use as if it were a separate, physical computer. Users can use VMs to run multiple operating systems simultaneously on a single computer. Operating systems running inside a VM see emulated virtual hardware rather than the host computer physical hardware. VMs provide more isolation than Jails but also consumes more system resources.
Before creating a virtual machine, you need an installer
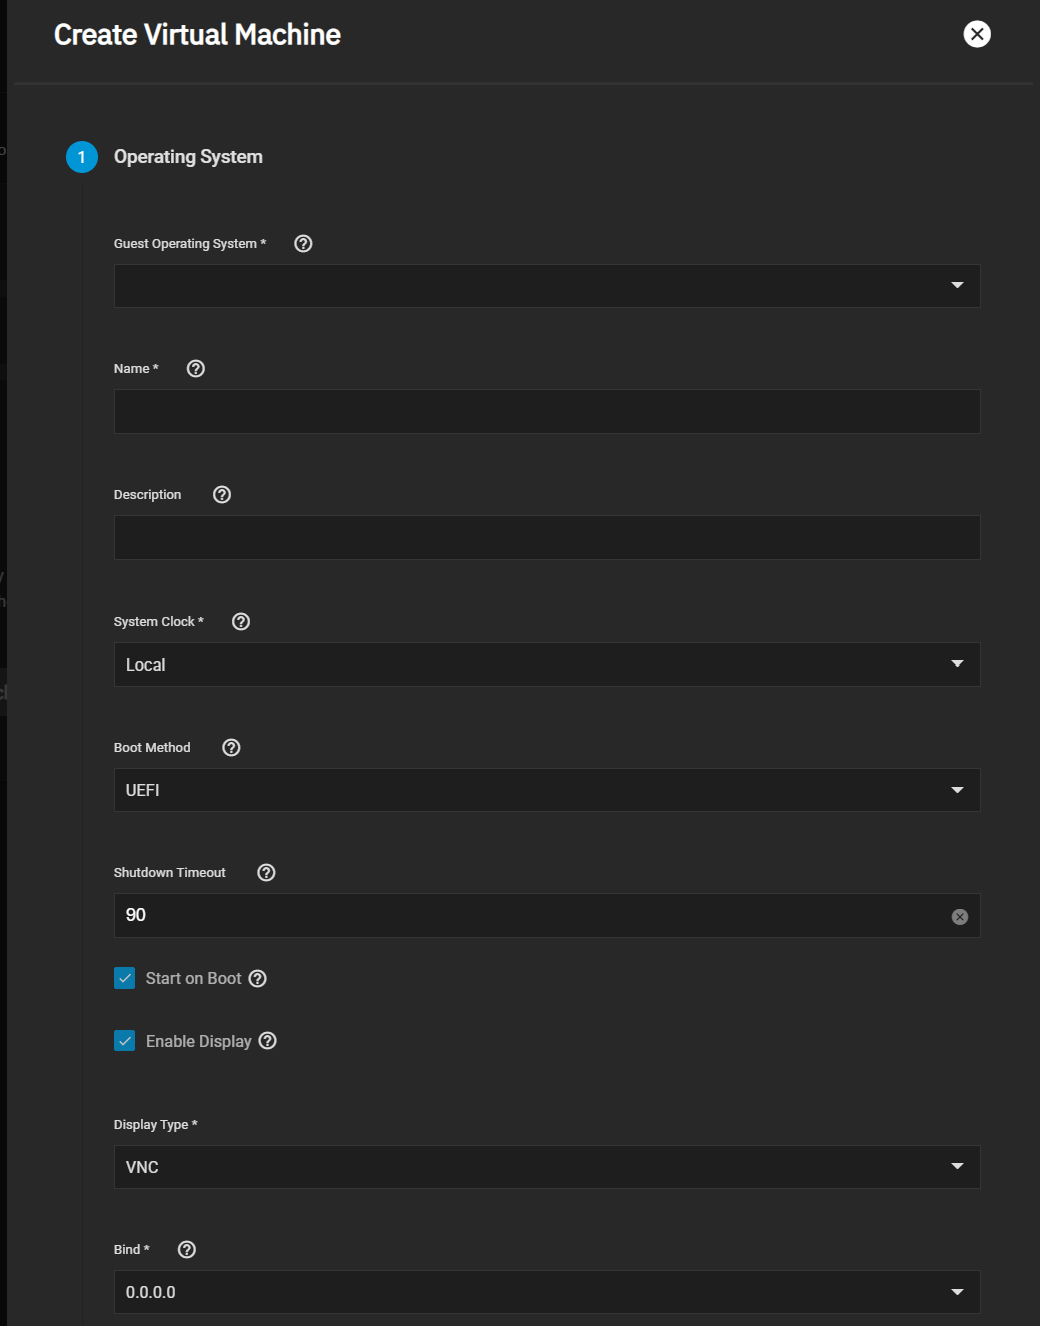
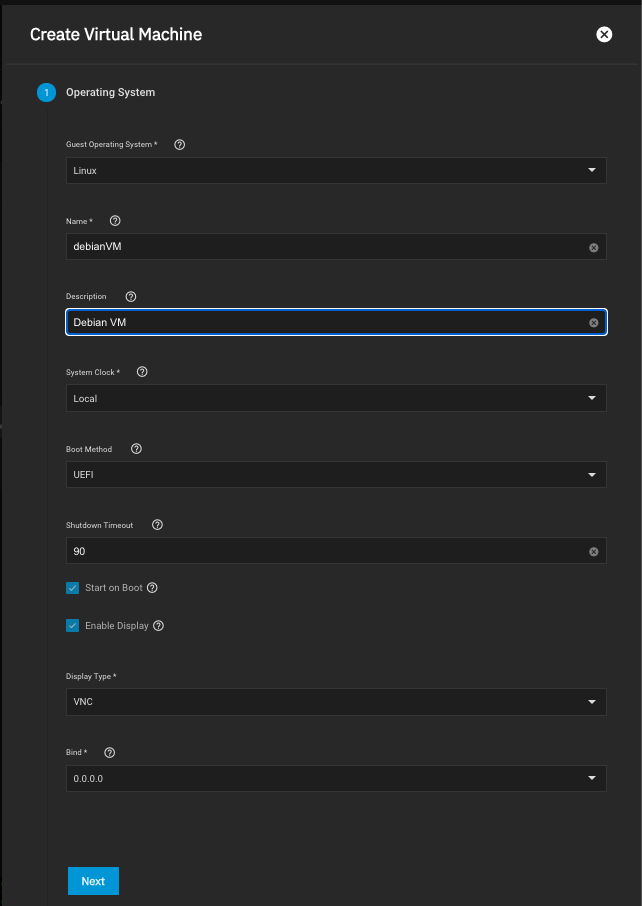
To create a new VM, go to Virtualization and click Add or Add Virtual Machines if you have not yet added a virtual machine to your system. Configure each category of the VM according to your specifications, starting with the Operating System.

For more information see Virtualization Screens for more information on virtual machine screen settings.
Additional notes:
Compare the recommended specifications for your guest operating system with the available host system resources when allocating virtual CPUs, cores, threads, and memory size.
Do not allocate too much memory to a VM. Activating a VM with all available memory allocated to it can slow the host system or prevent other VMs from starting.
We recommend using AHCI as the Disk Type for Windows VMs.
The VirtIO network interface requires a guest OS that supports VirtIO paravirtualized network drivers.
iXsystems does not have a list of approved GPUs at this time but does have drivers and basic support for the list of nvidia Supported Products.
After creating the VM, add and remove virtual devices by expanding the VM entry on the Virtual Machines screen and clicking device_hubDevices.

Device notes:
- A virtual machine attempts to boot from devices according to the Device Order, starting with 1000, then ascending.
- A CD-ROM device allow booting a VM from a CD-ROM image like an installation CD. The CD image must be available in the system storage.
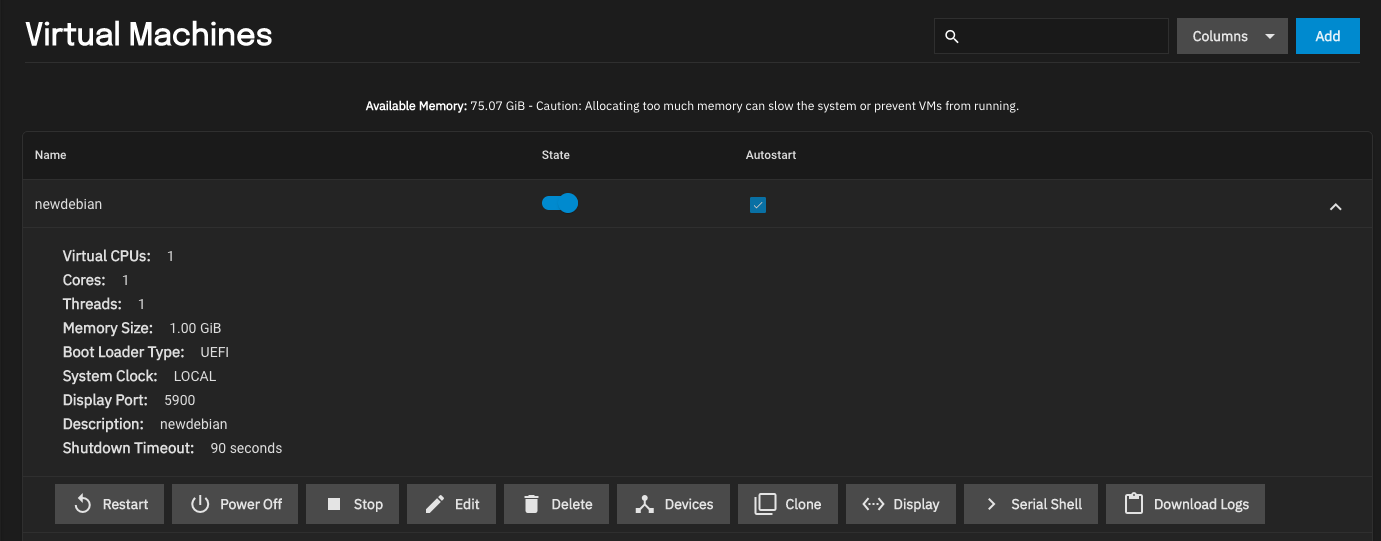
After creating the VM and configuring devices for it, manage the VM by expanding the entry on the Virtual Machines screen.

An active VM displays options for settings_ethernet Display and keyboard_arrow_right Serial Shell connections.
If the display connection screen appears distorted, try adjusting the display device resolution.
Use the State toggle or click stop Stop to follow a standard procedure to do a clean shutdown of the running VM. Click power_settings_new Power Off to halt and deactivate the VM, which is similar to unplugging a computer.
If the VM you created has no Guest OS installed, The VM State toggle and stop Stop button might not function as expected. The State toggle and stop Stop button send an ACPI power down command to the VM operating system, but since an OS is not installed, these commands time out. Use the Power Off button instead.
When the VM is configured in TrueNAS and has an OS
Some operating systems can require specific settings to function properly in a virtual machine. For example, vanilla Debian can require advanced partitioning when installing the OS. Refer to the documentation for your chosen operating system for tips and configuration instructions.
Here is an example of installing a Debian OS in a TrueNAS VM. The Debian
-
Click on the Virtualization menu then click ADD to start the VM creation process using the wizard.

-
After the VM is created, start it by expanding the VM entry (select the down-pointing arrow to the right of the VM name) and click Start.
-
Click Display to open a virtual monitor to the VM and see the Debian Graphical Installation screens.
After the Debian installation finishes, close the display window.
-
Remove the device. In the expanded section for the VM, click Power Off to stop the new VM.
a. Click Devices.
b. Remove the CD-ROM from the devices by clicking the and selecting Delete. Click Delete Device.
-
Return to the Virtual Machines screen and expand the new VM again.
-
Click Start.
-
Click Display.

