Using the TrueNAS CLI Shell
2 minute read.
Last Modified 2022-10-10 14:37 -0400The TrueNAS CLI Shell functions like a text-based version of the web UI. Users can enter commands to “navigate” to different menus within SCALE and perform actions. This article covers basic operations like setting up networking, performing updates, and listing storage pools/datasets.
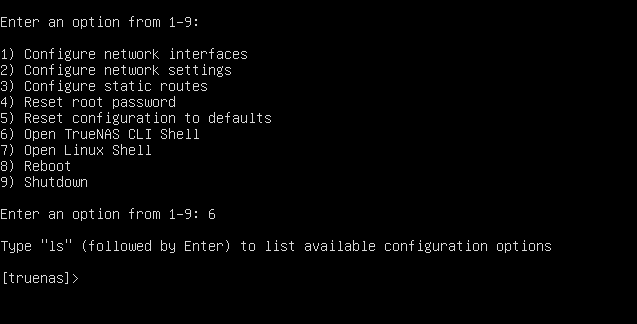
To open the TrueNAS CLI Shell, go to the Console Setup Menu and enter 6.

To close the TrueNAS CLI Shell, enter quit.
This section covers assigning an IP address to a network interface.
Enter network interface.
If you don’t already know the interface you want to configure, enter query to display a list of all physical network interfaces.

To edit the interface, enter update interfacename aliases=["ipaddress/subnetmask"] ipv4_dhcp=false
The CLI displays the message: “You have pending network interface changes. Please run ‘network interface commit’ to apply them.”
Enter commit to apply the changes, then enter checkin to make them permanent.

Enter query to make sure the Truenas applies the changes successfully.
Enter .. to exit interface and go up one level to the network menu.
This section covers configuring the default gateway.
Enter configuration (or network configuration if you just opened the CLI Shell).
Enter update ipv4gateway="ipaddress"
If entered properly, your system networking is now configured.
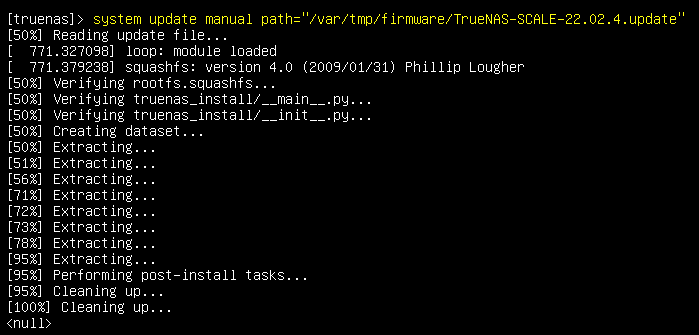
To perform a manual update via the TrueNAS CLI Shell, you will first have to upload a manual update file onto the system.
Connect to your system with your choice of FTP program (such as WinSCP) and place the manual update file in /var/tmp/firmware.
Once it finishes uploading, go to the console setup menu and launch the TrueNAS CLI Shell.
Enter system update manual path="/var/tmp/firmware/updatefilename"

To list all configured storage pools, enter storage pool query.

Enter q to exit the query.
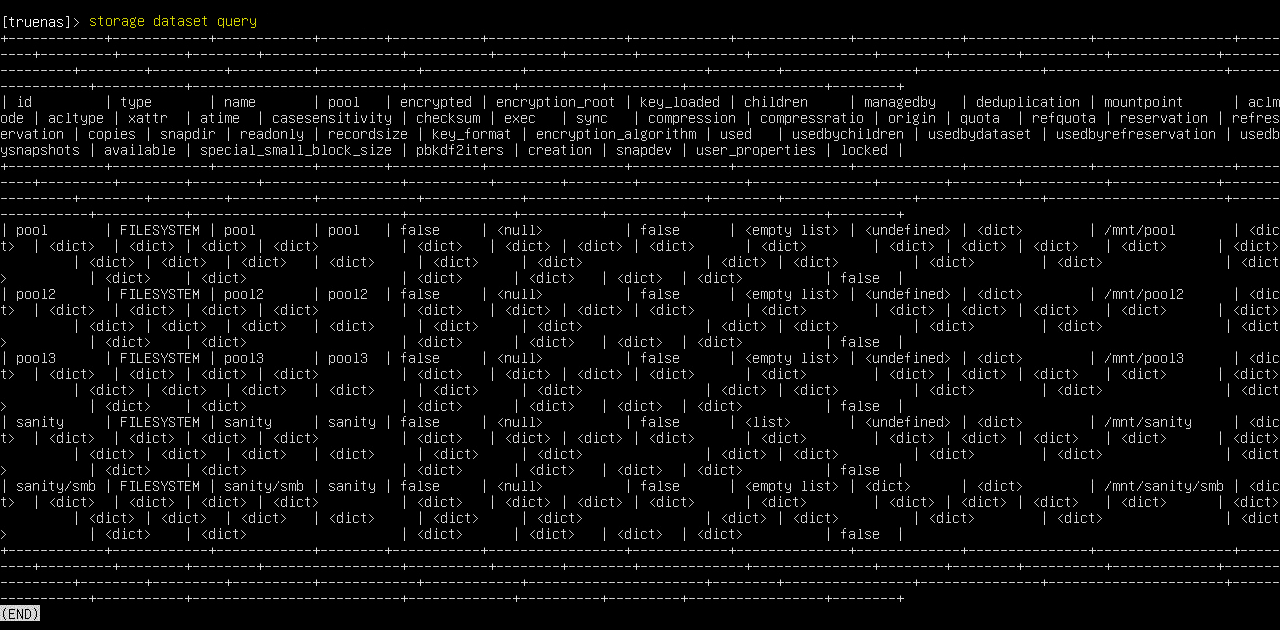
To list all configured datasets, enter storage dataset query.

Enter q to exit the query.

