Creating Storage Pools
6 minute read.
Last Modified 2022-12-09 09:08 -0500TrueNAS uses ZFS data storage pools to efficiently store and protect data.
We strongly recommend that you review your available system resources and plan your storage use case before creating a storage pool.
- Allocating more drives to a pool increases redundancy when storing critical information.
- Maximizing total available storage at the expense of redundancy or performance entails allocating large-volume disks and configuring a pool for minimal redundancy.
- Maximizing pool performance entails installing and allocating high-speed SSD drives to a pool.
Determining your specific storage requirements is a critical step before creating a pool.
To create a pool using the Pool Manager you:
- Enter a name.
- Move disks to a data VDEV.
- Add any other VDEV to the pool you want to include and then add disks to them.
- Click Create
You access the Pool Manager from the Storage Dashboard.
Click Storage on the main navigation panel on the left of the screen.
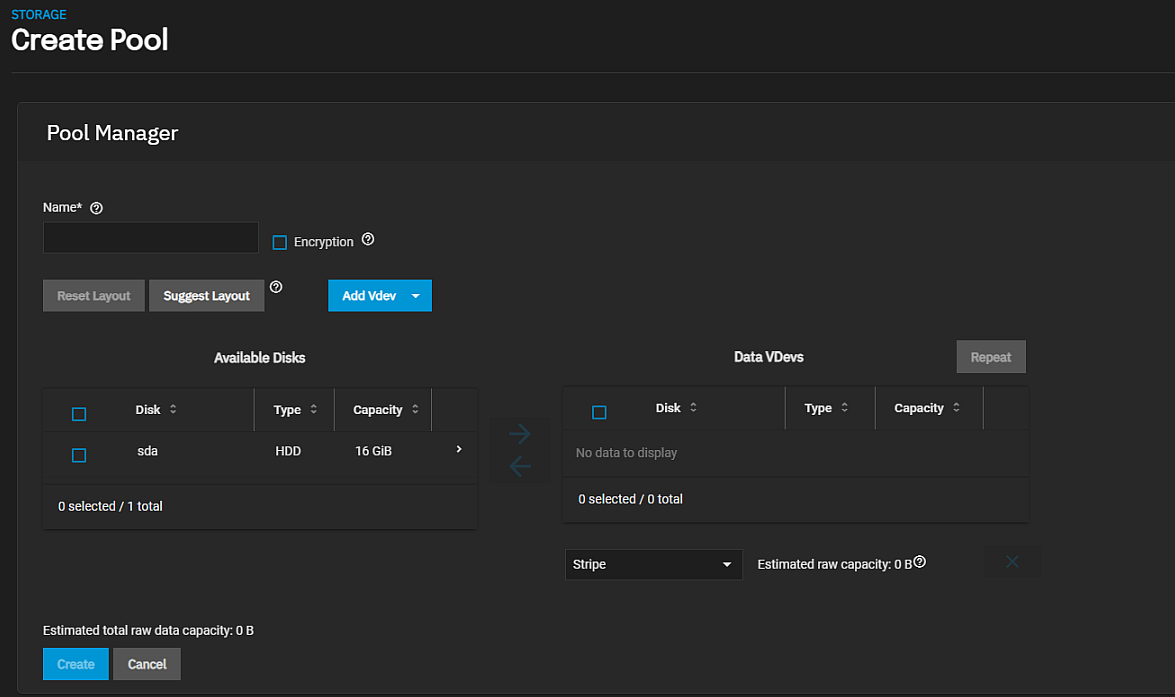
Click Create Pool to open the Pool Manager screen for new pools.
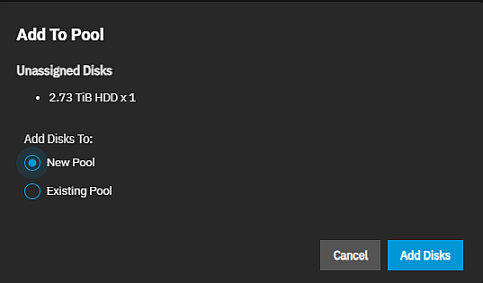
If you already have a pool created on your system you can use either the Create Pool button at the top right of the screen or click the Add To Pool button on the Unassigned Disks widget to create a new pool.
First, enter a name for the pool using up to 50 lower case alpha-numeric and permitted special characters that conform to ZFS naming conventions. The pool name contributes to the maximum character length for datasets so it is limited to 50 characters.
You cannot change the name of the pool after you click Create!
Next, decide if you want to encrypt this pool. Datasets inherit encryption from the pool.
Next, add disks to your primary data VDEV. A data VDEV is the standard VDEV for primary storage operations. A data VDEV configuration typically affects how the other types of VDEVs get configured.
All pools must have a data VDEV. You can add as many VDEV types (cache, log, spare, etc.) as you want to the pool for your use case but it must have a data VDEV.
The Available Disks table lists all available disks detected on the system including disks for exported pools.
Warning: USB-connected disks might report their serial numbers inaccurately, making them indistinguishable from each other.
Disks with non-unique serial numbers do not populate the Available Disks section until you select Show disk with non-unique serial numbers.
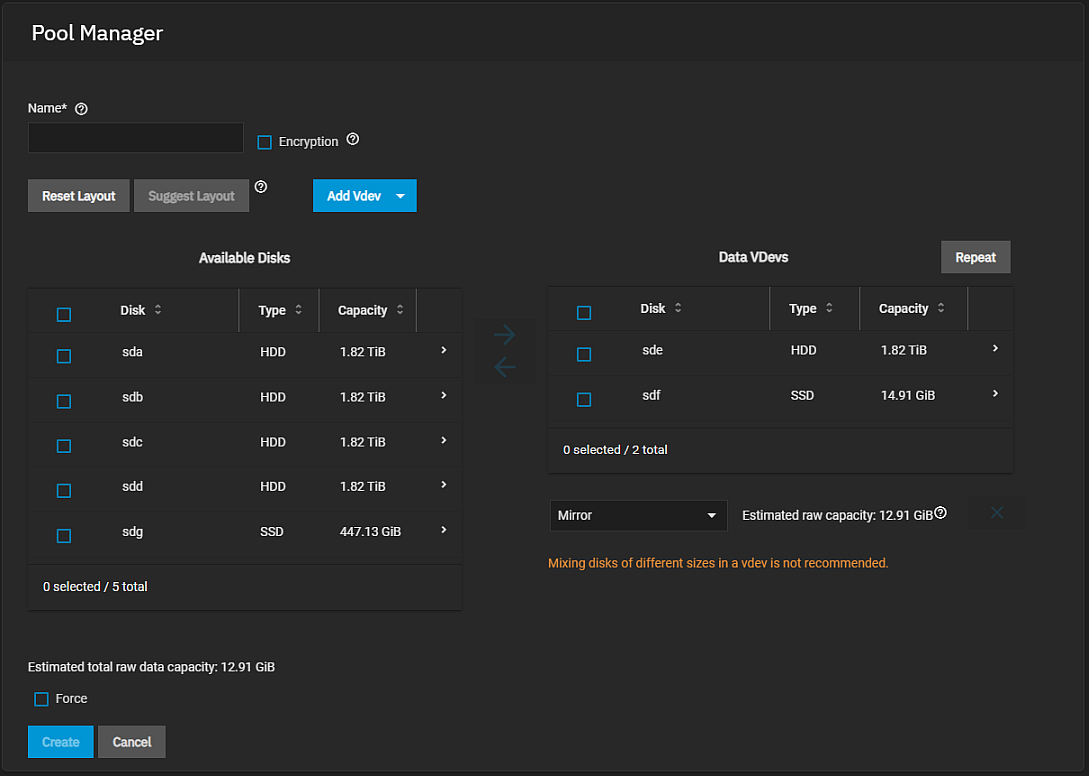
You can add disks to the data VDEV manually or click the Suggest Layout button and allow TrueNAS to review all available disks and populate the primary Data VDevs with identically sized drives in a configuration balanced between storage capacity and data redundancy. If you don’t want to use the suggested layout, click Reset Layout to clear the data VDEV layout and move the disks back to the Available Disks list.
To manually add disks, select the checkboxes to the left of each disk you want to add and then click the to the left of the data VDEV to move the disks over. See About Data VDEV Layouts or the Pool Manager Screen or more information on data VDEV layouts.
Next, if you want to add another type of VDEV, click Add Vdev and select the VDEV type from the options. Each VDEV type stores data or enables unique features for the pool. For more details on VDEV types and data VDEV layouts see the Pool Manager Screen article.
If you have enough disks of the same size available, you can duplicate the data VDEV.
Click Create to add the pool.
To duplicate a data VDEV, click Repeat First Vdev. If disks of equal size are available, the Repeat First VDEV button opens a window pre-populated or where you enter the number of additional data VDEVs to create.
The dialog displays information on the data VDEV layout, the storage size of the VDEV, and the number of disks used and remaining for the VDEV you are repeating.
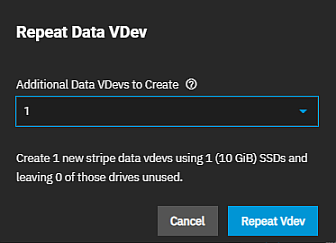
Click Repeat Vdev to create and populate a duplicated data VDEV. Another VDEV with an identical configuration is called a mirror of VDEVs.
If you add more disks of the same size to your system, you can add another duplicate data VDEV.
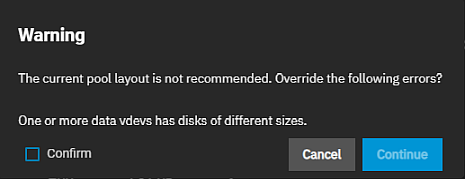
Don’t have multiple data vdevs with different numbers of disks in each VDEV. This complicates and limits the pool capabilities.
You can add a data VDEV to a pool in one of several layouts.
The Pool Manager screen suggests a VDEV layout from the number of disks added to the VDEV. For example, if you add two disks, TrueNAS automatically configures the VDEV as a mirror. The total available storage is the size of one added disk while the other disk provides redundancy.
Related Content
- Main Dashboard
- Disks Screens
- Managing Advanced Settings
- Importing Data
- Pool Manager Screen
- Advanced Settings Screen
- Fusion Pools
- Storage Dashboard Screen
- SLOG Over-Provisioning


