Setting Up SMB Home Shares
3 minute read.
Last Modified 2022-12-02 09:03 -0500As of SCALE 22.12 (Bluefin), TrueNAS SCALE SMB no longer supports End of Life (EoL) Windows clients, including MS-DOS. The Samba project, which TrueNAS SCALE integrates to provide SMB sharing features, had previously deprecated the SMB1 protocol for security concerns. TrueNAS SCALE 22.12 (Bluefin) updated Samba to version 4.17, which eliminated SMB1 support entirely. Client systems that can only use the SMB1 protocol for SMB shares are no longer capable of connecting to SMB shares created in TrueNAS SCALE 22.12 or later. Refer to the Samba release notes for more information.
TrueNAS offers the Use as Home Share option for organizations or SMEs that want to use a single SMB share to provide a personal directory to every user account. Each user is given a personal home directory when connecting to the share. These home directories are not accessible by other users. Only one share can be used as the home share, but other non-home shares can be created.
Creating an SMB home share requires configuring the system storage and joining Active Directory.
First, go to Storage and create a pool.
Next, set up the Active Directory that you want to share resources with over your network.
Go to Storage and open the more_vert next to the root dataset in the pool you just created, then click Add Dataset.
Name the dataset and set Share Type to SMB.
After creating the dataset, go to Storage and open more_vert next to the new dataset. Select View Permissions, then click edit.
Click the Group dropdown list and change the owning group to your Active Directory domain admins.

Click Use an ACL Preset and choose NFS4_HOME. Then, click Continue.

Go to Shares > Windows (SMB) Shares and click Add.
Set the Path to the prepared dataset.
The Name automatically becomes identical to the dataset. Leave this as the default.
Set the Purpose to No presets, then click Advanced Options and set Use as Home Share. Click Save.
Enable the SMB service in System Settings > Services to make the share is available on your network.
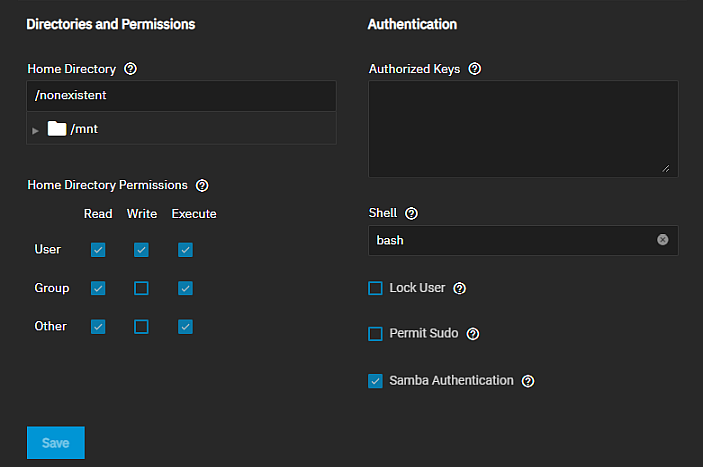
Go to Credentials > Local Users and click Add. Create a new user name and password. By default, the user Home Directory title comes from the user account name and is added as a new subdirectory of Home_Share_Dataset.

If existing users require access to the home share, go to Credentials > Local Users and edit an existing account.
Adjust the user home directory to the appropriate dataset and give it a name to create their own directory.
After adding the user accounts and configuring permissions, users can log in to the share and see a folder matching their user name.

