Installing Nextcloud on SCALE
4 minute read.
Last Modified 2022-09-27 07:54 -0400Nextcloud provides a suite of client-server software for creating and using file hosting services. TrueNAS SCALE includes Nextcloud in the catalog of available applications you can install on your system.
Before using SCALE to install the Nextcloud application you need to configure TrueNAS SCALE storage for Nextcloud application to use.
Set up an account with Nextcloud if you don’t already have one.
This procedure includes setting up the pool storage for Nextcloud and the basic installation and configuration of the application.
Nextcloud needs a primary dataset for the application. You can add as many child datasets as your use case requires such as a primary data volume, a postgres data volume (db) and a postgres backup volume (dbbackup), or for extra mount path volume (opt).
You can either create these datasets under an existing dataset you use for applications (apps), or if you have enough disks on your TrueNAS system and want to create a new pool to use just for media files, create a new pool and then add the Nextcloud datasets as child datasets to the root dataset.
To create a new pool, go to Storage and click Create Pool to add a new pool.
To add under an existing dataset, click the for the dataset where you want to add the Nextcloud datasets, and then select Add Dataset. In our Nextcloud example we use pool tank, parent dataset apps* and then created the *nextcloud* dataset.
Next, select the nextcloud dataset, click and select Add Dataset to add the child dataset data and click Save.
Official Applications
Official applications listed on Available Applications are pre-configured to only require a name during deployment.
This procedure installs Nextcloud with basic settings and only one dataset.
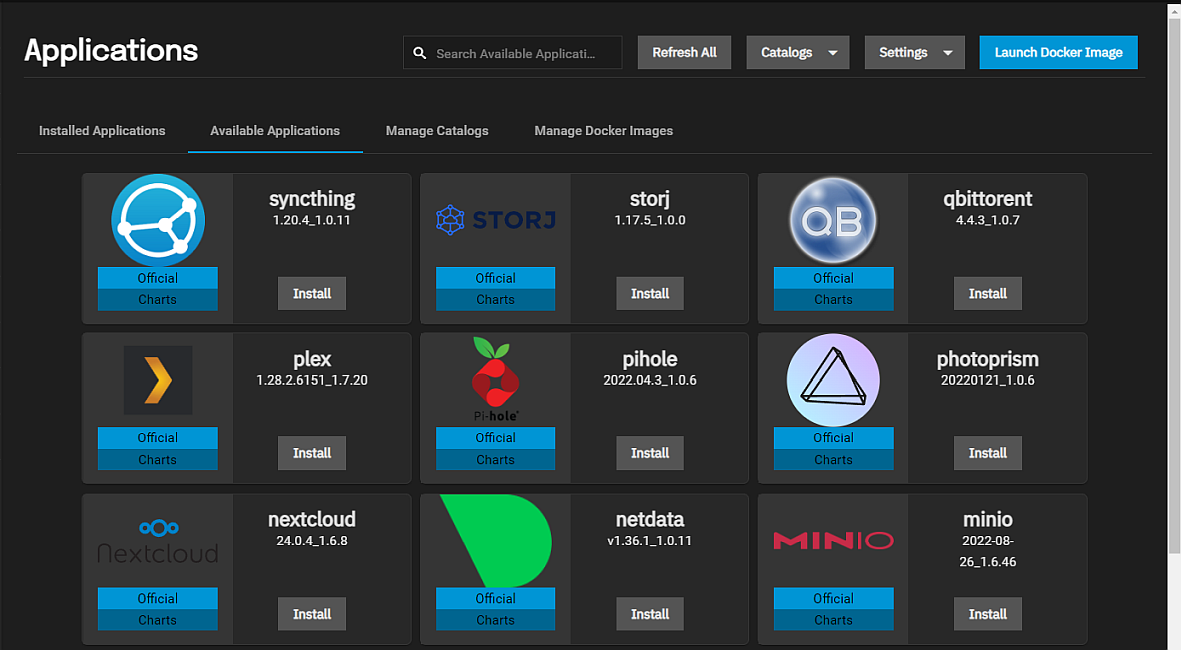
Go to Apps to open the Applications screen and then click on the Available Applications tab.
-
Set the pool SCALE applications use.
If you have not installed an application yet, SCALE opens the Choose a pool for Apps dialog. Select the pool where you created the Nextcloud dataset from the Pools dropdown list and then click Choose to set the pool for all applications.
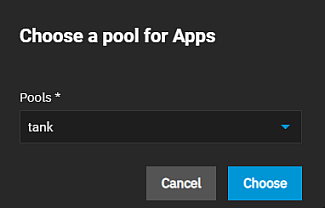
After SCALE finishes configuring the system to use this pool, a confirmation dialog displays. Click Close
-
Locate the nextcloud widget and then click Install to open the Nextcloud configuration wizard.
-
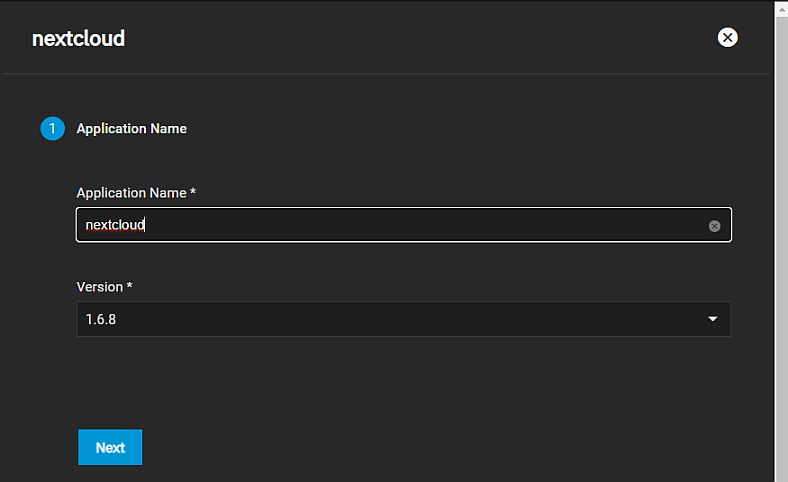
Enter a name for the app in Application Name and then click Next. This example uses nextcloud.
-
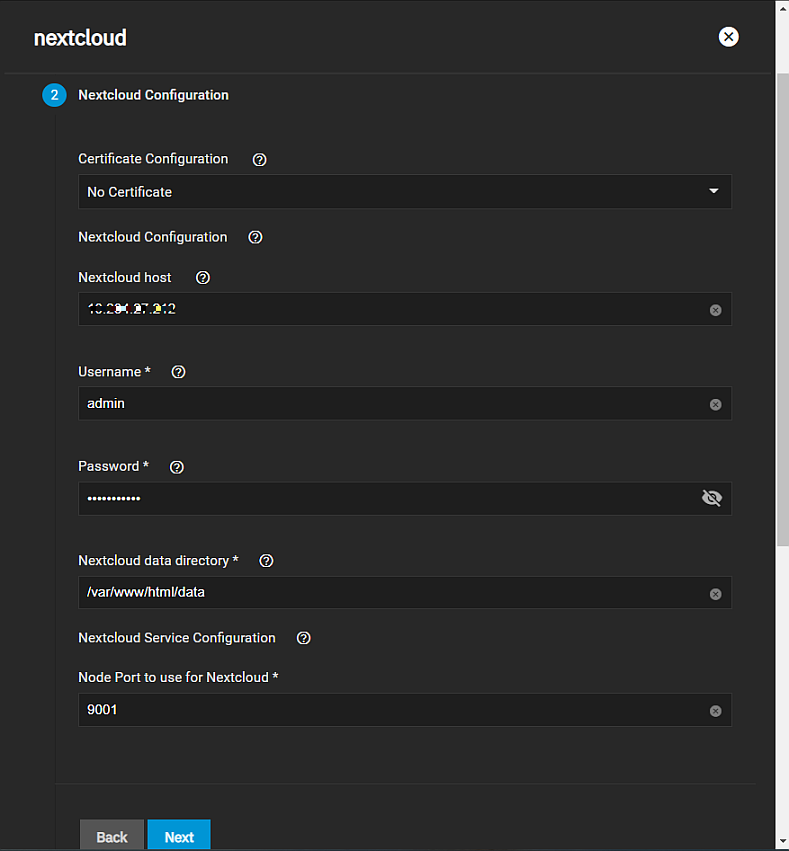
Enter a user name and password to use as a Nextcloud login on the Nextcloud Configuration settings screen, and then click Next. For a basic installation you can leave the default values in all settings except Username and Password. This example uses admin as the user. TrueNAS populates Nextcloud host with the IP address for your server, Nextcloud data directory with the correct path, and Node Port to use for Nextcloud with the correct port number.
-
Enter the storage settings for the Nextcloud dataset.
Enter or browse to the location where you created the nextcloud/data dataset in Host Path for Nextcloud Data Volume. This example uses the /mnt/tank/apps**/nextcloud/data*** path.
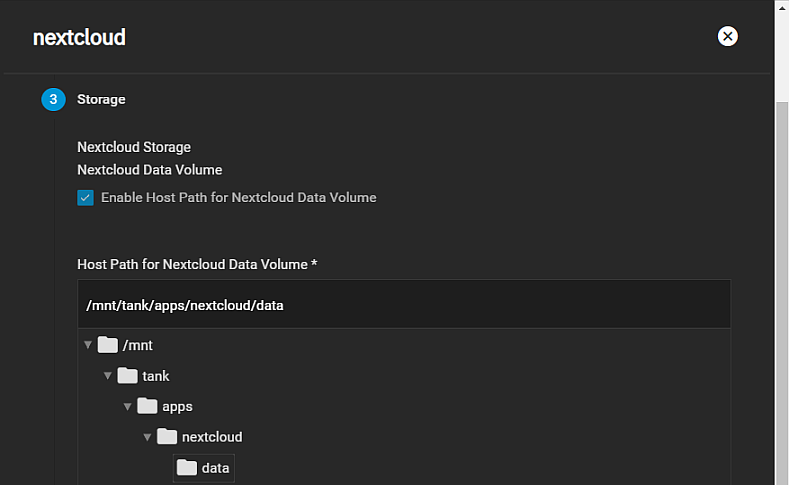
To collapse the directory tree, click the arrow to the left of /mnt. Do not click on /mnt as this changes the path and you have to reselect your dataset This completes the basic storage setup for Nextcloud. Click Next.
-
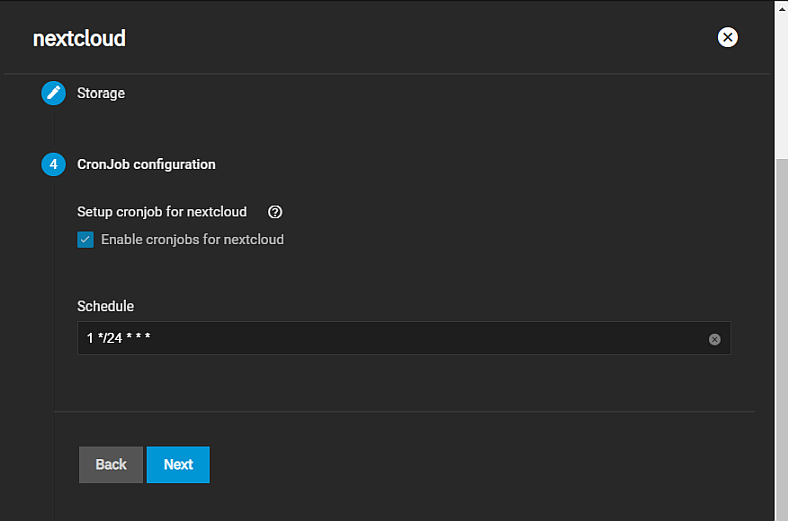
(Optional) Select Enable cronjobs for nextcloud on the CronJob configuration screen, and then click Next.
-
Accept the remaining setting defaults and click Next on the Scaling/Upgrade Policy and Advanced DNS Settings screens.
-
Review the configuration settings and then click Back to fix any errors or Save to complete the installation.
-
Click on the Installed Applications tab to see the nextcloud widget.

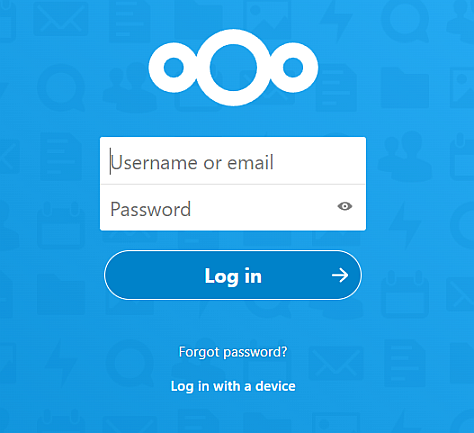
When the nextcloud widget displays ACTIVE, click Web Portal to open the Nextcloud sign in screen in a new browser window.
Refer to the Nextcloud documentation for details about using the Nextcloud platform:

