Get a Quote     (408) 943-4100               TrueNAS Discord      VendOp_Icon_15x15px   Commercial Support Toggle between Light and Dark mode

MinIO Clusters

  6 minute read.

Last Modified 2022-11-21 15:01 -0500

On TrueNAS SCALE 20.12-ALPHA and later, users can create a MinIO S3 distributed instance to scale out and handle individual node failures. A node refers to a single TrueNAS storage system in a cluster.

In the images below, we used four TrueNAS systems to create a distributed cluster. For more information on MinIO distributed setups, refer to the MinIO documentation.

First Steps

Before you configure MinIO, you must create a dataset and shared directory for the persistent MinIO data. Go to Storage > Pools and select the pool you want to place the dataset in. You can use an existing pool or create a new one.

After creating the dataset, go to System > Shell and create the directory MinIO stores information the application uses. MinIO uses /data but allows users to replace this with the directory of their choice. Change to the /pool/dataset directory and then use the mkdir /mnt/data command to create the /data directory.

For a distributed configuration, repeat this on all system nodes in advance.

Note the system (node) IP addresses or hostnames and have them ready for configuration. Also, have your S3 username and password ready for later.

Configuring MinIO

You can configure the MinIO application using either the Launch Docker Image button or the Install button on the MinIO application card on the Available Applications tab.

Setting Up Using Launch Docker Image

On your first node, go to Apps and click Launch Docker Image.

AppsLaunchDockerImage

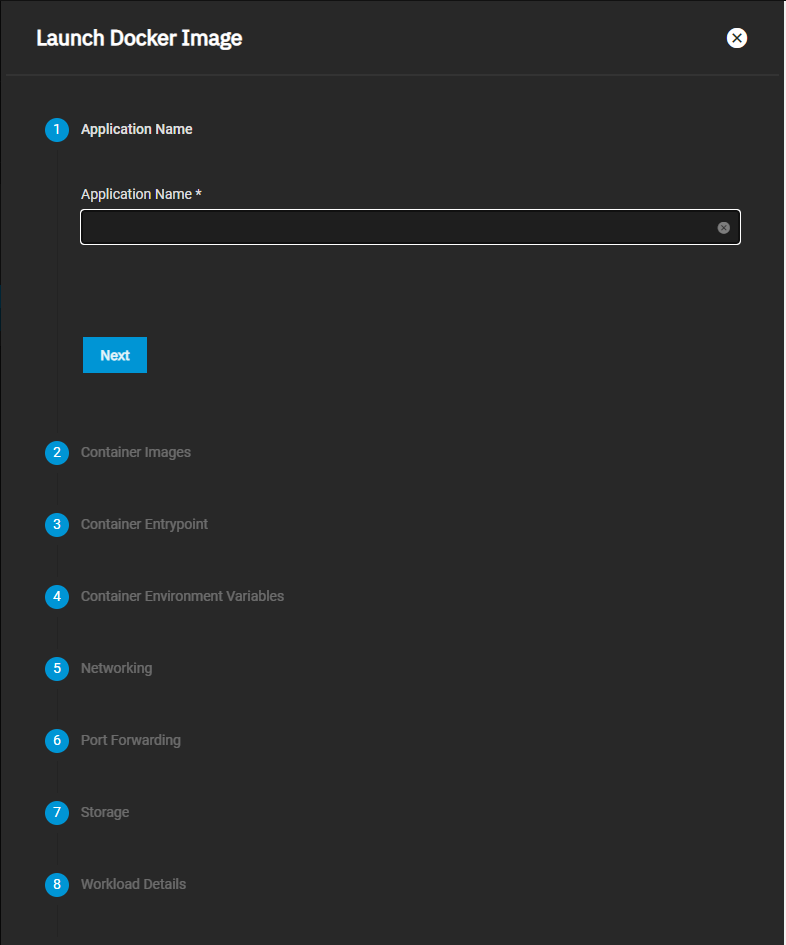
First, enter a name in Application Name (for example, minio for a normal configuration or minio-distributed for a distributed MinIO configuration). A MinIO in distributed mode allows you to pool multiple drives (even if they are different machines) into a single object storage server for better data protection in the event of single or multiple node failures because MinIO distributes the drives across several nodes. For more information, see the [Distributed MinIO Quickstart Guide (https://docs.min.io/docs/distributed-minio-quickstart-guide).

Click Next to continue after completing each section of the configuration form.

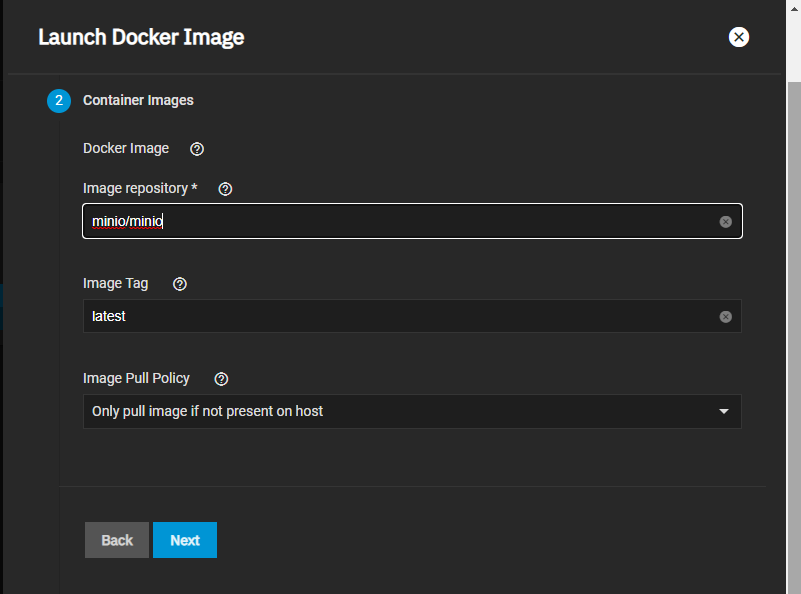
Enter minio/minio as the image name under Image Repository. Click Next.

AppsMinioContainerImagesMinIO

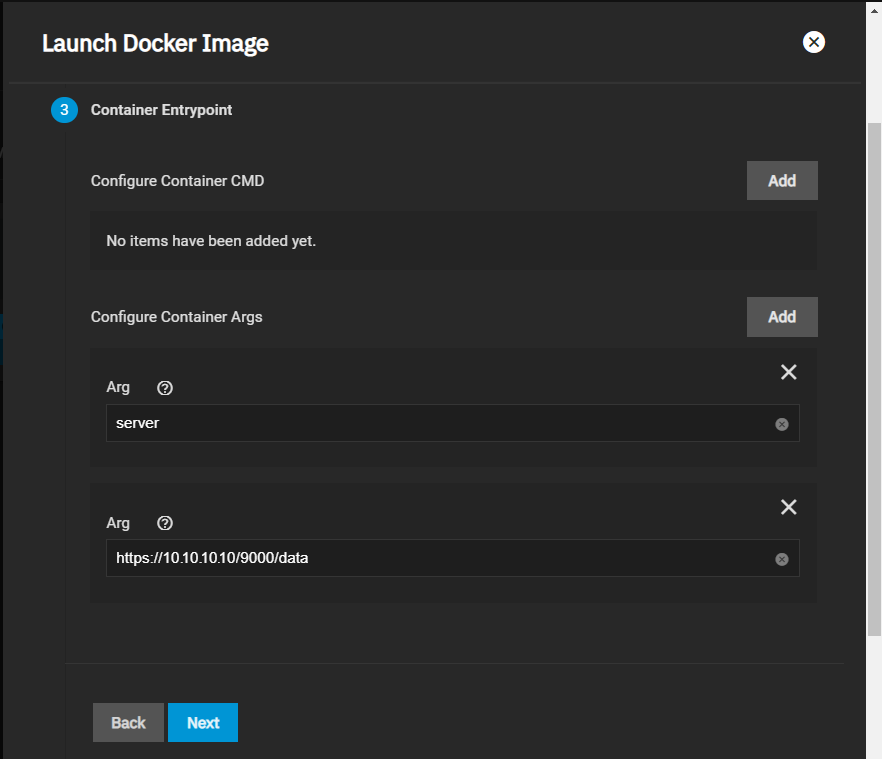
Configure the Container Entrypoint arguments. Click the Add button to the right of Configure Container Args twice to add two Arg fields. In the first Arg field type server. In the second Arg field, type the valid IP or hostname of each TrueNAS system on the network, the MinIO port number, and the directory you created for MinIO. Use this format: http://0.0.0.0/9000/data.

For a distributed cluster, add the valid TrueNAS system (node) IP addresses/hostnames. The order is important, so use the same order across all the nodes.

MinIO containers use server port 9000. The MinIO Console communicates using port 9001.

Use the /data path which is set up in the next steps.

AppsContainerEntrypointsMinIO

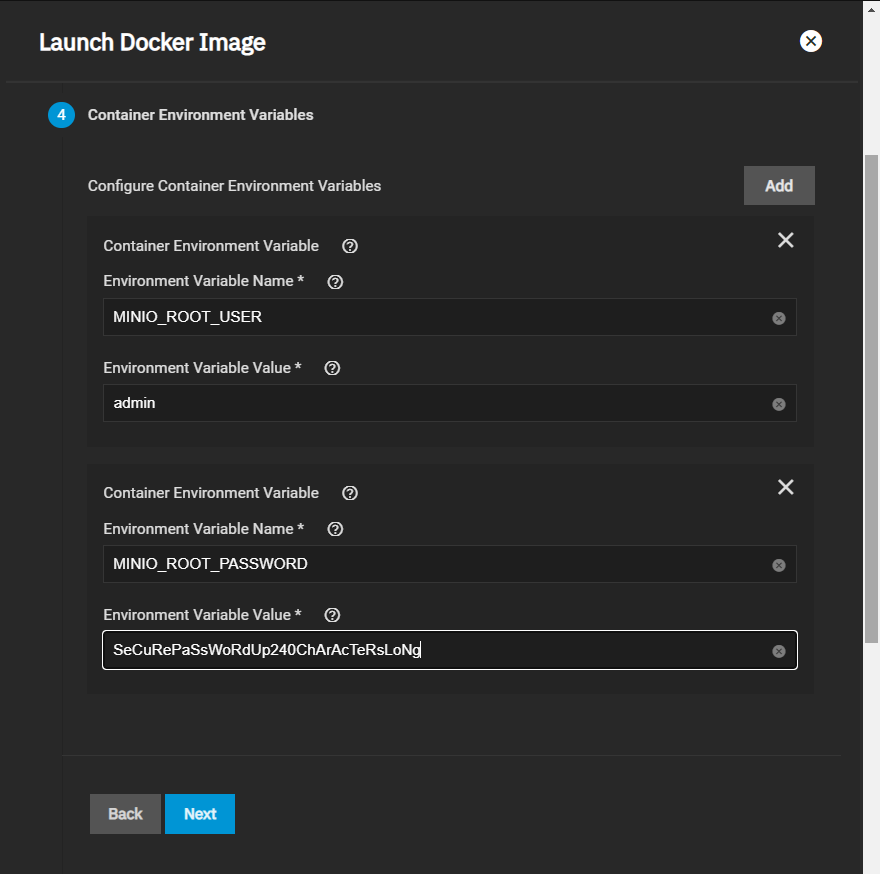
Next, create the Container Environment Variables and define the MINIO_ROOT USER and MINIO_ROOT_PASSWORD arguments and their values. For the ROOT_USER value, use a name up to 20 characters. For the ROOT_PASSWORD, use a string of 8 to 40 randomized characters. MinIO recommends using a long password string of unique random characters. Refer to MinIO User Management for more information.

Keep all passwords and credentials secured and backed up.

For a distributed cluster, ensure the values are identical between nodes and fill the Environment Variable Value with proper random credentials.

AppsContainerEnvironmentVariablesMinIO

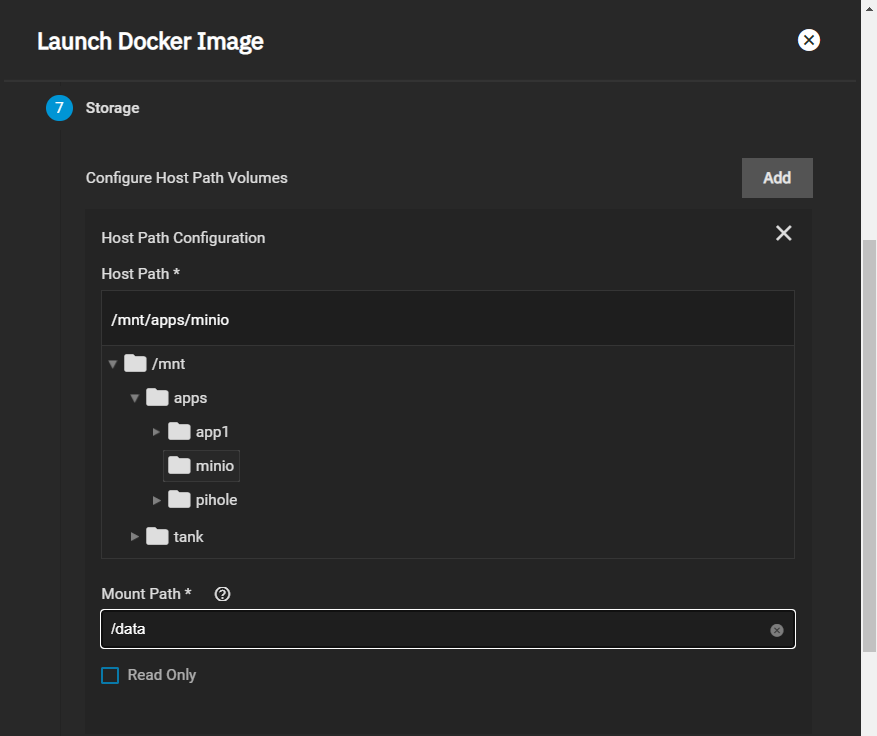
Click Next until the Storage section displays. Select the dataset you created for the MinIO container for the Host Path and enter the /data directory under Mount Path, then click Next.

AppsStorageMinIO

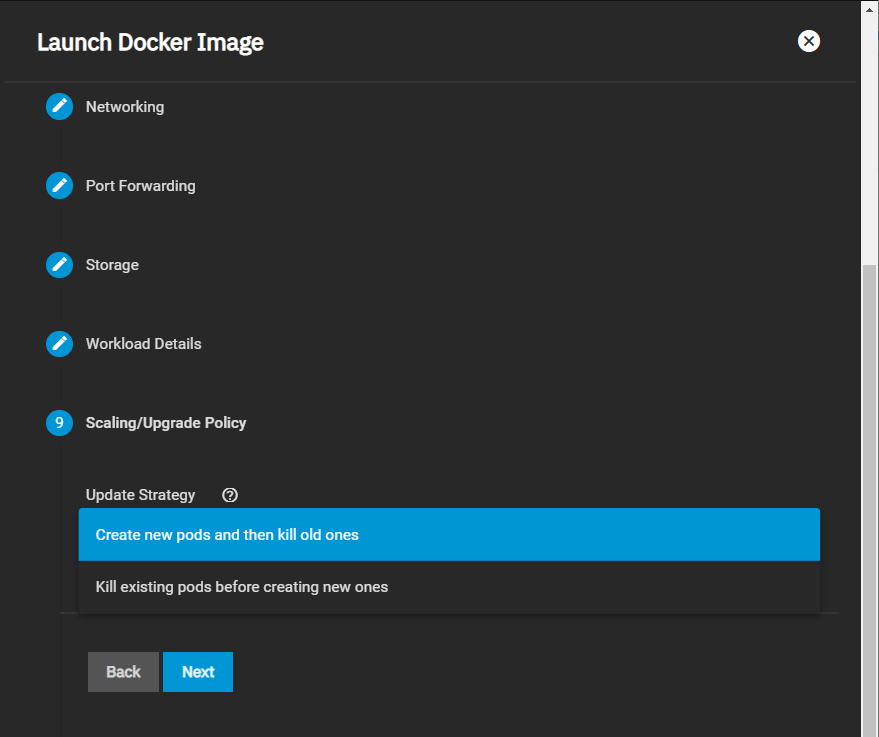
Click Next until you reach the Scaling/Upgrade Policy screen. Select the Update Strategy option you want to deploy. Use Kill existing pods before creating new ones to recreate the container or Create new pods and then kill old ones if you want rolling upgrades. Click Next.

AppsScalingUpgradePolicyMinIO

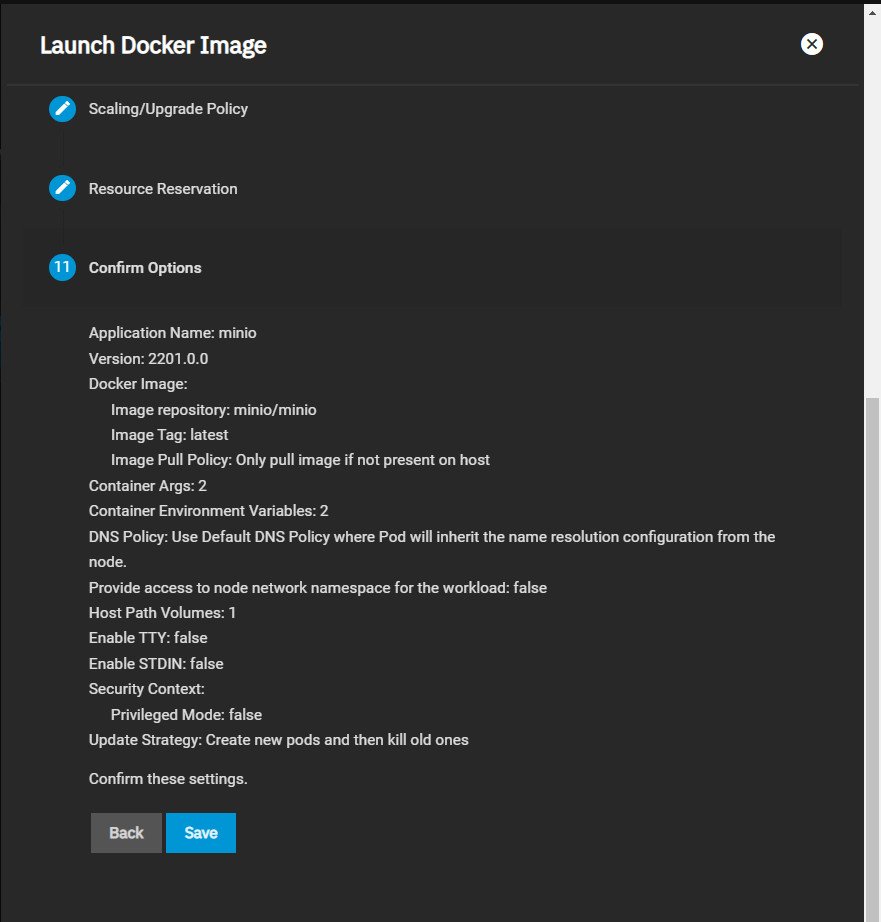
Confirm your options, then click Save to complete the first node.

AppsConfirmOptionsMinio

Now that the first node is complete, you can configure any remaining nodes (including datasets and directories).

Setting Up Using MinIO Install

Go to Apps and select the Available Applications tab to display the MinIO application card. Click Install on the MinIO card to open the MinIO configuration wizard.

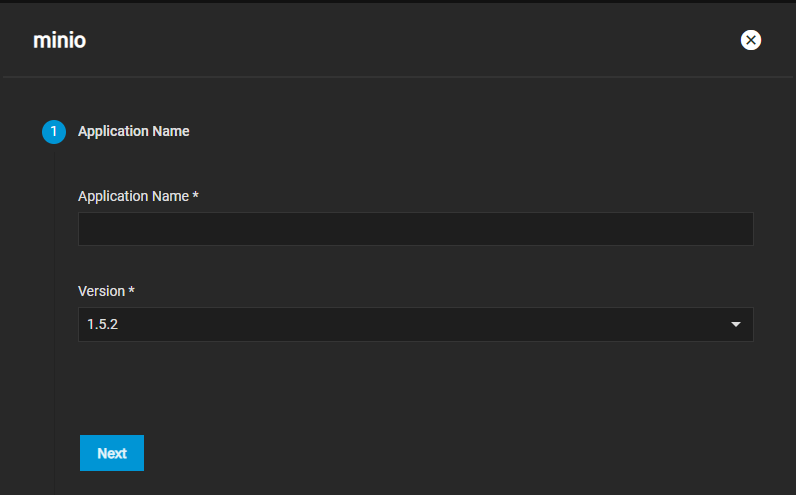
First, enter a name for the MinIO cluster. Click Next. Type the name in all lowercase.

AppsMinIOApplicationName

Next, add the Workload Configuration settings.

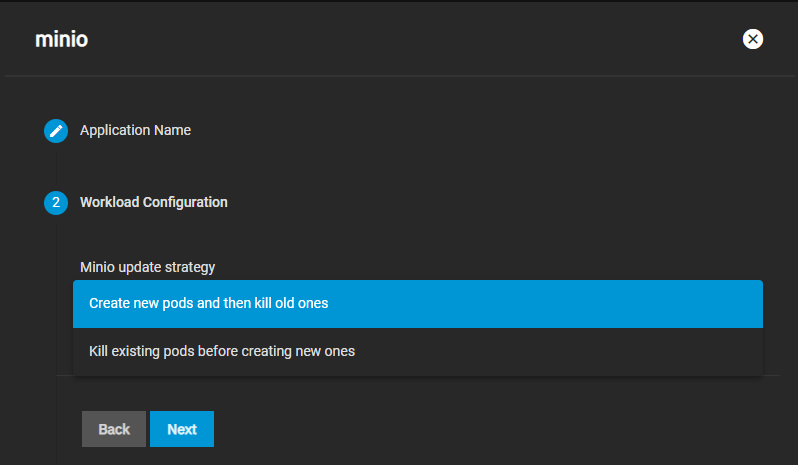
Select an update strategy. Use Kill existing pods before creating new ones to recreate the container or Create new pods and then kill old ones if you want rolling upgrades. We recommend Kill existing pods before creating new ones. Click Next.

AppsMinIOWorkloadConfiguration

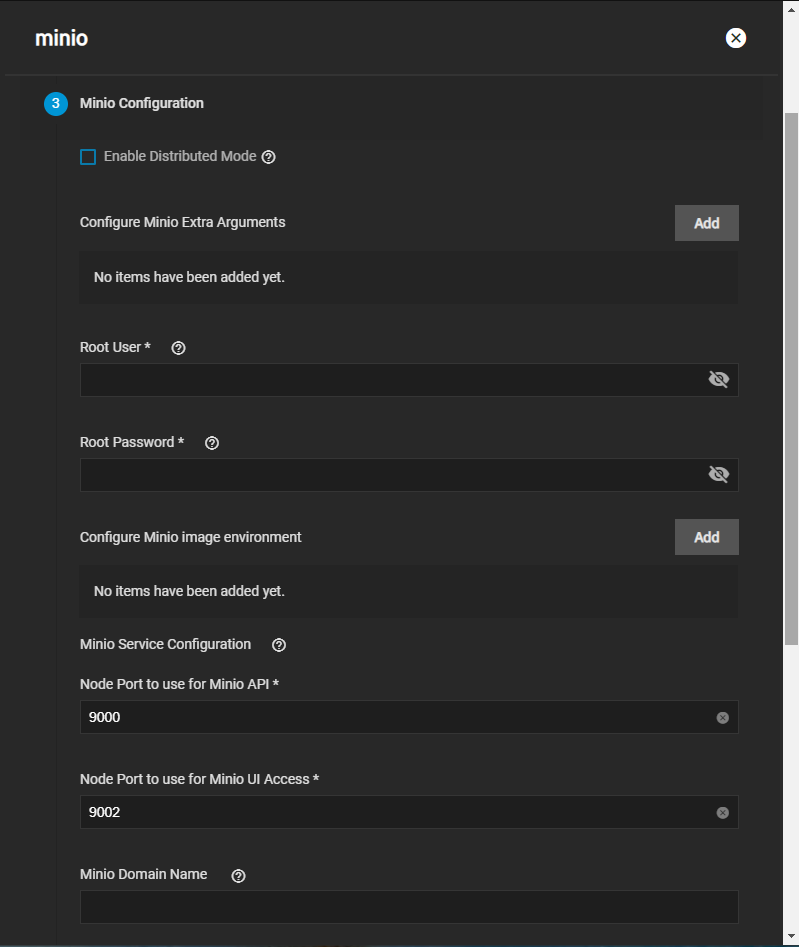
Now enter the MinIO Configuration settings.

If you want to run your MinIO instance to connect to a distributed MinIO cluster, set Enable Distributed Mode and input your Distributed Minio Instance URI. See the Distributed MinIO Quickstart Guide for more information.

AppsMinIOConfiguration

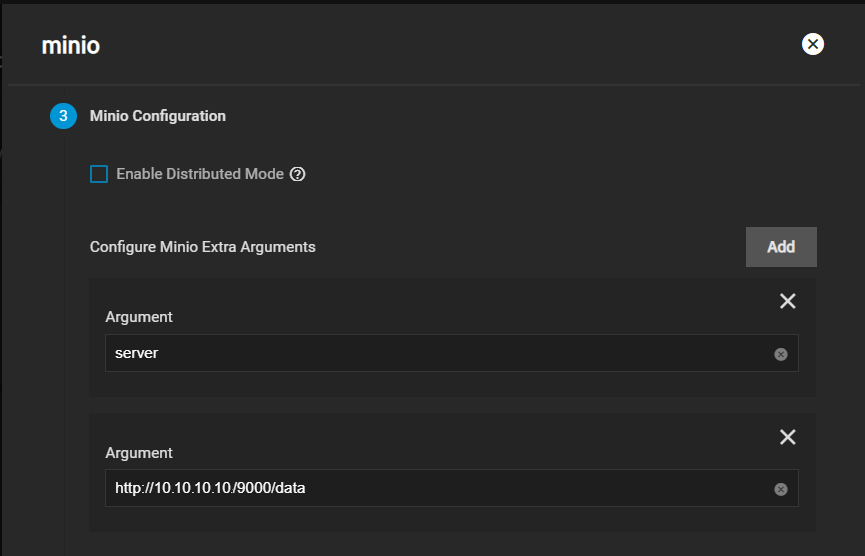
Click the Add button to the right of Configure MinIO Extra Arguments twice to display two Arg fields. In the first Arg field type server. In the second Arg field type the valid IP or hostname of each TrueNAS systems on the network, the MinIO port number, and the directory you created for MinIO. Use this format, http://0.0.0.0/9000/data.

Add the other valid TrueNAS system IP addresses/hostnames of your various nodes. The order is important, so use the same order across all the nodes. MinIO containers use server port 9000. The MinIO UI communicates using port 9002.

AppsMinIOConfiguration2

Enter the S3 root user in Root User and the S3 password in the Root Password fields.

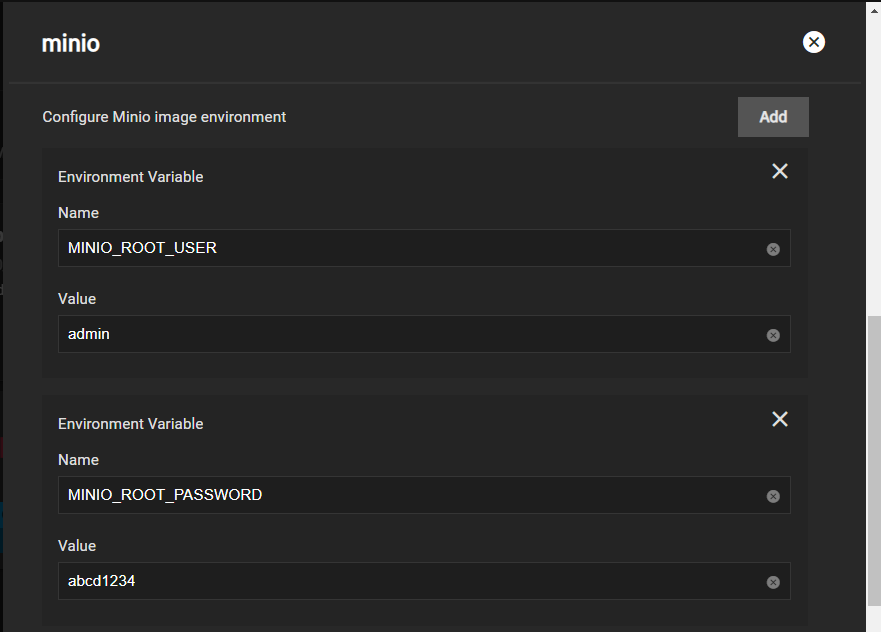
Click the Add button to the right of Container Environment Variables and enter the MINIO_ROOT_USER and MINIO_ROOT_PASSWORD arguments and values. For the ROOT_USER value, use a name up to 20 characters. For the ROOT_PASSWORD, use 8 to 40 randomized characters. MinIO recommends using a long password string of unique random characters. Refer to MinIO User Management for more information.

Keep all passwords and credentials secured and backed up.

AppsMinIOEnvironmentalVariables

You can configure the API and UI access node ports and the MinIO domain name if you have TLS configured for MinIO. You can also configure a MinIO certificate if you wish.

Now enter the Storage settings.

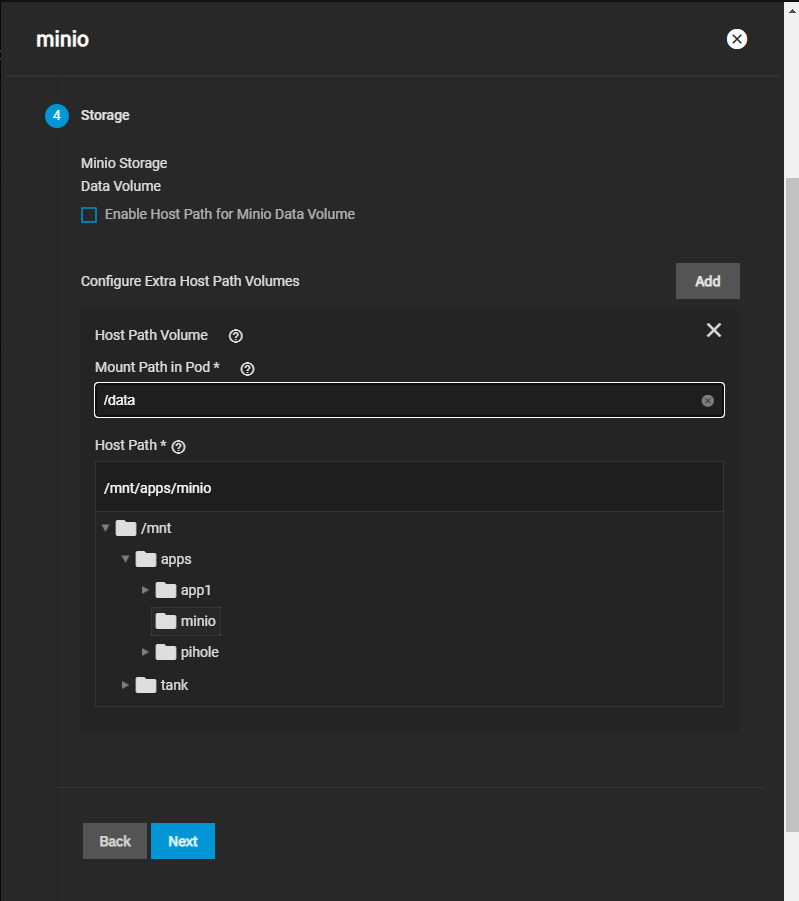
If you want to use a host path to store your MinIO data volume, select the Enable Host Path for MinIO Data Volume checkbox and select a path.

Under Configure Extra Host Path Volumes, enter the /data directory under Mount Path in Pod, then select the directory or dataset you created earlier and click Next.

AppsMinIOStorage

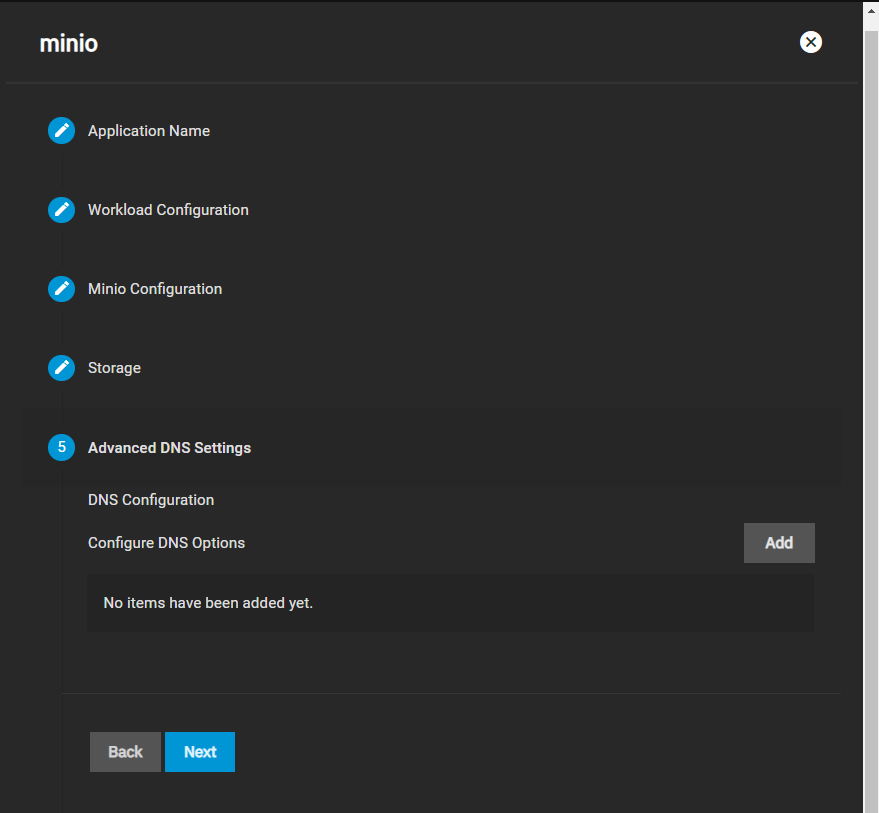
Add the Advanced DNS Settings next.

You can configure additional DNS options in Advanced DNS Settings. Click Add to add more DNS option entries. Click Next.

AppsMinIOAdvancedDNSSettings

Finally, confirm options. Make sure the configuration summary meets your needs, then click Save.

Accessing the Minio Setup

Once you’re done creating datasets, you can navigate to the TrueNAS address at port :9000 to see the MinIO UI. If you created a distributed setup, you can see all your TrueNAS addresses. Log in with the ROOT_USER and ROOT_PASSWORD keys you created as Container Environment Variables.
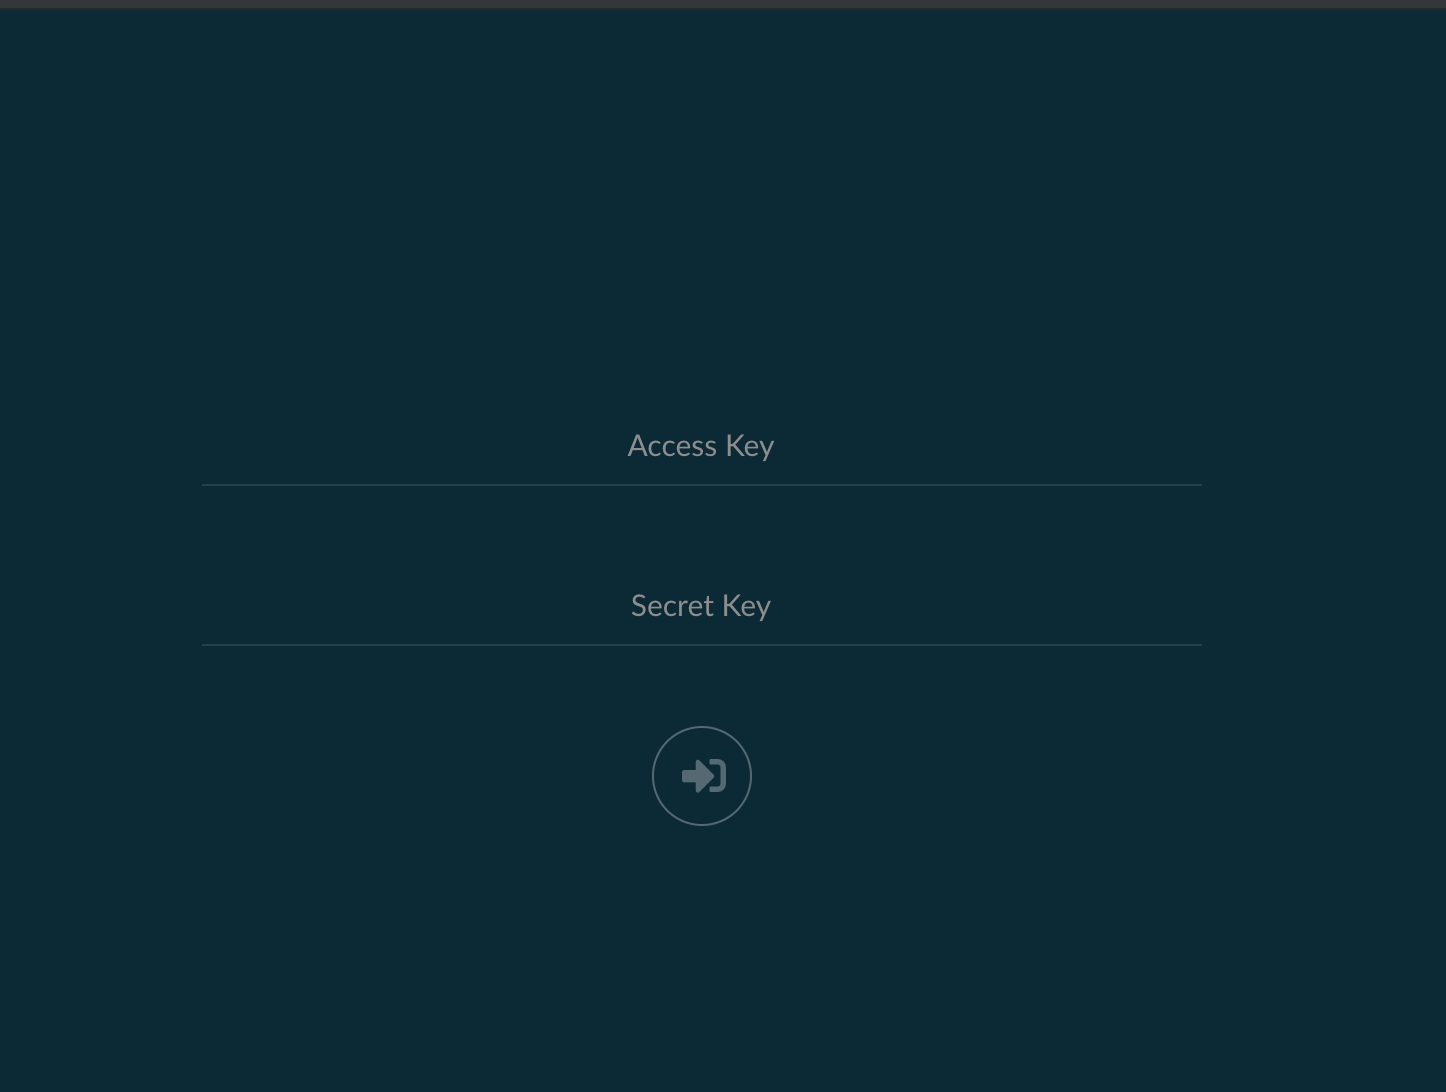
MinioLogin

Related Content

Related Apps Articles