Migrating from TrueNAS CORE
5 minute read.
Last Modified 2022-12-13 12:31 -0500Migrating TrueNAS from CORE to SCALE is a one-way operation. Attempting to activate or roll back to a CORE boot environment can break the system. You cannot upgrade CORE systems with High Availability enabled (HA) to SCALE HA.
TrueNAS systems on 12.0x or lower should update to the latest CORE 13.0 release (e.g 13.0-U2) prior to migrating to SCALE.
TrueNAS SCALE is Linux based, so it does not support FreeBSD GELI encryption. If you have GELI-encrypted pools on your system that you plan to import into SCALE, you must migrate your data from the GELI pool to a non-GELI encrypted pool before migrating to SCALE.
TrueNAS SCALE validates the system certificates when a CORE system migrates to SCALE. When a malformed certificate is found, SCALE generates a new self-signed certificate to ensure system accessibility.
You can migrate from CORE to SCALE using an
Start by saving the SCALE ISO file to a USB drive (see the Physical Hardware tab in Installing SCALE). Plug the USB drive into the CORE system that you want to sidegrade and boot or reboot the system.
At the motherboard splash screen, use the hotkey defined by your motherboard manufacturer to select a boot device, then select the USB drive with the SCALE
When the SCALE console setup screen appears, select Install/Upgrade.

Select your TrueNAS boot disk
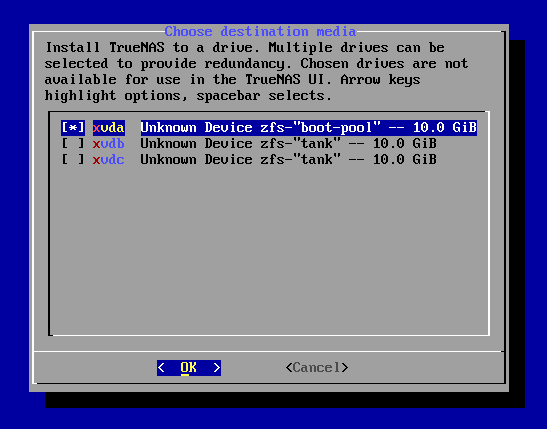
The installer asks if you want to preserve your existing configuration or start with a fresh installation. We recommend selecting Upgrade Install when migrating from CORE to SCALE to keep your configuration data. Then select Install in new boot environment.


Although TrueNAS attempts to keep most of your CORE configuration data when upgrading to SCALE, some CORE-specific items do not transfer. GELI encrypted pools, NIS data, jails, tunables, and boot environments do not migrate from CORE to SCALE. VM storage and its basic configuration is transferred over during a migration. You need to double-check the VM configuration and the network interface settings specifically before starting the VM. AFP shares also do not transfer, but you can migrate them into an SMB share with AFP compatibility enabled. Init/shutdown scripts transfer, but can break. Review them before use. The CORE netcli utility is also swapped for a new CLI utility to use for the Console Setup Menu and other commands issued in a CLI.
After choosing to install in new boot environment, the installer warns that SCALE installs into the boot pool previously used for CORE. Select Yes.
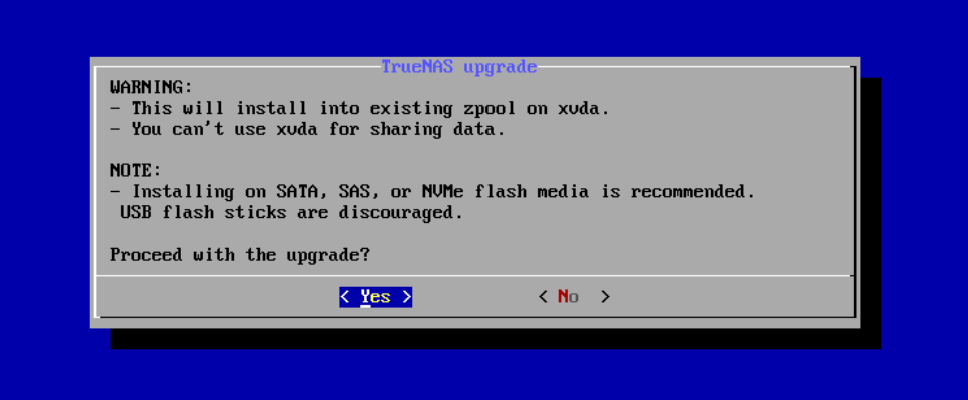
Once the installation completes, reboot the system and remove the USB with the SCALE
When TrueNAS SCALE boots, you might need to use the Shell to configure networking interfaces to enable GUI accessibility.
Start by downloading the SCALE manual update file. Confirm that the TrueNAS system is on the latest public release, 13.0-U2 or better.
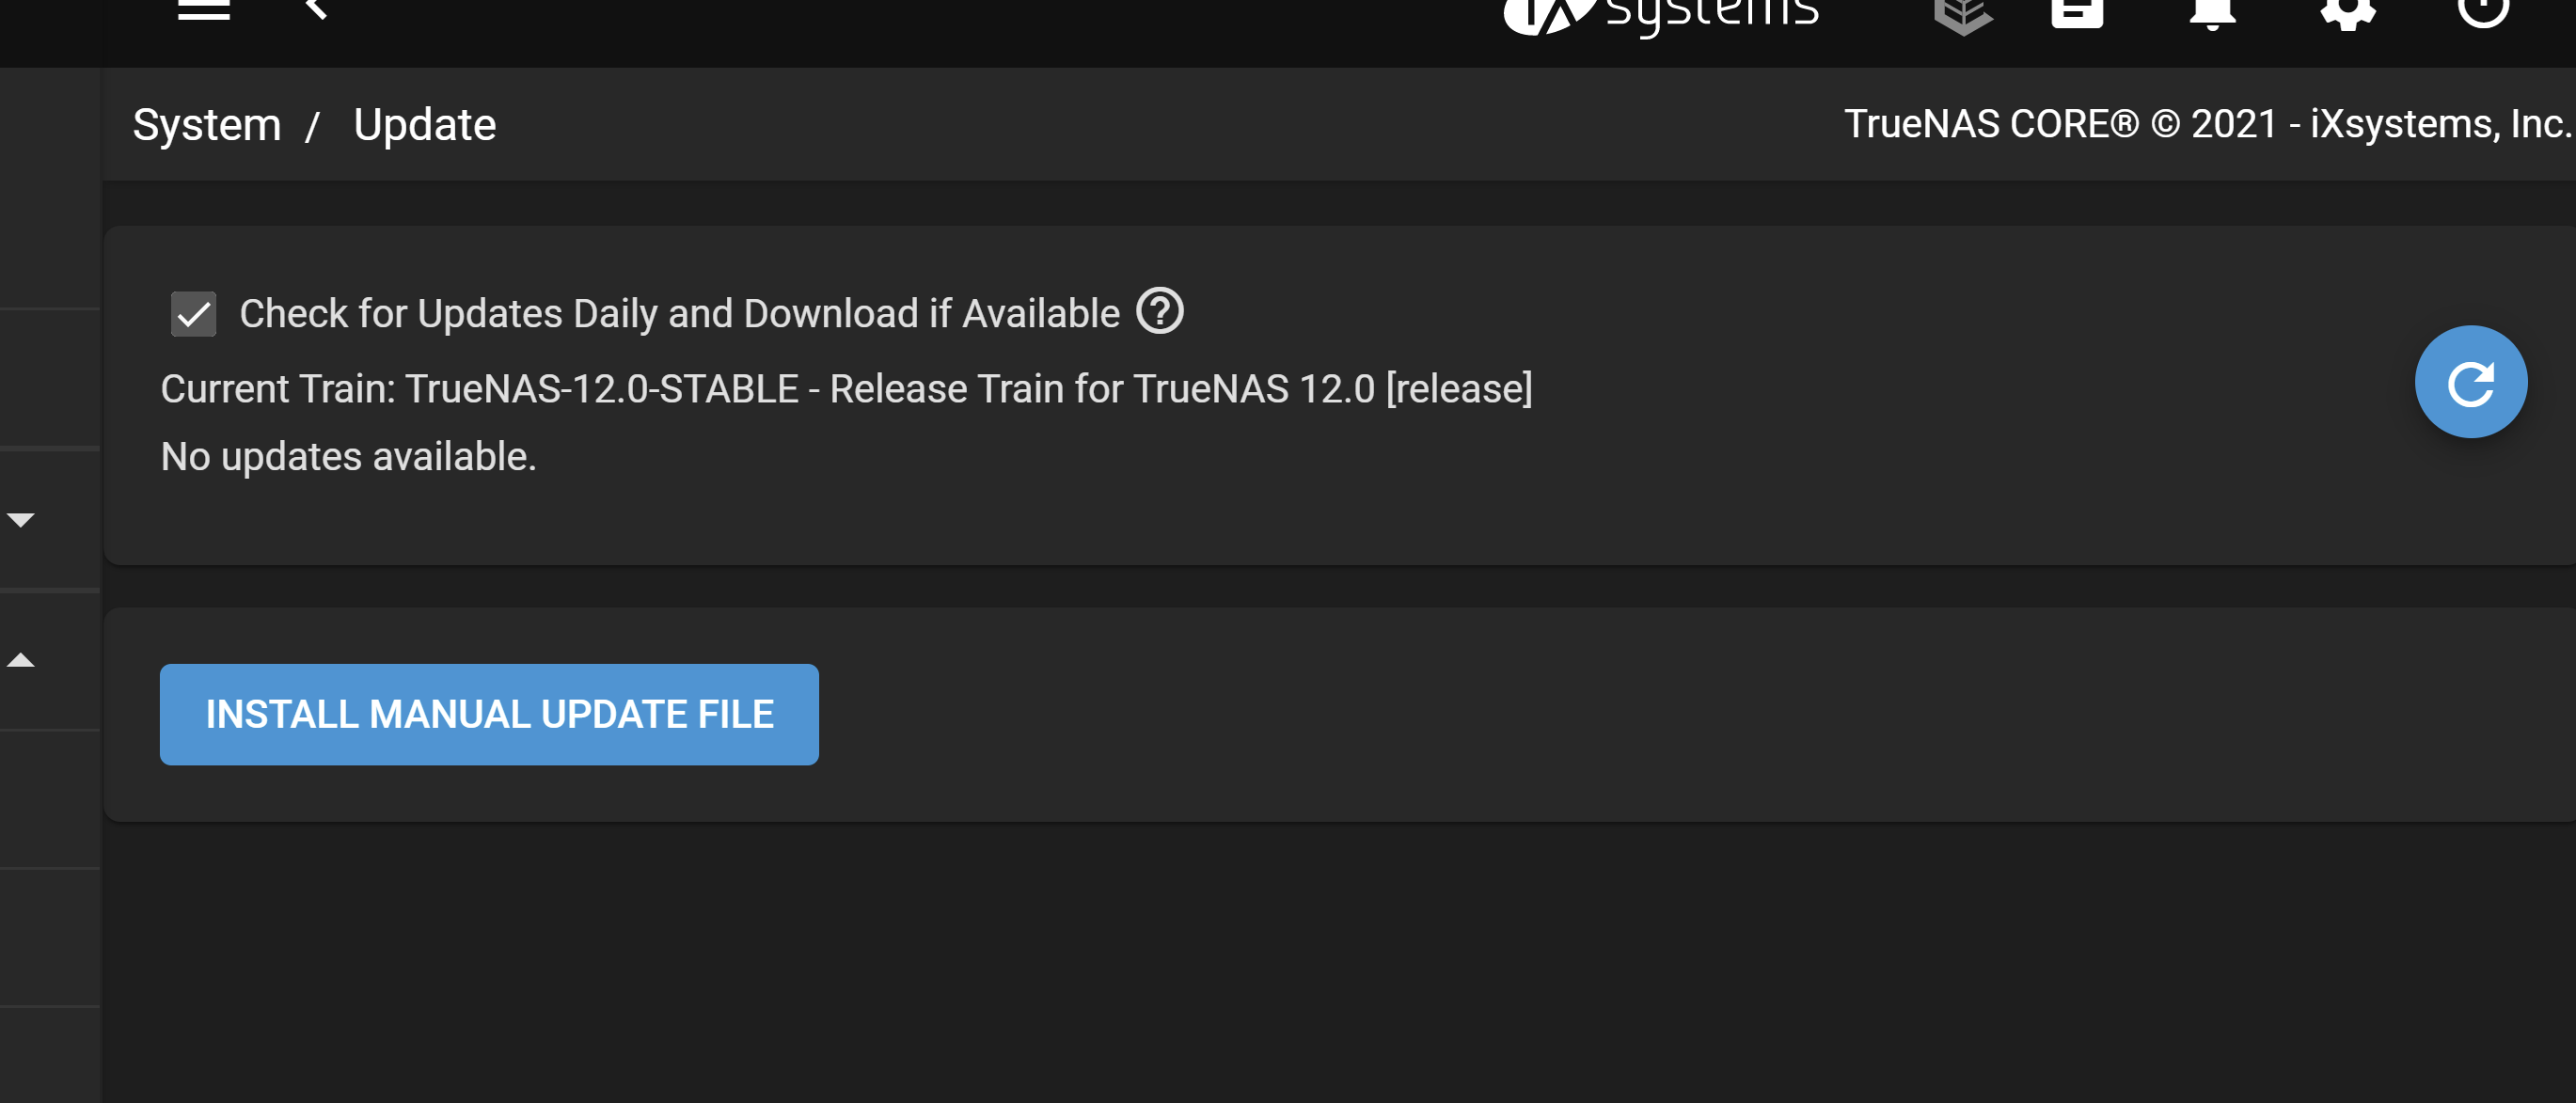
Click CHECK FOR UPDATES in the System Information card on the Dashboard or go to System > Update.
Click INSTALL MANUAL UPDATE FILE.
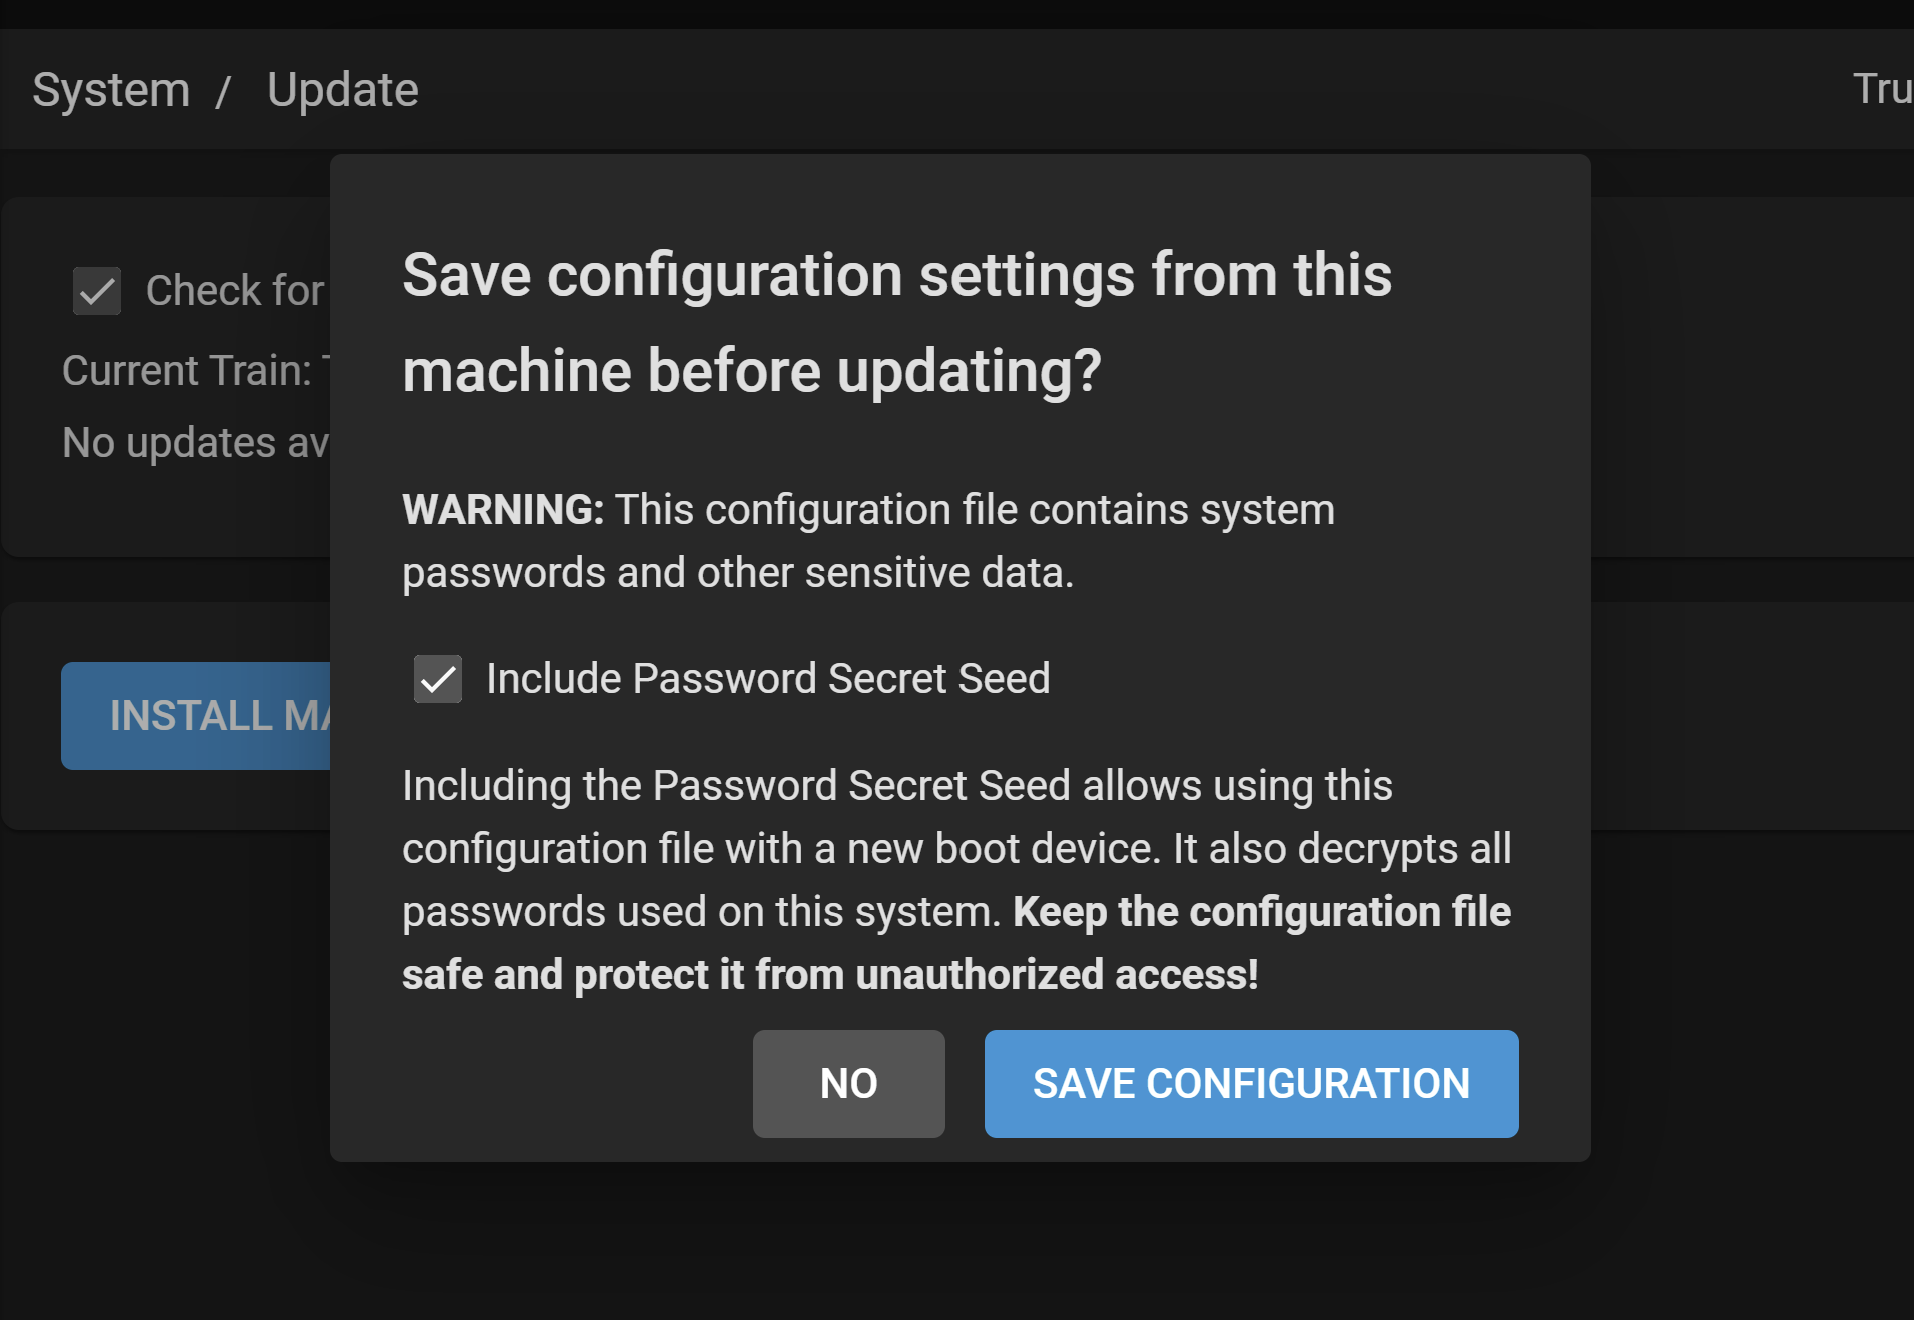
Click SAVE CONFIGURATION to download a backup file that can restore the system configuration in the event something goes wrong with the migration.
This is recommended but it not required.
Select a Temporary Storage Location (either Memory Device or a Pool) for the manual update file.
Click Choose File and select the 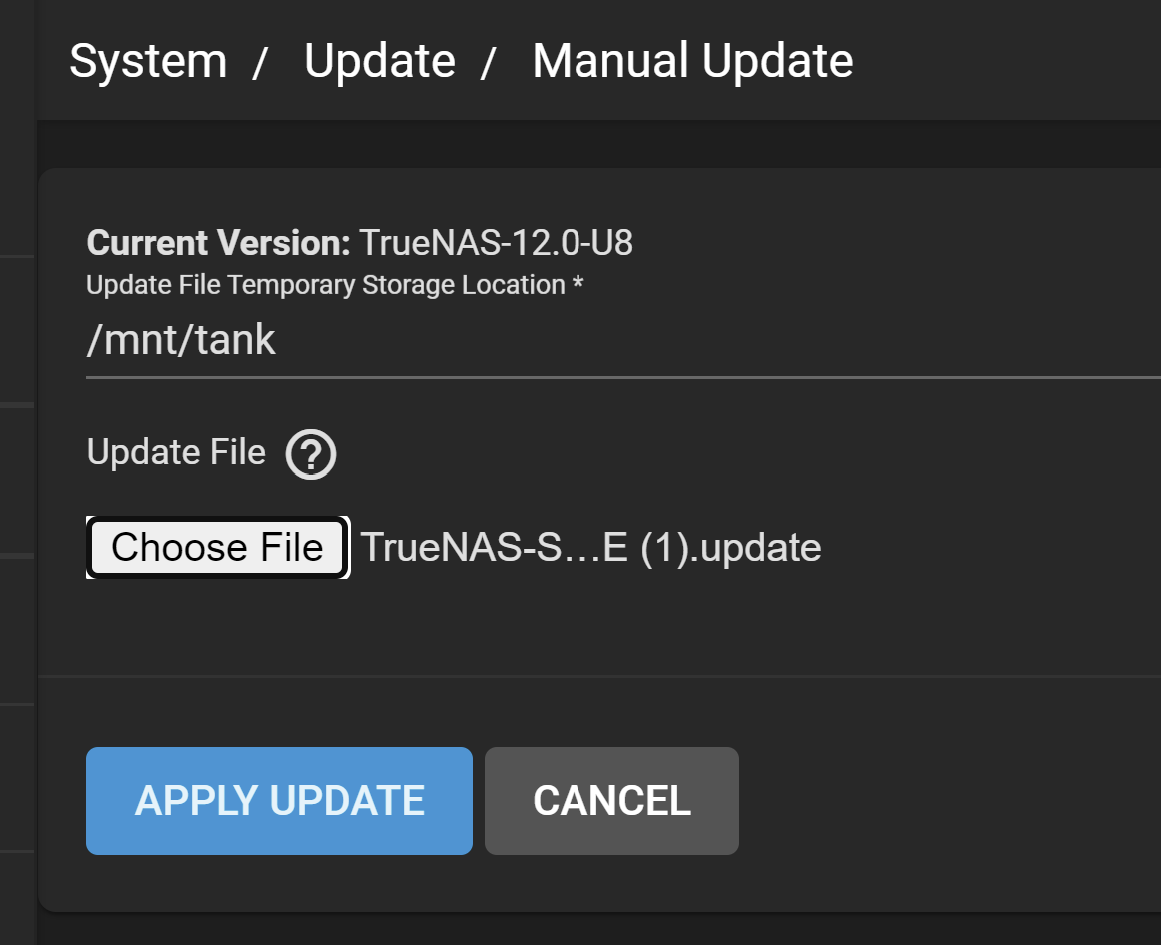 Then click APPLY UPDATE.
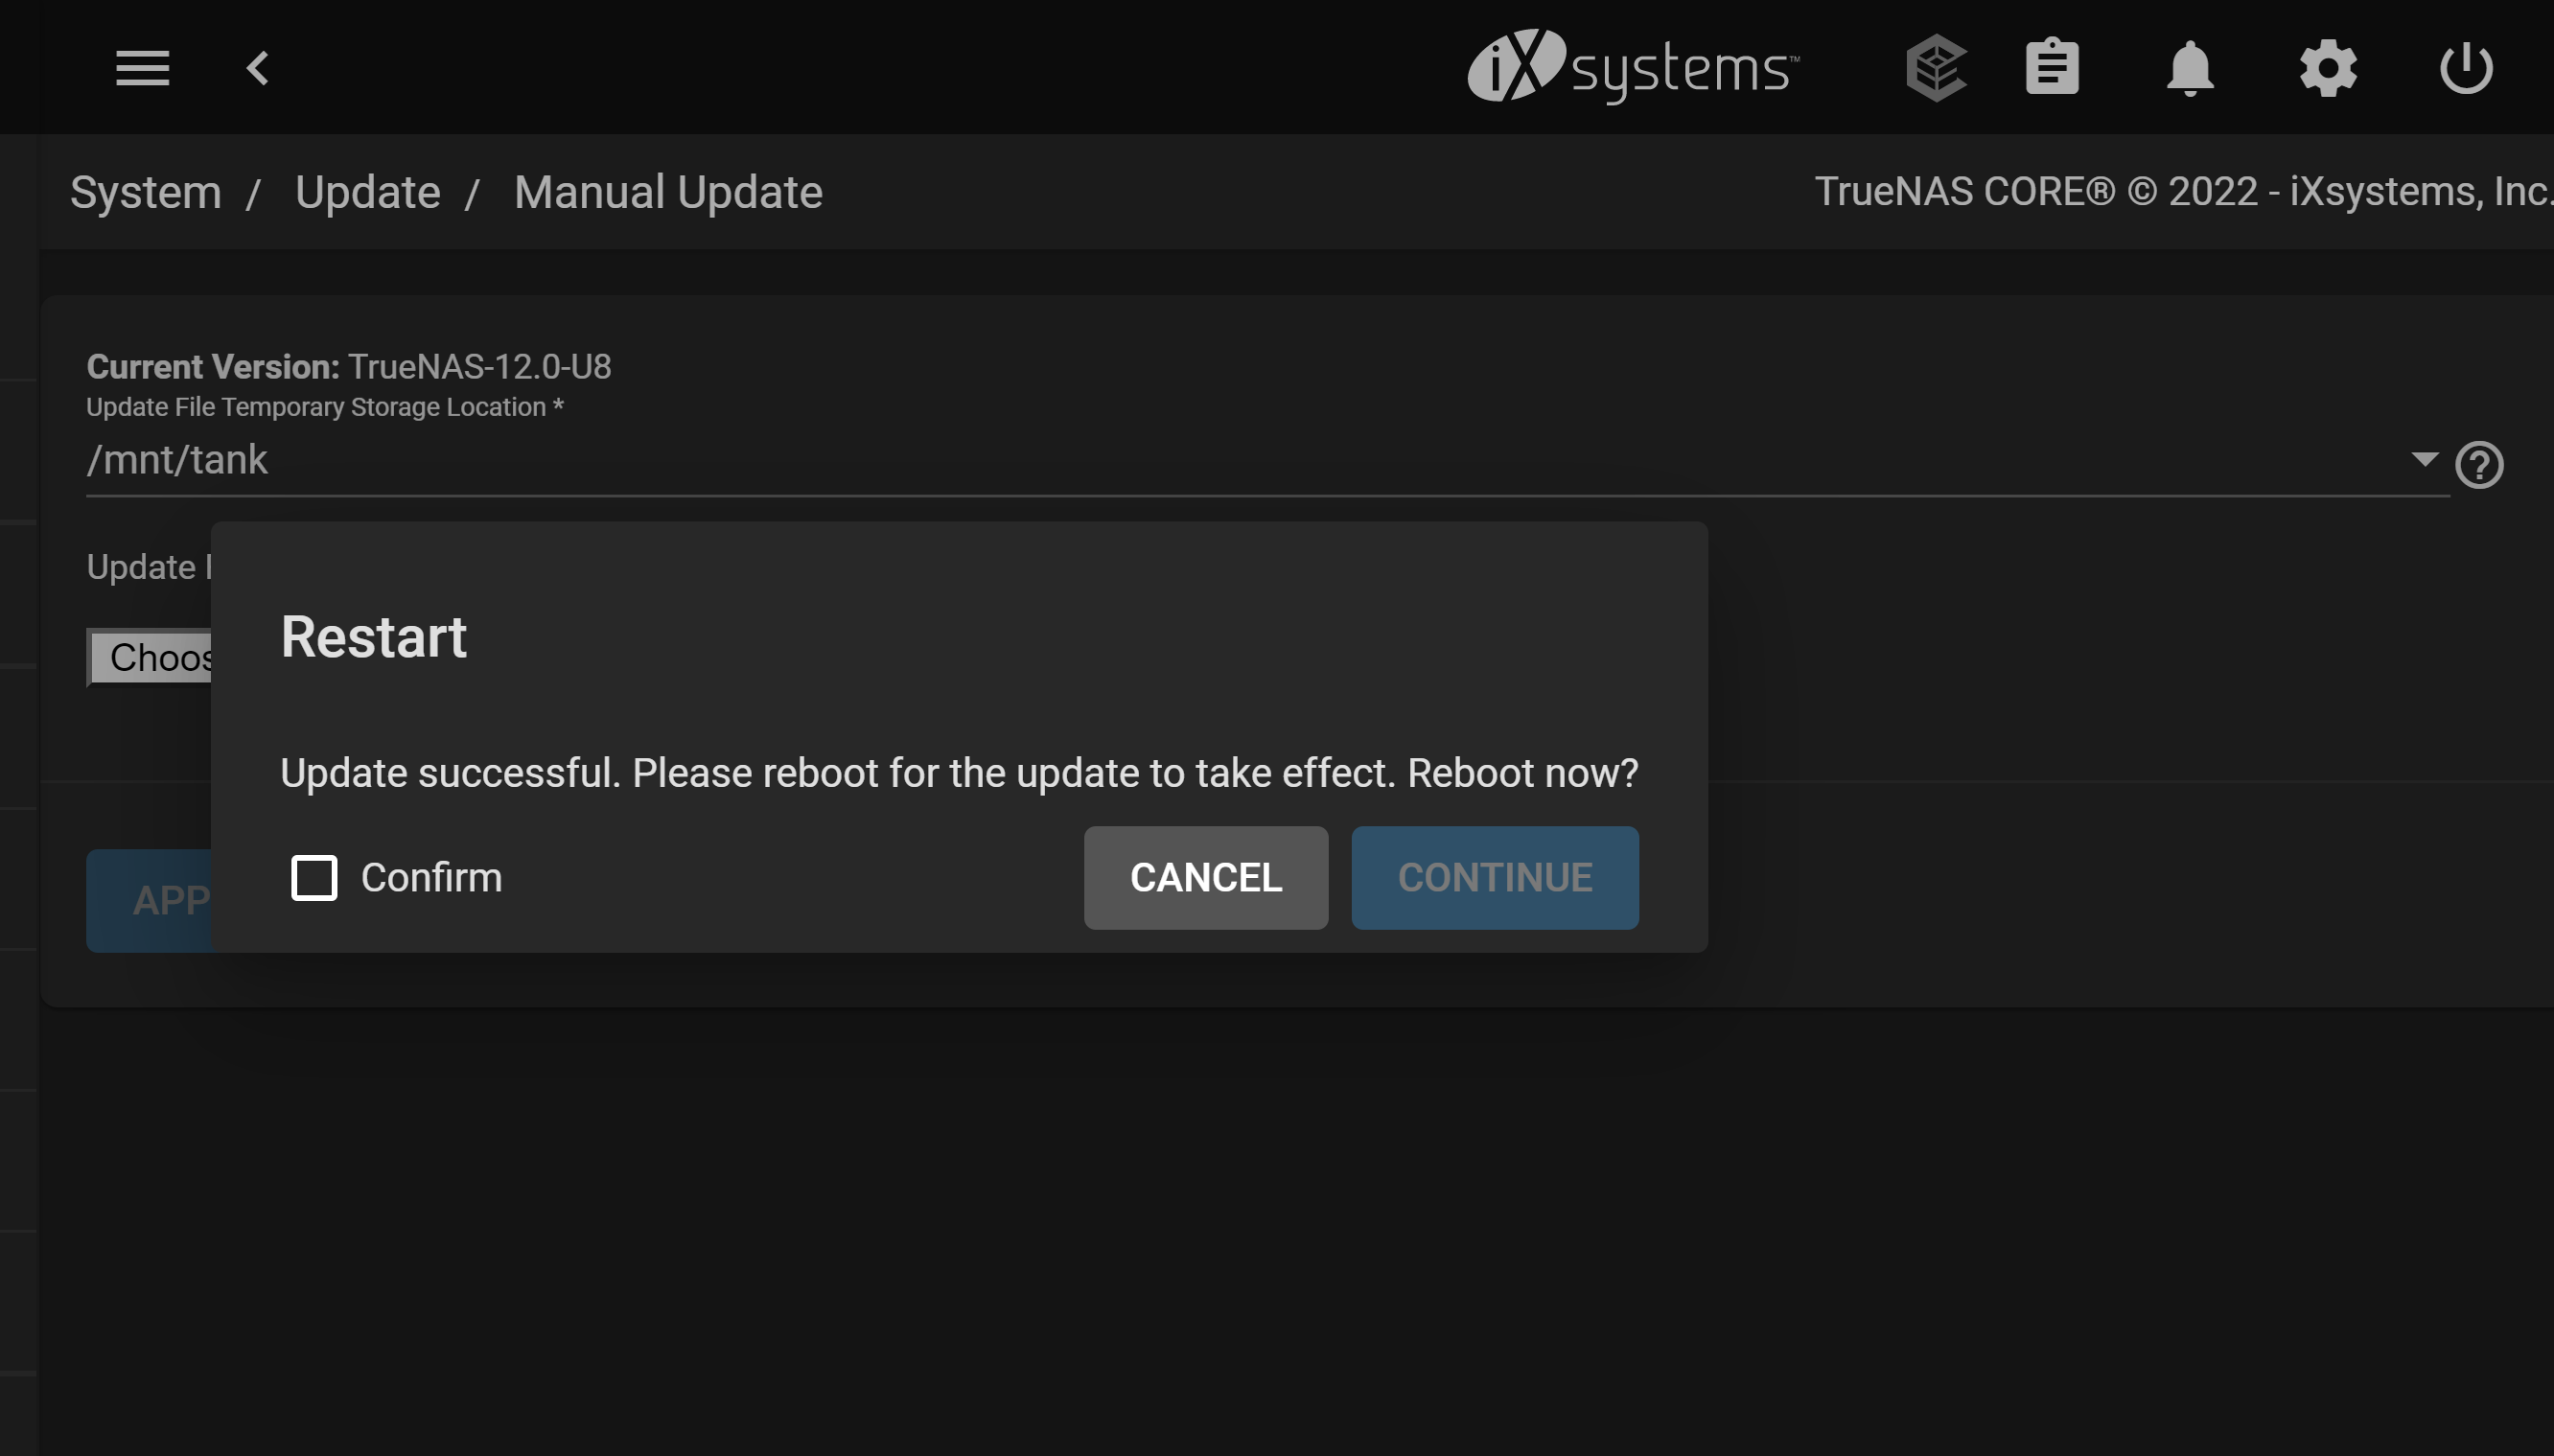
After the update completes, reboot the system.
The following CLI commands are available after migrating from CORE to SCALE. The CORE equivalent CLI commands are for reference. These commands are for diagnostic use. Making configuration changes using the SCALE OS CLI is not recommended.
| CORE CLI Comand | SCALE CLI Command | Description |
|---|---|---|
| camcontrol devlist | lshw -class disk -short sfdisk -l | Use lshw -class disk -short sfdisk -l to get detailed information on hardware (disk) configuration that includes memory, mainboard and cache cofiguration, firmware version, CPU version and speed. |
| geom disk list | lsblk, hdparm | Use lsblk to lists block devices or hwparm to get or set SATA/IDE device parameters. |
| glabel status | blkid | Use blkid to locate or print block device attributes. |
| gstat -pods | iostat iostat -dtx |
Use iostat -dtx to display the device utiilization report with the time for each report displayed and includes extended statistics. |
| ifconfig ifconfig -l |
ip addr ifconfig -s lshw -class network -short ethtool devname |
Use ip addr to show or manipulate routing, devices, or policy routing and tunnels. Use ifconfig -s cofigure a network interface. Use lshw -class network -short to display a network device tree showing hardware paths. Use ethtool *devnam* to query or control network driver and hardware settings. |
| netstat -i | ifstat -i | Use ifstat -i to get interface statisitcs on a list of interfaces to monitor. |
| nvmecontrol devlist | nvme list | Use nvme list to identify the list of NVMe devices on your system. |
| pmcstat | profile-bpfcc | Use profile-bpfcc to get a CPU usage profile obtaine by sampling stack traces. |
| systat -ifstat | iftop netstat |
Use iftop to display interface bandwidth usage by host and netstat to print network connections, routing tables, interface statistics, masquerade connections, and multicast memberships. |
| top -SHIzP | top -Hi | Use top -Hi to display Linux tasks for all individual threads and starts with the last remembered i state reversed. |
| vmstat -P | sar -P ALL | Use sar -P ALL to get reports with statistics for each individual processor and global statistics among all processors. |
Related Content
- Migrating to TrueNAS
- Importing Data
- Component Naming
- AFP Migration
- ZFS Feature Flags Removed
- First Time Login
- Setting Up Data Sharing
- Backing Up TrueNAS

