Plugin Management
5 minute read.
Last Modified 2022-09-29 14:32 -0400This feature is generally available in TrueNAS CORE and supported by the TrueNAS Community. iXsystems customers with TrueNAS Enterprise hardware and an iXsystems Support contract can contact Support about accessing these features.
Plugins allow extending the built-in NAS services by installing additional software. A plugin is a pre-packaged application that is installed into a FreeBSD Jail. The plugin jail is limited to installing and using only the plugin software.
To see the plugin catalog, go to the Plugins screen.

Plugins are organized into two Collections:
- iXsystems maintained plugins
- Open Source plugins created and maintained by the TrueNAS community.
By default, the iXsystems-supported plugins are shown. To view the community-supported plugins, open Browse a Collection and select Community.
To install a plugin, click the plugin icon and Install. This example shows installing Tarsnap, a popular backup solution.

Enter a name for the plugin in Jail Name and adjust the networking settings as needed. Most plugins default to using Network Address Translation (NAT) for their Internet connection, but you can choose to use a dynamically-generated address with DHCP or define static IP addresses for the plugin jail. Using NAT is recommended as it does not require manual configuration of multiple available IP addresses and prevents addressing conflicts on the network.
Some plugins default to DHCP as their management utility conflicts with NAT. Keep these plugins set to DHCP unless a manually configured IP address is preferred.
Plugins can take several minutes to download and install. A dialog confirms when the installation completes and shows any post-install notes. You can view the post-install notes later by expanding the entry for the installed plugin in Plugins and clicking Post Install Notes.
After a plugin is installed, an entry is added to the Plugins screen.

Click chevron_right to manage the plugin state, update the plugin application, configure the plugin jail mount points to storage datasets, and, when supported, open a link to the management portal for the plugin application.
Plugin jails are preconfigured and require very little tuning. However, jail properties are available in the event a setting needs to change. To update or reconfigure the plugin jail, go to the Jails screen and expand the entry for one of the plugin jails. Click and stop the jail before changing it.

Uninstalling a plugin destroys all datasets or snapshots that are associated with the plugin! Back up any important data stored in the plugin jail before deleting it!
To find a jail’s stored data, go to Storage > Pools and expand the entry for the pool that was chosen to store plugin and jail data. Expand the iocage and jails datasets to find the plugin jail storage dataset.

One option to back up this stored data is to create a local replication. The replication task can even be configured to run periodically and automatically back up new changes to the jail dataset.
To convert a jail snapshot into a new storage dataset, go to Storage > Snapshots and find a snapshot of the jail dataset.

Expand the snapshot entry, click filter_none, and define the path and name of the new dataset to create from the snapshot. Then go to Storage > Pools, open the more_vert for the new dataset, and click Promote Dataset.
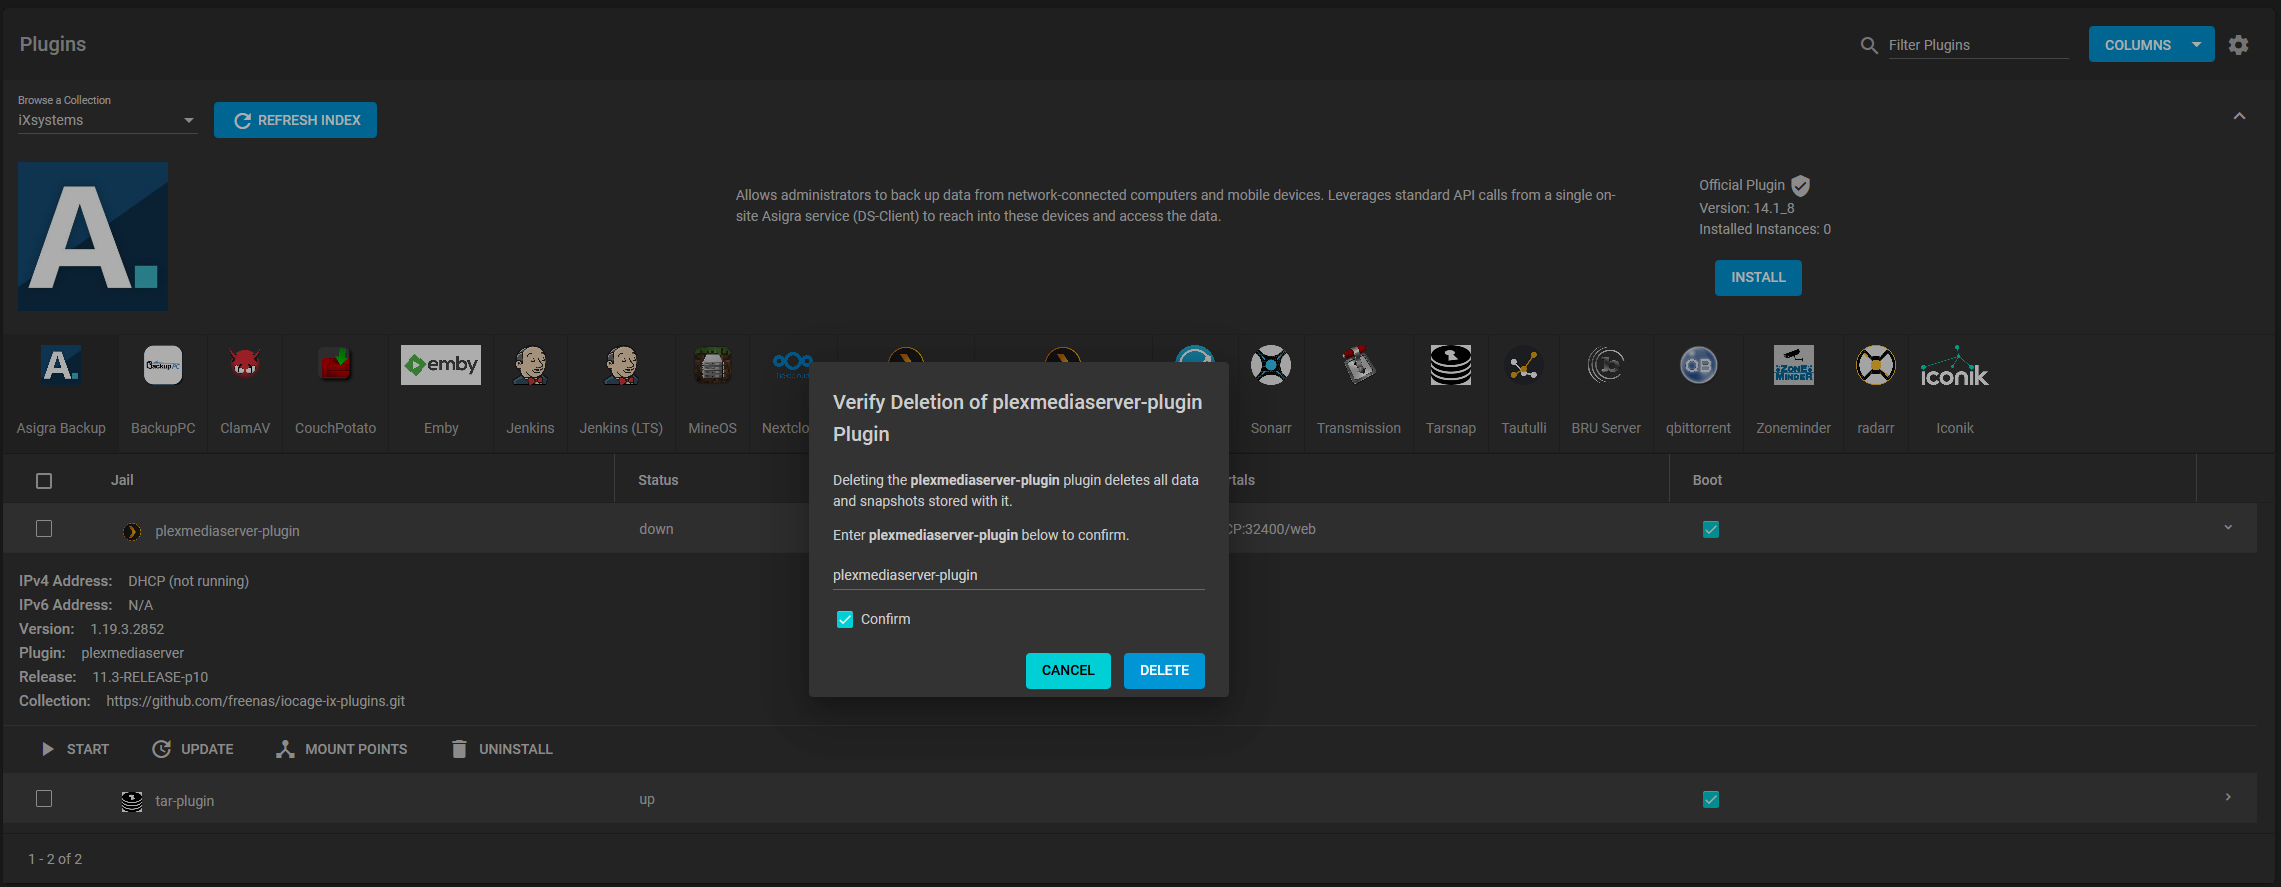
To remove a plugin, go to Plugins, expand the installed plugin entry, and click delete. Confirm the plugin removal by typing in the name of the plugin jail and setting Confirm.

Uninstalling can take a few moments while the plugin deletes from both Plugins and Jails.
The plugin dataset also deletes from


